
Picture in Picture Effect for FCP. Facebook. Movie Edição Básica (agora 100% ativa) 1ª video aula final cut pro_abrir projeto. 300home. Glass Etching. Have you ever done any glass etching?
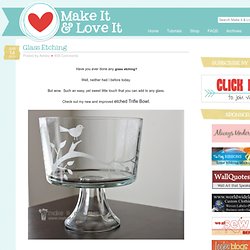
Well, neither had I before today. But wow. Such an easy, yet sweet little touch that you can add to any glass. Check out my new and improved etched Trifle Bowl. The perfect bowl for desserts of all kinds…..and even a great place for fresh fruit on the counter. Glass etching is also a great way to stamp your name on your pyrex dishes, to make sure they come back to you. And how about adding a little extra detail, just because…… (Edited to Add: The font used here is called Smiley Monster and I downloaded the font for free here.) Sweet in every way. Are you wanting to make your own? (This technique permanently etches your glass. First, you’ll need a piece of vinyl with an adhesive back, like the vinyl you buy for vinyl wall decor. Then peel away the shapes, leaving the negative space all in one piece. The Silhouette code for the bird/branch is: bird_on_branch_C00044_23067 01/18/2010 Then peel the vinyl backing away.
See how there are air bubbles? Good luck! Tiny pinatas. I found tiny party balloons at a drugstore, shown here with a quarter for scale.
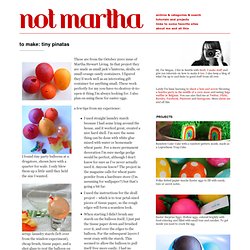
I only blew them up a little until they held the size I wanted. setup: laundry starch (left over from the window experiment), cheap brush, tissue paper, and a shot glass to rest the balloon on one popped – this one only has two layers of tissue paper, see how the light comes through? The red and purple ones are overlapping areas of red and purple tissue paper, the look works best when the colors are allowed to overlap generously. the yellow one is two layers of yellow, then two layers of light orange. and the orange one is two layers of yellow, one layer of red, and one layer of orange on top. long thin opening instead of round one adding tag pasting over so loop of tag is embedded ta da! House Tour: Haldane Martin's White Nest Cape Town. DIY Design Community « Keywords: string, balloon, lamp, chandelier.
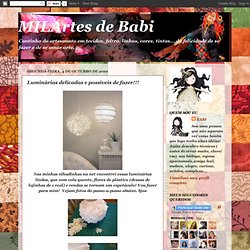
Jessica took the string ball idea and ran with it, creating a gorgeous string ball chandelier.

The chandeliers were the perfect addition to the outdoor dining experience, but they would be equally pretty inside as well. To make them, Jessica says we'll need the following: Big balloon[s]SharpieScissorsCotton yarn4 oz. White school glue1/2 cup of Corn starch1/4 cup of Warm waterSomething to stir withPetroleum jellyClear fast drying spray paintHanging lamp cord or fishing line (depending on your desired final product)Container for mixing For the entire tutorial, visit Wednesday Custom Design. Via Ruffled. Luminárias delicadas e possíveis de fazer!!! Nas minhas olhadinhas na net encontrei essas luminárias lindas, que com cola quente, flores de plástico (dessas de lojinhas de 1 real) e rendas se tornam um espetáculo!
Vou fazer para mim! Vejam fotos do passo-a-passo abaixo. bjos. Rodrigo Barba » Jordy Fu – luminárias de papel reciclado. Incríveis luminárias feitas de papel reciclado feitas pela Jordy Fu . Inspirada em nuvens às luminárias são complexas e feitas com cortes precisos no papel. Disponíveis em vários tamanhos e modelos (pendentes, abajures, colunas) custam entre £90-£250 e podem ser adquiridas pelo site da Jordy Fu . Fonte: Inhabitat. Luminárias - Pendentes. Luminária pendente cheia de estilo - faça você mesma. Anda louca por uma luminária cheia de bossa, por alguns poucos trocados?
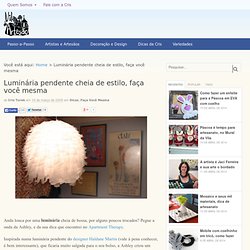
Pegue a onda da Ashley, e da sua dica que encontrei no Apartment Therapy. Inspirada numa luminária pendente do designer Haldane Martin (vale à pena conhecer, é bem interessante), que ficaria muito salgada para o seu bolso, a Ashley criou um modelo em estilo bem moderno e atual, e garante que gastou em torno dos 30 reais. Para a luminária é preciso uma lanterna de papel arroz, no tamanho desejado (ela usou uma de 60 cm de diâmetro), fita adesiva transparente, papel manteiga ou papel pergaminho, e um bocal com fio para a lâmpada. Quanto mais tiras você colocar, melhor ficará o resultado final. Por fim, encaixe o bocal na estrutura da lanterna e corra pra sua sala de visitas pra ver como vai ficar. A da Ashley ficou ótima, e se ela conseguiu, a gente também consegue.