
Одноклассники. ...love Maegan: Pretty Side French Braid low Updo Hair Tutorial - StumbleUpon. I wore a more relaxed version of this hair style in an outfit post in June of 2009 but for reasons unbeknownst to me, I never did a tutorial for it.
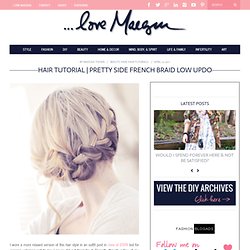
Recently though, a few of my lovely readers have asked for it …so here it is. Enjoy! If you can’t see the video go to: Pretty Side French Braid Updo * * * it would be so pretty with flowers pinned in * * * * . . . wearing the braid out . . . . . . and a few days ago, I wore it more casually, with straight hair . . . My bro took these last four the other day …the ones above these four, I took …from the reflection in the mirror, which didn’t turn out as fantastic, for obvious reasons.
Have Fun! Find all my Hair Tutorials Here. Hair Tutorial: braided 'do. I know I said I would post this hair tutorial yesterday, but obviously I'm a no good liar because today is not yesterday, it's today.

This hairstyle is basically the same thing as milkmaid braids, only modified to up the volume and lessen the big part in the back. Pigtails or regular milkmaid braids make me look like I'm balding, as I have a wicked scar in the back of my head. I would recommend doing this in a mirror and checking the back to make sure it's all neat and tidy as you go, because I did not and it's a little (or a lot) messy in the back. I redid it before heading out and it looked much better, so make sure you use a mirror! For full instructions, keep reading after the jump. What you need: dry shampoo or volumizing product (like the Sachajuan volume powder I often use) bobby pins brush If your hair needs added texture, you can use a dry shampoo. You should now have what is known as the Snookie. Divide the lower section into two parts and braid. The Beauty Department: Your daily dose of pretty. - PIN IT UP, GIRL. Our email box is literally flooded with requests for updos so here’s a fun one to get us all going!
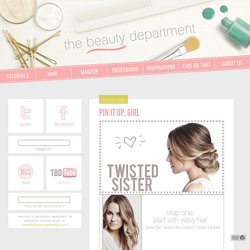
This is always a favorite for attending an event. This updo looks gorgeous on any hair color but particularly amazing with hilighted hair because it gives the hair lots of depth and dimension. For lack of a better word, I love the way it becomes “swirly”. Best thing is; it’s easy to do, gorgeous and keeps your hair out of your way for the night. I made this a printable tutorial, so all of the steps are next to the photos.
Tools you’ll need: curling iron (to prep the hair with waves), sectioning clips, teasing comb or brush, clear elastic rubber band, bobby pins, light to medium holding hairspray (to mist over at the end). Tags: bride, bridesmaid, date, hair, hair style, hair tutorial, how to, kristin ess, kristin ess hair, lauren conrad, prom, sister, special occasion hair, the beauty department, thebeautydepartment.com, tutorial, twisted, updo, wedding, wedding hairstyles Related posts: How To Use A Sock To Get Beautiful Curly Hair Without Heat. If you are a mom on the go with long hair you HAVE TO try this.

It will knock your socks off and have you wrapping your hair up in them! This is all about how to make your hair beautiful with no heat and no time. Curl your hair in your sleep with a sock. Yup, you heard me right. Have you heard of this sock bun? I was on Pinterest a while back and spotted this post about the sock bun which links you to her video on YouTube. Why? Because: It literally takes a minute to doNO heat at all – just a soft little sock in your hairNo product (for me anyway)You can sleep in it very comfortablyIt works Marvelously and is simple beautiful This is the sock bun before and after of my hair. Here are the step by step instructions on how to make this work.
First steal a sock from your husband’s dress sock collection (that is what I did anyway). Now roll the sock into a ring.