
Use Up Your Scraps And Turn 'Em Into An Adorable, Handy Bookmark!! Use Up Your Scraps And Turn 'Em Into An Adorable, Handy Bookmark!!
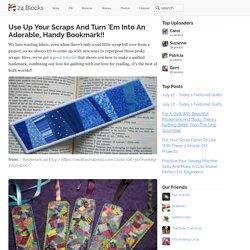
We hate wasting fabric, even when there's only a sad little scrap left over from a project, so we always try to come up with new ways to repurpose those pesky scraps. Here, we've got a great tutorial that shows you how to make a quilted bookmark, combining our love for quilting with our love for reading...it's the best of both worlds!! Scrappy Armrest Pincushion Tutorial. Ever since I first visited Karen Griska’s inspirational Selvage Blog, this project has been brewing in the back of my mind.
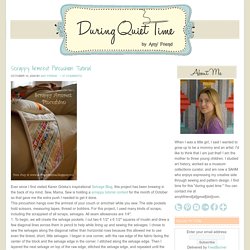
Sew, Mama, Sew is holding a scrappy tutorial contest for the month of October so that gave me the extra push I needed to get it done. This pincushion hangs over the armrest of your couch or armchair while you sew. The side pockets hold scissors, measuring tapes, thread or bobbins. For this project, I used many kinds of scraps, including the scrappiest of all scraps, selvages. All seam allowances are 1/4″. 1. 2. 3. 4. 5. Quilted Chevron Pin Cushion. Hi!
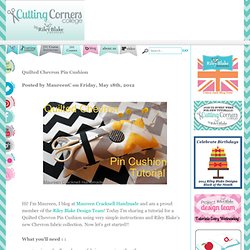
I'm Maureen, I blog at Maureen Cracknell Handmade and am a proud member of the Riley Blake Design Team! Today I'm sharing a tutorial for a Quilted Chevron Pin Cushion using very simple instructions and Riley Blake's new Chevron fabric collection. Patchwork Needlebook. On the first Friday of each month, I get together with a group of wonderful sewing friends for a night of sewing, laughter, and fun.

This month, I didn’t have a project in progress so grabbed a few supplies as I headed out the door. I have been wanting to make a needlebook ever since I saw the beautiful Needlebook tutorial by Amy from Nana Company. It was fun to combine some pretty scraps into the patchwork backing. I appliquéd a heart onto the front of the cover, and added some perle cotton stitching in a pretty shade of pale pink. Thread Catcher Bag. DIY Sewing Kit Gift in a Jar. Christmas!
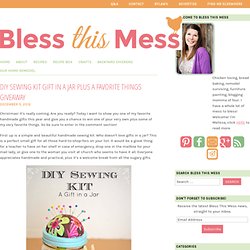
It’s really coming. Are you ready? Today I want to show you one of my favorite handmade gifts this year and give you a chance to win one of your very own plus some of my very favorite things. So be sure to enter in the comment section! Heart Pincushion » Notions - The Connecting Threads Quilt Blog. I was thinking… what can be made for Valentine’s Day that’s fun, but not too much work.
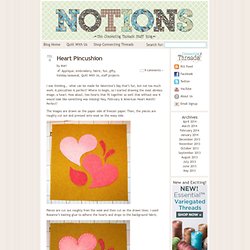
A pincushion is perfect! Where to begin, so I started drawing the most obvious image, a heart. How about, two hearts that fit together so well that without one it would look like something was missing? Hey, February is American Heart Month! Perfect! The images are drawn on the paper side of freezer paper. Pieces are cut out roughly from the wool and then cut on the drawn lines. The pieces are blanket stitched to the background in my favorite color, pink! The front and back is blanket stitched together, however, an opening is left for stuffing the pincushion with crushed walnut shells. A cotton bag is made for the inside of the pincushion to hold the crushed walnut shells.
I tucked the cotton bag inside the wool pincushion with the opening facing up so I could fill it while it is inside the wool. I sat it inside a bowl while it was being filled. Here it is, all done and ready for pins! 7 Patterns for Quilted Accessories. Are you a quilter?

Who says that those skills have to be limited to quilts? All types of accessories can benefit from a bit of pretty fabric and a touch of quilting. Here are 7 quilted accessory patterns for your stitching pleasure! Have fun sewing any (or all) of these projects for yourself and your loved ones. Each will make a truly memorable handmade gift. Photo via Sue Michaels. Armrest Pincushion With Pockets - Sewing Savvy Newsletter - November 22, 2013 - Vol. 10 No. 16. Sew this handy organizer/pincushion for your sewing friends, and they will never have to worry about losing their sewing supplies or stray pins and needles again.
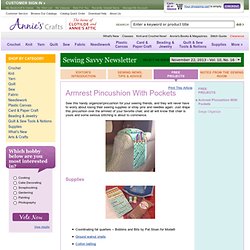
Just drape this pincushion over the armrest of your favorite chair, and all will know that chair is yours and some serious stitching is about to commence. Supplies Instructions To create the pockets*: Cut two 6 1/2-inch squares from each of the main and backing fabrics, and the cotton batting. Cut two 2 x 6 1/2-inch strips to use as binding. *To achieve the diagonal patterning seen in this project, cut main fabric pockets on a 45-degree angle using the lines on your cutting ruler and board as guides. Layer the main fabric, the backing fabric and the batting together to form a quilt sandwich. Quilt the fabrics together as desired. To create the pincushion: Cut three 3 x 7 1/2-inch strips; two from one print, one from a second print. Fill with walnut shells using one half of the bag.
To create the base for pockets and pincushion: Handmade Gifts to Stitch Up for Fellow Quilters and Sewists.