
Sharon b's In a minute ago ... Online Crafting Classes.
Shrinking Snowflake Necklace. I made these for party favors for my daughter’s birthday, but I’ve been wearing one of them around myself so I don’t think this is just a kids’ project. But it does involve shrinky dinks! If you haven’t worked with shrinkable plastic before, you can buy it online or at your local craft store.
Supplies: Shrinking plastic (frosted, not clear)Small, sharp scissorsSnowflake template (see link below)Mini hole punch (1/8″)Toaster ovenNecklace chain with jump ringPliers 1. Look to inspire. How to make pretty lights... Ambient light in 5 minutes flat!

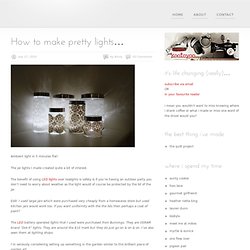
The jar lights I made created quite a bit of interest. The benefit of using LED lights over tealights is safety & if you’re having an outdoor party you don’t need to worry about weather as the light would of course be protected by the lid of the jar. Edit: I used large jars which were purchased very cheaply from a homewares store but used kitchen jars would work too. If you want uniformity with the the lids then perhaps a coat of paint? The LED battery operated lights that I used were purchased from Bunnings. I’m seriously considering setting up something in the garden similar to this brilliant piece of garden art… freshly installed& 3 months later which was inspired by Margie’s project here. Of course, you don’t really need a how to…it’s a speed demon type project. & because I wanted to try out the embed feature through Google Docs… you just need to click the little icon in the top right (open in new window) if you want to print the pdf.
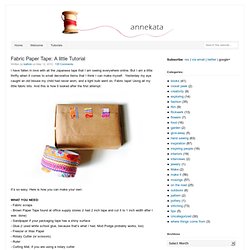
Fabric Paper Tape: A little Tutorial. I have fallen in love with all the Japanese tape that I am seeing everywhere online.

But I am a little thrifty when it comes to small decorative items that I think I can make myself. Yesterday my eye caught an old blouse my child had never worn, and a light bulb went on. Fabric tape! Using all my little fabric bits. And this is how it looked after the first attempt: It’s so easy. . - Fabric scraps - Brown Paper Tape found at office supply stores (I had 2 inch tape and cut it to 1 inch width after I was done) - Sandpaper if your packaging tape has a shiny surface - Glue (I used white school glue, because that’s what I had.
Now, let’s assume you are using a cutting mat (if you don’t have one, a kitchen table and scissors will work just fine and then the kids can do it, too).INSTRUCTIONS 1. 3. 4. Use tape for: packages (obviously) letters bookmarks stickers (just take the scissors and cut some shapes) gift tags Have fun making lots of fabric paper tape. Make fabric prints with tape. I'm still on that tape kick.

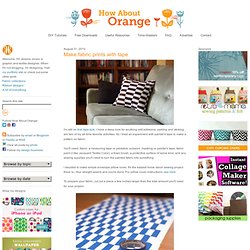
I have a deep love for anything self-adhesive; peeling and sticking are two of my all-time favorite activities. So I tried an experiment with painter's tape to make a pattern on fabric. You'll need: fabric, a measuring tape or yardstick, scissors, masking or painter's tape, fabric paint (I like Jacquard Textile Color), a foam brush, a protective surface of some kind, and any sewing supplies you'll need to turn the painted fabric into something. I decided to make simple envelope pillow cover. It's the easiest home decor sewing project there is—four straight seams and you're done. To prepare your fabric, cut out a piece a few inches larger than the total amount you'll need for your project. I've got pins and needles . . . . Pages This Blog Wednesday, 28 April 2010 i've got pins and needles . . . . i've been thinking about making this for AGES today i had literally minutes to make somethingso i gathered up my ingredientsand jumped in with both feet!

Ingredients:an orphaned russian dolla scrap of fabricsome plain pinssome fancy pinsa styrofoam egg open up your doll cover the egg with the scrap of fabricyou want to pull the fabric tight - i used stretch velourpin fabric to bottom of the eggcut of excess fabric pop the covered egg into the doll bodyi didn't use glue as it was a perfect fit load with a few pretty pinsand you're done! This was so simple buti love her! Posted by x vInTaGe VioLeT x at 22:43 Labels: 5 minute craft, matryoshka, matryoshka dolls, pin cushion dolls, pin-cushion, pincushion, pincusions, russian doll, russian dolls, tutorial, vintage russian doll.
10 Beautiful Fabric Flower Tutorials. It is spring!

If the flowers are not blooming yet here is a round-up of awesome tutorials to help you make your own flowers! Here you will find 10 beautiful fabric flowers, but don’t miss these five fabric flower tutorials! 1. How to make lovely fabric flowers 2. 3. 4. 5. 6.