
Abduzeedo Design Inspiration & Tutorials. 99 Creative Logo Designs for Inspiration. Achieving a well designed logo requires really hard work and being up to date with the latest trends in design.
It's probably the best way of establishing brand identity, making an impact on customers and ensuring that they'll remember your site and come back for a second visit. Most logos communicate ideas, for instance the kind of quality services a company can provide for its customers. Today we've gathered 99 creative logo designs for your inspiration, hope you find them useful. Take a moment and let us know which are your favorites in the comments below. How to Create a Colorful Stylized Portrait in Adobe Illustrator. This tutorial focuses on creating a vibrant, poppy portrait in Adobe Illustrator.
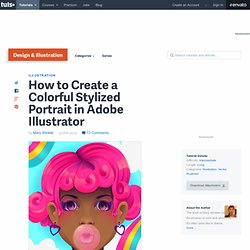
Using bright colors, transparent gradients, and a sense of whimsy, you'll be constructing facial features and candy hair in no time. Step 1 Get your sketch ready. Either fire up Photoshop or some other drawing program, or scan in some pencils. Your sketch can inform you of anything from a simple idea to your full color profile. Step 2 Using the Pen Tool (P), either trace the contour of the face you've drawn, or build it anew with a simple circle and some angled lines to create the jaw.
Technically, if you want to create a full head, that circle should be much higher up. Here's how my Layers panel currently looks, with my two shapes for the head and a solid filled Rectangle (M) as the background. Step 3 Ears, neck, hair, and simple background elements. Group like shapes together for easier layer management (Ctrl + G). Step 4 One major component of bright, colorful artwork is deciding if you're using black or not. Adobe Illustrator & Photoshop tutorial: Use gradients to make character designs pop. How to Create a Semi-Transparent, 3D Text Effect in Adobe Illustrator.
In the following steps you will learn how to create a colorful, semi-transparent, three-dimensional text effect in Adobe Illustrator.
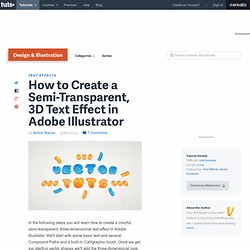
We'll start with some basic text and several Compound Paths and a built-in Calligraphic brush. Once we get our starting vector shapes we'll add the three-dimensional look using the Extrude & Bevel effect. We'll use some simple vector shape building techniques and masking tricks along with some basic effects and blending techniques to give our three-dimensional shapes a semi-transparent look. Step 1 Hit Command + N to create a New document. Step 2 Using the Type Tool (T), add the "VECTORTUTS" piece of text, set the color at R=39, G=169, B=223 and use the "Doughnut Monster" font. Step 3 Select the text and go to Type > Create Outlines (Shift + Control + O).
Step 4 Select the "V", the "C" and the "O" shapes and go to Effect > 3D > Extrude & Bevel. Step 5 Pick the Ellipse Tool (L) and single click on your artboard to open the Ellipse window. Logo design // gradients (Illustrator CS5) How to Create a Line Art Based Symmetrical Portrait in Adobe Illustrator. In today's tutorial I'm going to show you how to create a line art based symmetrical portrait in Adobe Illustrator.
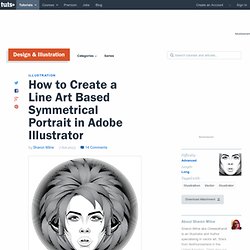
I'll be using various ways of creating line art as well as some handy tips along the way to create your own mirrored graphic. So let's begin! Step 1 I've started a New document and File > Placed a stock image onto the canvas. I got this stock image via an Envato Bundle last year and thought it would be great for this project. Step 2 I'll only be drawing the right side of the stock image as I'll be mirroring what I've drawn later on. Then using the Width Tool (Shift + W), I've reduced the weight of the stroke around the inner corner of the eye and then increased it along the top line and lower eyelid. Step 3 Use the Pen Tool (P) to draw the eyelid and then in the Stroke panel, apply the Profile, Width Profile 1 to the stroke. I've added additional strokes with Profiles for along the waterline and the corner of the eye. Illustrator mesh tool. Top 5 Illustrator Tutorials on Vectortuts+ in February 2013 « Adobe Illustrator blog.
Welcome to the first of a monthly series showcasing our favorite Adobe Illustrator tutorials available on Vectortuts+.
Vectortuts+ is a blog of tutorials, articles, freebies and more on all things vector! We publish tutorials on techniques and effects to make awesome vector graphics in Adobe Illustrator. My name is Sharon Milne and I’m the Editor of Vectortuts+ and it is my pleasure to share with the Adobe Illustrator community five of our most interesting and popular tutorials published during February 2013. How to Create a Set of Rubber Band Corner Banner Treatments In this tutorial, Chris Carey will show you how to use the Pen Tool (P) and Appearance panel to create a set of rubber band corner banner treatments using Adobe Illustrator. You can check out more of his work over on deviantART, as well as following him on Twitter. How to Create a Set of Toggle Buttons in Adobe Illustrator. In the following tutorial you will learn how to create a set of toggle buttons in Adobe Illustrator.
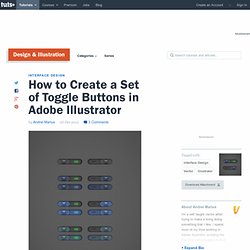
We'll be using basic shapes and the Pathfinder panel to create this UI essential for anyones tool kit. Further more, you won't need the Pen Tool, so it's easy to follow along for beginners! The best way to learn creative and technical skills.