
DOUBLE-BREASTED WAISTCOAT Featured: Vest by Moloh A beauty in this double-breasted shawl-collared waistcoat from Moloh. You will need: 1 yd. [0.9 m] of fashion fabric, 54″ [150 cm] wide 1 yd. [0.9 m] of bemberg® satin lining, 45″ [115 cm] wide1 yd. [0.9 m] of fusible interfacing, 24″ [60 cm] widecoordinating thread18 half-ball shank buttons, 13mm diameter [line 20]kraft paper Bust – measure under arms over fullest part of chest. Waist – measure around narrowest part of torso at the navel. High hip – measure around pelvis approx. 4″ [10 cm] below natural waist. Back waist length – measure from nape of neck to natural waist. Armhole depth – measure drop from shoulder to armpit level. Shoulder – measure length of shoulder. Back width – measure across shoulder blades from armhole to armhole. Neck size - measure around base of neck. Dart Width Opening – 2 ¾” [7cm]. Square down from 0; square halfway across the paper. 0-1 = 5/8″ [1.5 cm]. 1-2 = armhole depth + 3/16″ [0.5 cm]; square across. 2-3 = half of bust + 2″ [5 cm]. Back Front
His & Hers Pajama Shorts Jazz up your jammie-time with these adorable sleep shorts. There's one pair for Him with a drawcord and pocket, and one pair for Her with kicky ruffles and a satin bow. We show you how to make a pattern using an existing pair of your favorite shorts. Super easy, super comfy and a super cute idea for Valentine's Day, especially in pretty pinks (remember... real guys can wear pink) and grays. We used a combination of fabrics from both Dena Designs and Robert Kaufman, courtesy of Fat Quarter Shop. We always recommend reading all the way through our project instructions once, or even two or three times, prior to jumping into the cutting and sewing. Our thanks to the fine folks at Fat Quarter Shop for providing all the fabric for our His & Hers PJ Shorts. Any Sewing Machine (we recommend the Janome 4120QDC) The main short pattern Locate a pair of pajama pants that fit you or the intended recipient of the new jammie shorts. Adapting the traced pattern to create the final cut line His Hers
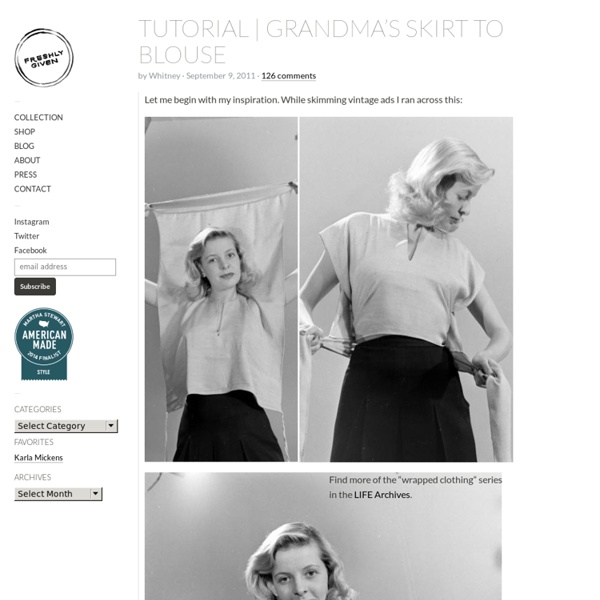
untitled This is another one of those - bubbling inside my head - patterns. I have seen many version of this skirt, in various sew and shows online and in stores too. I had always wanted to make one, but circular cuts kind of make me nervous. Finally I couldn't ignore the tiny voice in my head and thought- at the most I'll waste some fabric and an hour ( yeah its that simple...I don't know what I'm afraid of really) let me just go ahead and do it. So I did some calculations in my head, got off my butt and started cutting. Supplies: Knit fabrics in 2 coordinating colors - I'm recommending knit fabrics because they're more forgiving. Elastic for the waistband - I reused the hem of a Tshirt for the waistband in the skirt above, if you want to do the same you will need narrow ( quarter inch) elastic. Construction:Pattern:Here's the pdf pattern for sewing the skirt in 18-24 months size. First you need to measure the required length of the skirt. Join both the end points. Assembling the skirt: 1. 2.
Sew Delicious: The Peggy Skirt - Tutorial We are currently working our way through Season 4 of Mad Men: Season 4 One of my favourite things about the show is the fantastic costumes. The episode I watched the other night had Peggy wearing a striking blue dress with red pleats. I loved it. Don't know why it struck me - maybe because I tend to prefer Joan and Betty's outfits over Peggy's, although Season 4 has seen some more sophistication in Peggy's wardrobe. I had to give those pleats a go. You will need: 1/2 metre (yard) denim 40 cm (16") contrasting fabric (I used some quilting cotton - you only need a small amount) thread/sewing machine 2 buttons 1cm wide (1/2") elastic Denim is not mandatory, but I have found that a heavy duty fabric helps the pleats sit well. For the front of the skirt: 3 denim pieces and 2 contrasting fabric pieces, 11.5cm wide, 38 cm long (4.5"x15") For the back: 1 denim piece 38cm x 38cm (15" x 15") Those measurements will make a skirt that is approximately a size 3. Next, mark the centre point of your pleats. .
{DIY Tutorial} When Your Husband Ruins His Clothes, Make Them Yours! - Home - The Thirty-Something Bride Wedding Blog The last time I posted a clothing DIY tutorial, it was because The Candyman had ruined one of my favorite shirts. The Candyman, if he’s anything, is totally a guy when it comes to certain things. He never puts the dishes away in the same place twice. I came across the sweater last week, sitting in the closet, gathering dust and I took it out to give to Goodwill or something. And besides, I wanted a new sweater. So I would say that this DIY tutorial is rated, on a difficulty level of 1 to 5 with 5 being the hardest, at about a 3. Here’s what I did: Because the sweater had a center placket with buttons, I simply cut the width of the placket up the length of the sweater. So now you’ve got some raw edges to deal with. You’ll want to choose one that is weight appropriate for your sweater. You’ll want to measure two equal lengths of the ribbon, one for each side of the sweater. Fold the ribbon over to the inside of the sweater and press. Next, you need to make the sweater fit your bod.
Circular Vest One circle of fabric makes a vest that highlights both sides of a special fabric. Choose a fabric that looks good on both sides. Jack Deutsch Sloan Howard Photo: Jack Deutsch To create this vest in less than an hour, you use two measurements to draft a circle and then just cut fabric and the armholes and bind the edges. For a super-comfy version, choose a thick fabric such as fleece. Whether you make it in a lightweight fabric or in a cozy knit, this vest is the perfect addition to any wardrobe regardless of the season. Draft and sew the vestStart with your measurements to draft the vest pattern, and bind the edges with a coordinating rib knit. 1. 2. 3. 4. 5. 6. 7. 8. 9. excerpted from Threads magazine Issue #146, p. 69
Ruffle V Neck So I had this v neck that was a tad too low I picked up some fancy ribbon at Britex Pinned it like crazy, and then carefully sewed right along the existing stitch on the ribbon I think it turned out really cute, and now it’s the perfect v length. copyright 2014 liz stanley // all rights reserved The Alligator Skirt Well I can't believe that another week is here!! It is such a pleasure to be back this week for the So You Think You Can Sew Competition. Last week was a really close race. Thank you so much for your votes and your support throughout this process. Just goes to show the saying "every vote counts" is true!! Remember voting starts Wednesday January 18th, at 8:00am EST and ends January 19th at 8:00 pm EST. One vote per computer, phone, or ipad. This is the last round before the finals. Welcome to Week 3: "Apparel" Inspiration comes in lots of shapes and sizes. I have had this 1 yard of beautiful green fabric in my sewing supplies for almost 6 months now. Apparently when I got home my mind recalled that story and my fabric was transformed into an alligator style skirt. I am putting out my alligator vibe... kind of a tough girl look. Step 1: Start with 1 yard of semi stretchy fabric. Step 2: Find a skirt that fits well and closely resembles the over all shape you want to achieve. Step 34: Cut strip.
Chemise homme recylée, Patron couture gratuit Fournitures Matériel Aiguille Fil à coudre Epingles Consommables Tissu extensible Vieille chemise Dentelle Comment faire ? Découpons les manches et le haut de la chemise. Cousons-les ensemble sur l'envers. Retournons la chemise et reboutonnons-la. Cousons de la dentelle sur le tissu extensible. Le tuto original (en allemand) est disponbile ici.