
Image Placeholder APIs In a previous article I discovered fake images please which allowed you to put image placeholders on your webpage by using an image placeholder API. I had a number of comments about this post from other people sending links to other image placeholder APIs. Here is a list of some more APIs. PlaceKitten A quick and simple service for getting pictures of kittens for use as placeholders in your designs or code. To display this image just use the following URL Placekitten Placedog If your more of a dog person then you can use the API placedog, it works the same way just pass in the parameters to the image and it will display an image of dogs for your application. Placedog Bacon Mockup A simple way to use pictures of tasty meat as placeholders in your design. Bacon Mockup Lorempixel Lorempixel Placehold.it Placehold.it Fake Images Please? Fake Images Please Dummy Image Dummy Image Place Ape Place Ape Place Skulls Place Skull Placebear Placebear hhhhold hhhhold PixelHoldr PixelHoldr
Front End Development Guidelines Accessibility What's Up, DOCTYPE? The absence of a DOCTYPE is a crime punishable by death. You may have relied on the following DOCTYPE in the past, but it's important to know that this is now being superseded by a leaner and meaner snippet. Ideally, the HTML5 DOCTYPE should be used. Write Valid Semantic Markup Writing websites with clean, semantic HTML is something we wish we could always do. Headings should be heirarchically created from <h2>onwards, paragraphs should always be in <p> tags and so on and so forth. Which do you think looks cleaner, this? <span class="sectionHeading">A Heading</span><br /><br /> Lorem ipsum dolor sit amet. ... Or this? <h2>A Heading</h2><p> Lorem ipsum dolor sit amet. ... Fallbacks for Middle Mouse Clicks One of the most frustrating accessibility and usability flaws of the modern web stems from the remapping of hyperlink click functions. A modern example of a popular website that is contributing to this problem is the Twitter web app. Use Microformats
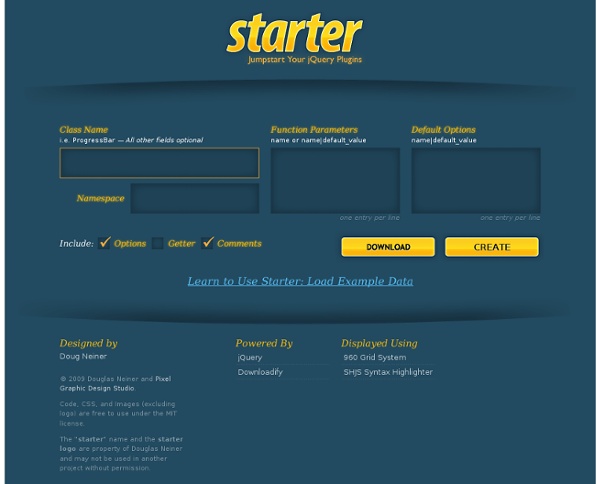
The Ultimate Guide to Writing jQuery Plugins I have written a few articles about jQuery Plugin Development in the past which readers seem to have been interested in, but I have since then written many more plugins and have thus picked up a few more tips and tricks. I have therefore decided to put together this more comprehensive guide on jQuery Plugin Development. I also want to note the importance of knowing how to develop jQuery plugins well as I find myself building many little custom plugins for my sites making it much easier to maintain not to mention reuse in other projects. I have a nice jQuery Plugin Development Boilerplate on GitHub which I use as a starting point for all my plugins, I keep it updated with all the latest little tips and tricks I pick up along the way. Keep All Your Code in a ClosureThis is more of a general guideline for JavaScript development all together, but I still do see plugins and code out there that break this rule.
Online JavaScript beautifier 128b Script Junkie | jWorldmaps: The Anatomy of a jQuery Mapping Plugin Ever want to know how to write a jQuery plugin? For some of you, the answer may be yes, because learning anything new and cool is what drives you. For others, the answer may well be no, because learning in the abstract isn’t as important as solving the particular problem you’re facing today. In this article, I’m aiming to satisfy both groups by showing you how I solved a particular problem with my website code by creating a jQuery plugin of my own. Background One common desire for website creators/owners is a tool or tools that will help them measure the reach of their sites. What’s the Problem? Implementing Worldmaps isn’t terribly difficult, nor is showing the map of visitor locations. Well, in my case, I wasn’t satisfied to just use the standard 160 pixel wide thumbnail map. How I Was Doing It Right now, you may be thinking, “well that’s easy too, just use a little jQuery, or even just hand-write the JavaScript” and you’d be right…that’s exactly where I started. Why a Plugin?
spy-js: tracing, profiling, debugging javascript Google Powered Site Search with jQuery Martin Angelov By far one of the most requested features by Tutorialzine’s readers, is building a site-wide search. One way to do it, is to build it yourself from the ground up. Another way is to use the services of the one search engine that already knows everything about everyone. Important update (October 2014): Google has canceled the API that this search engine uses, so this script will no longer work. The HTML Lets start with the HTML markup. search.html <! In the body section, we have the main container element – the #page div. Inside the form is the text input box, after which comes the radio group for searching on the current site / the web, and the four search type icons, organized as an unordered list. Google Powered Site Search The CSS The CSS styles reside in styles.css. styles.css – Part 1 As mentioned above, the form’s functions are not limited to only submitting data, but also to act as a regular container element. styles.css – Part 2 styles.css – Part 3 The jQuery Conclusion
The Definitive Guide google/traceur-compiler How to create Calendar using jQuery and CSS3 [Tutorial] Topic: jQuery & CSS3Difficulty: IntermediateEstimated Completion Time: 30 mins In this tutorial we will code the jQuery and CSS3 Calendar that you can find in Futurico UI Pro. To do it we will use CSS for all the styling and for “functionality” we will use jQuery and jQuery UI. From jQuery UI we will only use the “Datepicker” script. Step 1 – HTML Markup To create the calendar we only need to add a div tag with an id. Then before the body closing tag we need to add the jQuery and the jQuery UI script. We also need to call the “datepicker”, so you need to use the same id that you’ve used on the div. Step 2 – Container Let’s start by removing all the margins, paddings, borders, etc. Then we will style the calendar container. Step 3 – Header To style the header of the calendar (month and year) we will change the text colors, add a border bottom and some more basic styles. To add the green circle we will use the :before pseudo selector. Step 4 – Prev & Next Month Step 5 – Calendar Styles Conclusion