
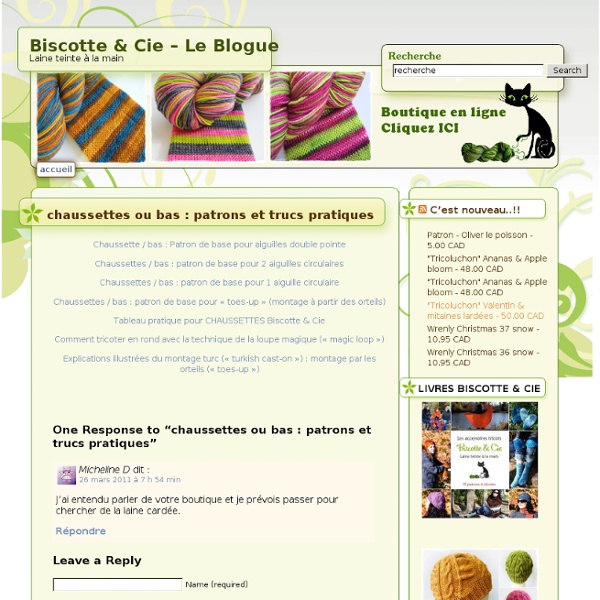
Mon sac pour la rentrée : tricoté en rangs raccourcis et points d'astrakan Contrairement à l'an passé, pas de couture pour la rentrée de Jérémy ... "Je préfère les trucs des magasins, si tu m'en fais, ça fait trop p'tit garçon à sa maman !!!" ... "bon bah, ok, message reçu (snif ...)" (et pas de rentrée avec Jérémy, j'étais en déplacement et suis revenue hier soir, resnif ...) Pour me consoler, j'ai décidé de ME faire UN sac pour MOI ! Regardez comme je me suis gâtée et après je vous explique tout : J'aime beaucoup les sacs avec les anses rondes rigides comme celles-là et en voulais un en tricot ... au début, je voulais faire simplement des rectangles mais ça ne s'ajuste pas très bien au niveau de ces fameuses anses ... Bref, voici les EXPLICATIONS (tuto) : - Avec des aiguilles n°8 (j'ai utilisé environ 300 g de laine car le point d'astrakan en consomme beaucoup), j'ai monté 38 mailles, tricoté 2 rangs de point mousse puis, j'ai tricoté en rang raccourcis sur 12 mailles : C'est quoi les rangs raccourcis ? Au 4ème rang, on tricote les 38 mailles. A bientôt
making a french sennit tutorial Cut eight pieces of cord 12 ft long and one 6 ft long. “Middle” the 12ft length. This gives us 16 strands at 72”. The single 6 ft strand will make the 17th. strand. (You want to treat the ends of the cord to keep them from fraying out while working. If using Nylon burn the loose ends. Secure the strands to a fixed object then separate the cords with a group of ten on one side and seven on the other. Be careful to keep the seven and ten groups separated or you will have to undo several plaits to figure out where you went wrong. (If you’re in the Military, active or reserve, be sure the lanyard is large enough to put on and take off without disturbing your cover! When you get to the desired length of the neckpiece of the lanyard, bring the two ends of the plaited lanyard together. Using one of the loose strands wrap the two ends together. If you don't want to make a large Turks head with several bights, use a slightly larger cord and chase it around four of five times. NOTE!
Garter Tab Cast On I use the garter tab cast on for most of my top down shawl designs like Daybreak, Herbivore, Akimbo, Pogona, and the 2011 Mystery Shawl: Earth & Sky. The stitch counts in the photo tutorial below represent the exact same instructions for the beginnings of Transatlantic, Pogona, and Earth & Sky. You can use the same tutorial for my other shawl designs, but the cast on number or garter stitch rectangle length may be slightly different. 1. 2. 3. 4. 5. 6. This photo shows those 9 stitches spread out a bit more. You are now ready to begin the first rows of the shawl. Be Sociable, Share!
DIY: How To Make Tiny Pom Poms With A Fork! Tiny pom pom's. What more could you ask for in life? This week we thought we would show you how to make these adorable little balls of happiness with just a fork and some wool. Cute, basic and ready to be glued onto everything; now that is my kind of tutorial! Itching to get started? 1) you will need some wool and a prong-y fork. 2) wrap the wool around the outer two prongs until it gets really fat. 3) once you are ready, cut the end of the wool and using a new small piece or a little thread, bunch the wool together and tie really tightly so it is secure. 4) take your wool off the fork and cut all the loops. 5) trim all the extra long straggly bits so it is big, round and beautiful.. *Ta*Da* Cute and simple and ready for anything! We like to use these little bad boys to flourish gifts for our nearest and dearist. Enjoy...
steeks 2: reinforcing and cutting In this post I’m going to show you my preferred method for reinforcing a steek before cutting. My favourite method is the crocheted steek. Other methods are available, and I’m definitely not saying that this one is the “best” or the most “valid” or anything — it is simply the method that I like, and that I happen to use. Here’s a close-up of the swatch, which uses the Peerie Flooers motif. On the swatch above, you can see the steek stitches worked in stripes, sitting in the middle of the picture. Before you begin, weave in all your loose yarn ends to the back of the work. Here are the steek stitches again. Here are charts that show the steek in the same colour pattern as the swatch, with the stitches numbered underneath, 1 through 5. I like to use a crochet hook a size or two smaller than the needle I used for knitting (here I’m using a 3mm crochet hook on a 3.25mm swatch). Now, make a slip-knot and place it on your hook. Pull a loop through (2 loops on hook) . . . thus. WHOOT! Like this:
Icelandic kintting: steek with me ! (1) On coupe les mailles! (1) Most lopi sweater instructions will ask you, before joining in the round, to cast on 1 or 2 extra stitches that will always be purled: those are the steeked stitch(es) that will be cut to open the cardigan. Later, they will ask you to machine sew a seam on each side of the purled st(s) using small, straight stitch, and then to cut between the seams. La plupart des instructions pour les pulls islandais lopi vous demanderont, avant de joindre en rond, de monter 1 ou 2 mailles en plus qui seront toujours tricotées à l'envers: ce sont les mailles qui seront coupées pour ouvrir le cardigan. Plus tard, on vous demandera, à la machine à coudre, de faire une couture à petits points droits et serrés de chaque côté de cette ou ces maille(s) envers, puis de couper entre les coutures. This is what it looks like with one steeked stitch. Voici ce à quoi ça ressemble avec juste 1 m à couper. Seams can be doubled but it's not absolutely necessary. On the right side.
Steeking Tutorials | Harpa The brown sweater is now a cardigan. I had of course been planning this from the beginning, hence the two purled stitches running up the front. Sure enough, I have some finishing to do, and the recipient has not decided if she wants a hood or not – but the steeking is done. I usually secure the steek with a sewing machine: I like to sew twice on each side – that is four seams in all. Not very exact as you can see, but that doesn’t really matter. What matters is that at least one seam on each side is very close (but NOT sewn into) the knit stitches.Use small stitches and go slowly. Cut slowly and carefully in between the two sets of stitches (right up the middle). And we have a cardigan! There are many other (and better) steeking tutorials out there. Hélène Magnússon Steek With Me 1 Hélène Magnússon Steek With Me 2 The Knitting Harpy – Steeking Steeking – Sewn Reinforcement Crocheted Steek Tutorial Hand Sewn Steek Crocheted Steek Steeking is easy and fun – not scary at all, once you try it.
Sliding loop : an easy way to begin granny square! The double sliding loop is my favorite way to begin a granny square. I find this method fabulous as I can make the beginning ring the size I want. I worked it with a double ring as I find it more safe and easier to weave in end the tails. And here is a tutorial just to share with you my way to work : 1. 2. 3. 4. 6.And pull it through the loop on the hook 8. 9.Then pull the second tail to close the ring 10. Hope you find this helpful Happy crocheting Bien à vous Stefanina
Lace | Knitca™ Cast on a multiple of 12 stitches. Add 2 more selvage stitches if you want to make a nice-looking edge. Row 1 (right side) : *purl 1 st, yarn over, SSK, knit 8 sts, purl 1 st*, repeat from * to * as necessary. Row 2 and every wrong side row : work stitches as they present themselves (all yarn overs should be purled). Row 3 (right side) : *purl 1 st, yarn over, knit 1 st, SSK, knit 7 sts, purl 1 st*, repeat from * to * as necessary. Row 5 (right side) : *purl 1 st, yarn over, knit 2 sts, SSK, knit 6 sts, purl 1 st*, repeat from * to * as necessary. Repeat rows 1-36 as necessary for completing your project. You can also work according to the chart below. Note: the chart depicts stitches in right side rows from right to left (that is, your first stitch in right side row will be the first stitch on the right of the chart) and stitches in wrong side row from left to right (that is, your first stitch in wrong side row will be the first stitch on the left of the chart).
Twist Collective Knit Two Together (k2tog) This is a right-leaning decrease. It looks the same on the right side as p2tog . It mirrors with left-leaning decreases such as ssk , ssk variation , k2tog tbl , and sl1, k1, psso . Insert the right needle into two stitches at once. Wrap yarn. Knit. Decrease How Tos: Read the full article, Decoding Decreases Download a handy pdf with Decoding Decreases and instructions for all of the decreases. Sandi Rosner is a knitter who wears many hats: designer, technical editor, writer and teacher.