
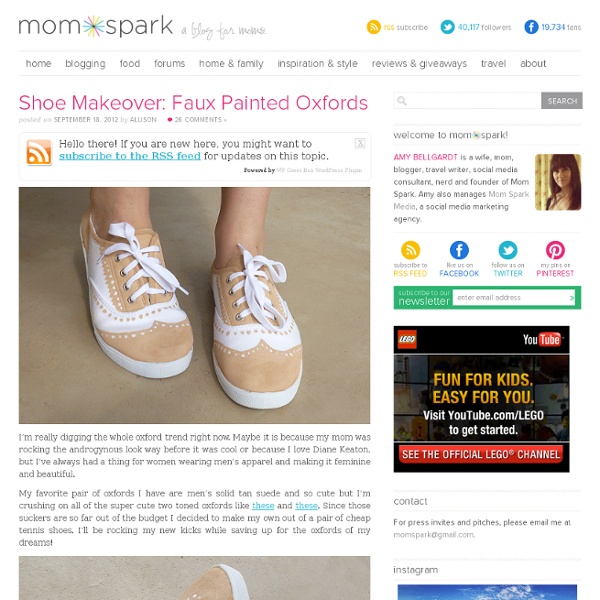
Starting an Etsy Shop? Here are 8 Articles You Must Read First Gypsy earrings – handmade chandelier earrings – Gypsy, Yellow Article by: Jenny Hoople Lots of people have been asking me lately what they should know about setting up a shop on Etsy. Here I’ve gathered together the articles that have been golden nuggets of advice for me in a sea of information. Know at the beginning that making amazing products is only half the battle, the other half of your time will be making sure that the right people are aware of them. I’ve found that the marketing part of owning an indie craft business is just as fun and creative as the making part. The first set of articles that you want to bookmark and begin your reading adventure with is the Etsy Seller’s Handbook. Happy crafting friends, and good luck to you! Find more Helpful Articles:Social Media MarketingFacebook TipsProduct PhotographyEtsy Success TipsSmall Business TipsBlogging TipsCraft Show Tips 3,505,221 new items were listed on Etsy in December 2013 Alone Is your Etsy shop drowning in a sea of sellers?
Toilet Paper Roll Wall Art Well that’s a mouthful! So the time has come, it’s Pinterest Challenge time again! Every season Sherry from YHL and Katie from Bower Power throw a little link party to get people to stop pinning things and actually start making. This was the image I saw that sparked me to start saving my toilet paper rolls. I literally have been saving my rolls for. ever. Here’s what my toilet paper wall art turned into! Ok let’s get down to the nitty gritty. Next, I cut them up. Then, I took 4 pieces and glued them together using a hot glue gun. I continued doing this until I had about 40. Then I took the mirror I was going to use (10″ mirror purchased at Joann’s for $8) and placed it on the floor and started adding all the circles around keeping in mind that I wanted to keep it in a circle. At this point when I looked at it I felt it resembled a snowflake so I had to figure out how to completely round it out. Once everything was attached I used command strips on the back of the mirror and hung it up!
DIY Chan Luu Bracelet My goal this holiday season was to really try my best to make some homemade gifts. So far I’m doing pretty well with my wreath, some burlap covered candles, some personalized coasters and this past weekend I gave a try at some jewelry. You may have noticed how wrap bracelets are everywhere lately. I love love the look of these bracelets. I did the top bracelet by simply following this tutorial. 1. 2.Bring your needle up under the right cord through the center and pull the thread through. 3. 4. You will just continue to do this for every bead. I love my followers so come and join!! Like this: Like Loading... Related Leather Wrap Bracelet The other day I was in Michael's craft store grabbing some material for a small project I'm working on when I walked by the jewelry isle. With 2 comments Another {DIY} Bracelet I don't know what has gotten into me but I'm on a major bracelet kit. With 6 comments Summer Wrap-Up The summer has officially ended, at least for me!
How to cut glass I posted a picture about 1 week ago on Instagram, Facebook and Twitter of me cutting glass using just string. I got LOT’S of requests for a tutorial on how I DID THIS! So here it is. FINALLY! You will be able to learn how to cut glass. I want to warn you. It’s best to triple your yarn because it will burn longer! Soak it GOOD! I like to tie my yarn where I want my glass to “cut” then quickly pour polish remover over the string again. Get a big bowl with ice and water ready. VERY IMPORTANT! Slowly turn your bottle. You can’t let the flame go OUT then dunk it in the ice water. YAY!!! I reallly hope you enjoyed this tutorial because I had ALOT of requests for it! © Copyright jaderbombllc, All rights Reserved.
20 Awesome Do It Yourself Projects Thursday, June 14, 2012 4:30 am, Posted by Chris Groves | Internet 20 Awesome Do It Yourself Projects Topics: At Home Project Ideas , Creative DIY Home Projects , Do It Yourself Projects for 2012 , Fun How To Projects , What to Do with Extra Stuff Are you bored and have a bunch of extra little items hanging around here and there? Well we were in the same boat so we decided to round up 20 different awesome at home projects you can do. You honestly don’t know some of the creative things you can do with what could possible be junk. If you know of any great at home Do It Yourself Projects please leave a comment to include your own and maybe we will add it to our list. And for the upcoming holiday season we want to give all you do-it-yourselfers a head start with these incredible Christmas DIY for 2012 1. More info: here | Buy: here 2. More info: here 3. 4. 5. 6. 7. 8. 9. 10. 11. 12. 13. 14. 15. 16. 17. 18. 19. 20. Incoming search terms:
DIY Elbow Patch While perusing Pinterest one evening, I came across an intriguing tutorial on the wonderful art of needle felting. I had to learn more – especially after realizing it entailed repeatedly stabbing a needle up and down into a piece of fabric or sweater. A satisfying stress reliever that results in something wearable? You’ll need: With the sweater on, place a piece of tape about half an inch below the elbow. Align and center the bottom of the cookie cutter along the top of the tape. Fill the cutter, spreading out the wool fibers evenly. At the base of all felting needles are tiny, sharp burrs, which grab and interlock the wool fibers. Continue stabbing away until the surface is flat and even. Remove the cutter and use the tip of the needle to reign in any stray fibers, if necessary. Patch up any bare or uneven spots by adding more wool roving where needed. Carefully peel the sweater away from the foam. To smooth and set the patch, spritz with water and press with an iron on the wool setting.
DIY Macrame Bracelet Growing up by the beach in Southern California, the ability to knot a macrame bracelet was practically a right of passage. Although those days are long behind us, we’ve never forgotten the ever-so-simple square knot technique. This time, however, we’re replacing hemp and wooden beads for more updated elements like colorful nylon cord and glossy metal charms. Happy knotting! You’ll need: Start by cutting the knotting cord into two 30 inch, two 20 inch and one 10 inch lengths. Center the 30 inch cord under the two middle strands. Pull tightly and slide the knot up to the top. Finish the 2nd half of the square knot by folding the left cord over the middle strands and under the right cord. Pull tightly and repeat the steps – left, right, left, right . . . To finish the knots, thread one of the cords onto a needle and sew up the center of 3-4 knots along the backside. Repeat the same step on the other cord. After sewing up both knotting cords, trim away any excess.
The Forge: {she made it} jersey weave sweatshirt did you all have a good weekend? we pretty much got snowed in so during nap time I thought i'd scratch this little diy off my to-do list... This was the inspiration for this diy. i've had it pinned on pinterest for an eternity. so when I came across $3 sweatshirts at wal-mart the other day i felt like it was just meant to be. i resisted grabbing more than two (i am so bad when it comes to good deals) brought them home and gave them both a good wash and dry. the other one is white and i already have something in mind for it... like it? would love it if you pinned it :) For more fashion DIY posts simply click HERE.