How to Make Crepe Paper Flowers
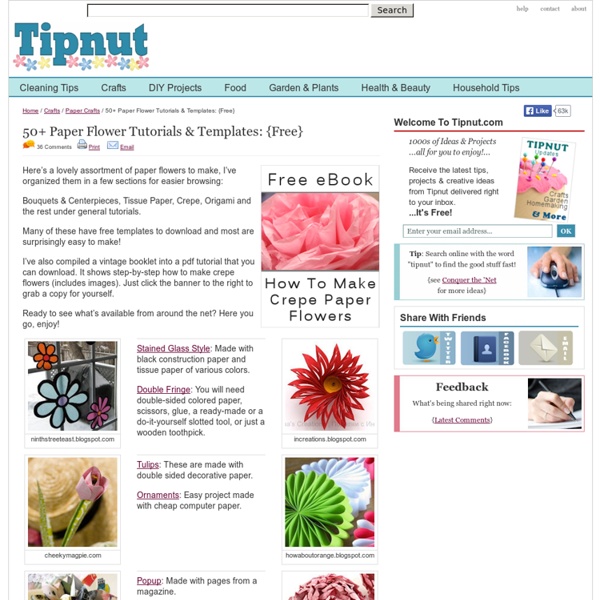
April 28th, 2010 Email 278 users recommend paper flowers from thecrimsonpoppy.com photos by Rex Barrett for the crimson poppy, (c)2010 the crimson poppy, llc paper flower - red rose - by the crimson poppy Photo: photos by Rex Barrett for the crimson poppy, (c)2010 the crimson poppy, llc You've heard it all before: crepe and tissue paper flowers are fun, easy, economical, environmentally friendly, long-lasting, more or less non-allergenic, and a dozen other fabulous features I take for granted and have failed to mention here. If you're like me, you found online tutorials that had confusing text instructions or a video you followed super-carefully when cutting and gluing and twisting and folding ... and when it was all said and done, you had a globby, lop-sided, not-so-great-looking paper flower that wasn't realistic in the least. The wonderful truth is that crepe paper flowers don't have to turn out that way. When you make paper flowers, here's what you should know:
Grilled Corn and Tomato Fettuccine
Last summer I fell in love with a million things. Nude nail polish, avocado toast, baked beans on top of eggs and super long walks with lots of gossip to name just a few. Oh and cold beer. A little late on that train, but…. better late than never. By far, the cream of the crop was grilled corn. Anywaaaaay. Grilled corn is the bees knees. It became a thing. An addiction. Sooo… I also grilled the tomatoes, which was in a word… awesome. Grilled Corn and Tomato Fettuccine serves 2-4 1 pound whole wheat fettucine 4 large ears of corn 3 vine tomatoes, cut in half 1 green pepper, seeded and sliced 2 garlic cloves, minced 1/4 cup + 3-4 tablespoons olive oil 1/4 cup parmesan cheese salt and pepper Preheat the grill on the highest setting. Boil water and prepare pasta according to directions. Once corn is finished, unwrap and let cool for a few minutes. Summer rocks my world.
Planter umbrella stand
Strong wind is no friend to most patio umbrellas, but it would take a hurricane to budge this setup. The umbrella rises from a sleeve centered in a flowerpot that's filled with three layers of material: a bottom layer of lava rock to hold the sleeve in place, a center layer of concrete for extra rigidity, and a top layer of planting mix. When there's no need for shade, just lift out the umbrella -- the plants should mask the sleeve. Choose any large pot and umbrella that match your garden decor and coordinate with each other. The container should be broad-based for stability and at least 15 inches tall (ours is 24 inches) and 20 inches in diameter so there's room for the three layers. Use 1½-inch ABS (a black plastic vent) pipe from a home improvement store for the sleeve; make sure the umbrella pole will slip inside it easily. The cost will vary depending on the umbrella, pot, and plants you choose, but it shouldn't exceed $200. Tools Materials How to build your umbrella stand
Monkey Bread
Growing up in my household, there were a few recipes that my dad would make with us kids on a regular basis. Monkey Bread was always a Sunday morning favorite. It really helps to have some extra hands around when it comes to all the cutting and coating in sugar that is required. I think this recipe is the single reason why you could always find a 4 pack of Pillsbury biscuits in the fridge growing up. I made this when Hubby’s siblings were in town and we all enjoyed the sugary sweetness just as much as I remember from my childhood. Since this was the first time I’ve made Monkey Bread without the help of my Dad, I did overcook the syrup a bit. Preheat oven to 350. Mix the sugar coating in a ziplock bag (feel free to add more cinnamon and/or sugar if you run out during the coating process). Bring syrup ingredients to a boil. Turn over onto plate and serve while hot. Leave a Comment
DIY Projects, Room Designs, Home Ideas & Do It Yourself Tips for Hands-On People | Fresh Home Ideas
How to Make Marshmallow Fondant
This time I decided to make it with those mini fruit flavored marshmallows. I had to sort them by colour first. I figured they would add a little bit of flavor to the fondant so I wouldn't have to add much flavoring oil. I use gel colours to dye my fondant but regular food colouring will work too. I also had lemon oil and coconut flavoring on hand.. oh la la the value brand (which still works fine). Step One: Take a couple of handfuls of marshmallows and put them in a microwave safe bowl. I like to make smaller batches because its easier to add the colour to the melted marshmallow than it is to work the colour into the fondant later. Step Two: Stick the marshmallows in the microwave for ten seconds at a time until the are puffed up and easily stir into a goo with a wooden spoon. Step Three: Add food colouring to the melted marshmallows until you get the colour you want. Step Four: Start folding icing sugar into the marshmallow goo until it becomes a soft and fluffy dough. Finished fondant! 1.
ReadyMade
Cool Copper Projects Warm metallic hues are easy to love but often pricey. When you create the look... Easy Doily Bowl Craft a decorative bowl from a doily picked up from a flea market, antique... Camper Birdhouse Encourage birds to stay awhile with an adorable vintage birdhouse.
It's All About The Food
The Ramseys Finally Have Coasters
We finally have coasters! Whoo hoo! As I mentioned in the Linky Love post last Saturday, we have been needing some drinking coasters for a while now. I have been perusing the internet for a DIY coaster tutorial that was easy with a beautiful result. Fortunately enough, I already had almost all of the supplies on hand! Le Supplies (No, I don't speak French.) First, trace the tile onto your paper and cut it out. It was my intention to pick one theme or the other (yellow or the blues and purples), but I loved them both so I chose to do four in the yellow and four in the blue/purple/flower theme. Next, take your Mod Podge and podge up that tile. Let the tiles dry for 15-20 minutes, then apply another coat on top. Isn't our baby beautiful? The next step is to make felt circles for the bottom of your coasters. Glue them on! The final step is to spray your coasters with the clear acrylic (or polyurethane) spray. Here is the yellow set. And here is the other set. And that's all!