
Testing a POP3 server via telnet or OpenSSL « The Sarth Repository. Sometimes you can’t be bothered to install and setup a command-line mail client and/or VPN, but you still need to access a POP 3 server from a remote machine.
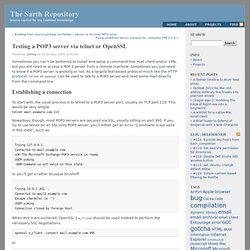
Sometimes you just need to know if a POP3 server is working or not. As a largely text-based protocol much like the HTTP protocol, telnet or openssl can be used to talk to a POP3 server and read some mail directly from the command line. Establishing a connection To start with, the usual process is to telnet to a POP3 server port, usually on TCP port 110. This would be very simple:telnet mail.example.com 110 Nowadays, though, most POP3 servers are secured via SSL, usually sitting on port 995.
Trying 127.0.0.1... Or you’ll get a rather brusque brushoff Trying 10.0.1.202... When this is encountered, OpenSSL’s s_client should be used instead to perform the necessary SSL negotiations. openssl s_client -connect mail.example.com:995 or openssl s_client -crlf -connect mail.example.com:110 -starttls pop3 Authentication Server interactions Conclusion. Dovecot IMAP, POP Server, LDA, And Sieve Configuration Version 2.
This page explains installation and configuration of dovecot 2 as shipped with Ubuntu 12.04LTS.
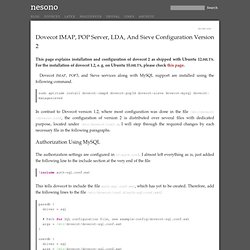
For the installation of dovecot 1.2, e. g. on Ubuntu 10.04LTS, please check this page. Dovecot IMAP, POP3, and Sieve services along with MySQL support are installed using the following command. sudo aptitude install dovecot-imapd dovecot-pop3d dovecot-sieve dovecot-mysql dovecot-managesieved In contrast to Dovecot version 1.2, where most configuration was done in the file /etc/dovecot/dovecot.conf, the configuration of version 2 is distributed over several files with dedicated purpose, located under /etc/dovecot/conf.d.
I will step through the required changes by each necessary file in the following paragraphs. Authorization using MySQL The authorization settings are configured in 10-auth.conf. ! This tells dovecot to include the file auth-sql.conf.ext, which has yet to be created. Now make sure to have the following settings within the file /etc/dovecot/dovecot-sql.conf.ext: Set the First Valid UID Fine. [How-To] Exim + Dovecot + Sieve + Roundcube + ManageSieve. Testing SMTP AUTH connections. When setting up a mail server, one of the things you should do before you "go live" is to test it- not only to make sure things which should work, do work, but to make sure things which shouldn't work, don't.
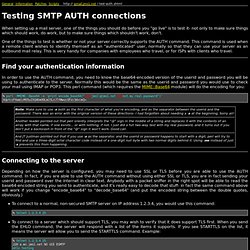
One of the things to test is whether or not your server correctly supports the AUTH command. This command is used when a remote client wishes to identify themself as an "authenticated" user, normally so that they can use your server as an outbound mail relay. This is very handy for companies with employees who travel, or for ISPs with clients who travel. Find your authentication information In order to use the AUTH command, you need to know the base64-encoded version of the userid and password you will be using to authenticate to the server. . % perl -MMIME::Base64 -e 'print encode_base64("\000jms1\@jms1.net\000not.my.real.password")' AGptczFAam1zMS5uZXQAbm90Lm15LnJlYWwucGFzc3dvcmQ= Connecting to the server Make sure the server supports AUTH Sending the AUTH command Sending the message.