Recette de la Porcelaine Froide : La Pâte Fimo maison - Tutofimo.com
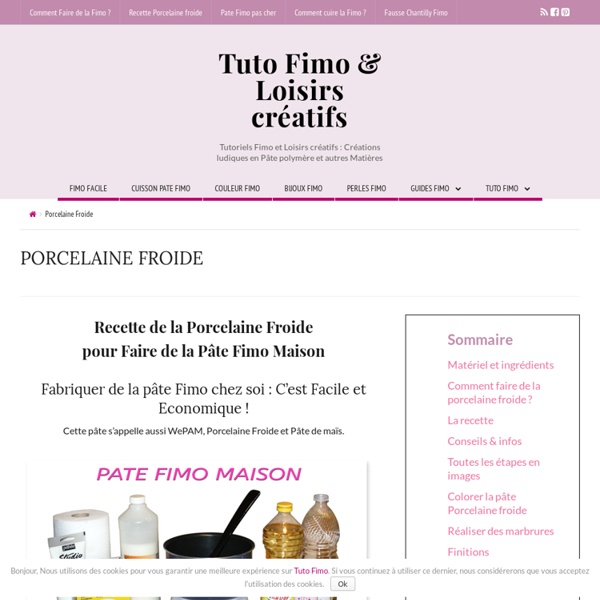
La porcelaine froide durcit en séchant à l’air libre, elle ne nécessite pas de cuisson supplémentaire après avoir réalisé des objets, perles et figurines. Soyez patient, le séchage peut durer de plusieurs jours à 3 semaines. Plus vous attendrez plus les objets seront durs et résistants. Avec cette recette j’ai réalisé 700gr de Pâte Porcelaine, ce qui aurait coûté plus de 23€ à l’achat s’il s’agissait de pâte Fimo. PRATIQUE : Toutes les étapes détaillées en images Conseils & infos L’huile végétale sert à donner de la souplesse à la pâte, le vinaigre permet de la conserver jusqu’à 2 à 3 mois. La peinture blanche est importante pour que la pâte ne soit pas translucide après séchage. La pâte de Porcelaine Froide a presque la même consistance que la pâte Fimo SOFT quand elle a été malaxée. Bien que la porcelaine froide ne remplace pas la pâte Fimo, elle est tout de même très agréable à travailler.
Feuilles squelettisées - Artisanat pour tous
Feuilles appropriées Les feuilles à la texture résistante se prêtent mieux à cette opération. Le magnolia est utilisé le plus couramment mais le laurier, le camélia, le chêne, l'érable, le tilleul, le houx et le poirier méritent aussi un essai. Les feuilles de houx et de quelques autres arbres à feuillage persistant forment, une fois tombées, un épais tapis sous les arbres; celles dont la couleur est la plus pâle se squelettiseront rapidement. Méthode naturelle La plupart des feuilles à la texture résistante peuvent être squelettisées. Fournitures Quelques feuillesUn seau de 4,5 litres de contenanceEau froide (de pluie de préférence)Pinces à long becServietteAiguille à repriserBuvardFil de fer de fleuriste (pour le montage) Technique Mettez les feuilles dans le seau le plus rapidement possible après la cueillette. Méthode rapide Cette méthode ne convient qu'aux feuilles résistantes et dures comme celles de magnolia, de fuchsia, d'érable et de houx. Bractées et graminées Squelettes naturels
Créer une cabane pour chat recyclée
Après le recyclage de télé pour chat, la cabane en papier journal et la corbeille en sac plastique… Matériel nécessaire : beaucoup de pages de magazinesde la colle vinyliquedes pinces à lingedu carton ondulé…et pas mal de patience Difficulté : Temps : Coût :
Mix things up!
Yeehaaa… yum yum… it’s Cowboy Cookies. Or, in this case, Cowgirl Cookies. A friend introduced these to me and I love them. Especially the name. Cowboy Cookies. Cowboy Cookies. But why stop there. They’re smooth Ball jars made especially for crafts. But which one should I give her? Oh and note to self: Use a ruler when attaching labels next time. Luckily, the first test batch I made, worked. So, here’s the recipe: Cowgirl Cookies 1 1/3 cup all purpose flour, spooned into measuring cup & leveled1 teaspoon baking powder1 teaspoon baking soda1/4 teaspoon salt1 cup cooking oats3/4 cup m&ms3/4 cup semi-sweet chocolate chips1/2 cup brown sugar, packed1/2 cup white sugar1/3 – 1/2 cup chopped pecans Stir all the dry ingredients in a large mixing bowl. Add 1 slightly beaten egg1/2 cup butter (melted slightly in the microwave)1 teaspoon vanilla Mix wet ingredients into dry ingredients. Here’s how they came out. Pretty and tasty. Want to make some cute cookie mix gifts, too? See. Enjoy!
ipad cover tutorial
We recently bought a new iPad 2 for work and I was floored at the prices of covers…..I just couldn’t bring myself to spend that much. My husband’s friend Walker jokes that his composition notebook is his “low-tech iPad” because it is exactly the same size…..so it gave me an idea. I would make a cover for our new iPad out of one of the old composition notebooks I had sitting around. Turns out it was pretty easy using the box my iPad came in, some hair elastics and a notebook with the pages removed. Here is how I made an easy, inexpensive iPad cover: Photo 1 & 2: I took a razor blade and cut out the pages…..this composition book was on its last leg so they basically fell out.Photo 3 & 4: I removed the plastic insert from the box that the iPad came in and marked the height of the notebook for reference on the side. Photo 13, 14, 15 & 16: I took 2 black elastic hair bands and sewed each onto one corner at two points using needle and thread. An iPad cover for $2.99. Comments comments
Pallet Planter | Kelly Moore Blog
I’ve been perusing Pinterest(follow me on pinterest) lately for ways to display my plants as well as creative uses for old pallet’s. I saw someone secure mason jar’s to an old piece of wood and use it as a planter, and this gave me the idea of doing the same thing with an old pallet and terra-cotta pots, which I love! I was thinking about making a window planter to go under my kitchen window, but I think this is even better! It was really easy, and very inexpensive. What you’ll need: old pallet hose clamps(I found these at Lowes. There are small slits in the hose clamp already, so this was the easiest place to screw it to the pallet Comments comments written by Kelly (all posts by Kelly)
Related:
Related: