ExamTime - Changing the way you learn
Thinglink for Education
Equip your classrooms with immersive learning through ThingLink. The platform is easy for teachers to adopt, works across any device, ensures accessibility for every learner, and builds the creativity and future-ready skills students need. Bring immersive learning into classrooms, libraries, and remote settings using the technology schools already have. ThingLink runs on iPads, Chromebooks, laptops, XR headsets, interactive displays, and innovation labs. Start creating without technical barriers or extra workload. Create learning experiences that support all students, regardless of background and ability. Help students learn by creating, not just consuming. Support the growth of essential digital literacy through hands-on creation of AR and VR experiences.
BlogBooker - Blog Book
ThingLink Blog | One thing leads to another!
Skapa QR-kod enkelt här! | SkapaQRkod.se
Create Classroom Posters
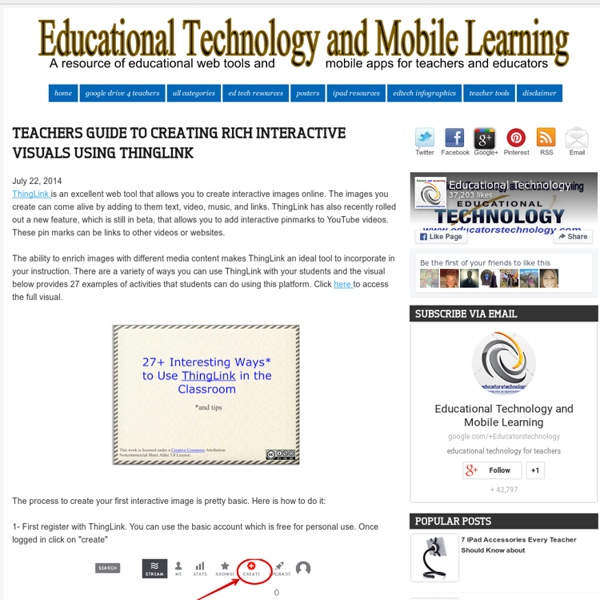
June 9, 2014 After we have learned how to create a classroom poster using Google Draw, I am introducing you today to another awesome web tool which will enable you to design gorgeous classroom visuals. This tool is called Pixteller . I have been tinkering with it for awhile and found it really worth using. This is particularly relevant for creating illustrated quotes and short posters for your class. Here is one I created for the purposes of this tutorial : Pixteller is completely free to use. There are actually two ways to creat a poster using Pixteller: The first method is to build it from scratch . Click on "create" button Set the image height Select the background you want by choosing from solid colour, Liniar Gradient, Circular Gradient, and Texture. You can also upload a photo and use it as a background. Click on "text" and type in your text. Pixteller provides a gallery of different free icons to use on your poster. Click on "finish" and type in a title for your poster.
Create A Classroom Poster Using Google Docs
I have been sharing a great deal of educational posters here in Educational Technology and Mobile Learning. I love using posters with my students and I know many of you love them too. Sometimes it seems like we can not find the exact poster we want for our class and this is when we need to use our techy skills to craft our own posters. The process is not very hard and anybody with the rudimentary tech knowledge can do it in a matter of minutes. Click on each image to see it in full view 1- Open Google Docs, click on create, then on drawing 2- Give your poster a title and enlarge the drawing canvas 3- Customize the background of your poster 3- You can use an image as a background of your poster or you can insert as many images as you want into the content of your poster as is shown in the screenshot below. 4- Insert lines, arrows, and text 5- Click on Insert menu to choose among many actions as shown in the screenshot 6- Create titles using word art 8- Sharing your poster
Online Charts Builder
Hohli Online Charts Builder Load From Image URL: Chart Data can't equal to original, but very similar to it. Only for images on chart.apis.google.com Chart Type: 3D Pie charts Lines Bar charts Pie charts For Pie Charts with labels choose 1000x300 or 800x375 size Venn diagrams Scatter plots Radar charts Chart Size: 320x240 Horizontal 1000x300 800x375 600x500 320x240 Vertical 300x1000 375x800 500x600 240x320 Square 546x546 400x400 300x300 200x200 Chart Ads: Data: Should be consists only positive numbers, use minus one (-1) for missing value, separated by coma, space or semi(,; ), e.g.: 23, 432, 456, 341 For Lines (pairs): Input data as x-axis and y-axis coordinates, e.g.: x1,y1, x2,y2, x3,y3 Title: Use a pipe character (|) to force a line break in title. Background: Chart is ready you can save it as image Right click on the chart Select "Save image as" Save the image to your computer or copy one of follow code (embedded or image link only) More Sharing Services © 2011 Charts Builder. Developed by Anton Shevchuk
Canva och årshjul
Har nu testat Canva ett par gånger och är helt såld! Har tittat på Canva tidigare men inte hunnit med att kika vidare utan den blev liggande i min "testa-sen"-mapp. Men för några veckor sen tipsade Niclas Vestlund i fbgruppen "IKT-verktyg", som jag har startat, om Canva och jag kikade på hans instruktionsvideo och kände genast att jag fick flytta upp denna på prioritetslistan =D Canva.com är grymt! Man kan göra posters, inbjudningar, facebookcovers osv, det finns färdiga mått att välja mellan, men man kan också välja egna mått på bilden. När man sedan valt kan man utgå utifrån färdigdesignade för inspiration eller skapa från noll. Det finns hur mycket gratisobjekt som helst att använda för att göra sin grafiska design riktigt proffsig. När man är klar med sitt projekt kan man ladda ner det antingen som .png eller .pdf Jag har under det senaste veckorna skapat massor av olika saker; Facebookcovers, Twitterheader, posters till vår filmfestival på skolan osv Så jag skapade denna: 1. 2. 3.
eQuizShow - Free Online Quiz Show Templates
The Edublogs User Guide | Edublogs Help and Support
User Guide The Edublogs User Guide We’ve put together a ton of help resources to make using Edublogs even easier. © 2014 Edublogs Help and Support Responsive Theme powered by Edublogs Powered by WordPress | Hosted by Edublogs | Protected by CloudFlare Skip to toolbar
How to Make Copies of Google Documents Shared With You As "View Only"
Have you ever come across a Google Document or Google Presentation on the web that you wanted to have a copy of for yourself but discovered that it was shared as "view only?" Most of the Google Documents and Presentations that I share on this blog are marked "view only." Even if the document or presentation is marked "view only" you can still create a copy for yourself. The directions below show you how (the directions apply to Documents, Presentations, and Sheets). Step 1: Step 2: Step 3:Applications for Education Sharing Google Documents and Presentations as "view only" is a good way to distribute directions for assignments or templates for completing assignments.
How to ‘Chop’ a YouTube video and embed it into PowerPoint
Posted on April 11, 2011 by davefoord Addition to this post made on 20/11/12 – if you are wanting to embed a cropped YouTube video into Moodle then visit YouTube is a wonderful source of videos that can be used very effectively within education, but quite often we only want to show a certain part of the video rather than the whole thing. Here is a screencast showing how easy this is to use. Here is an example of a Example Of TubeChop In PowerPoint. Although not shown in the screencast, TubeChop will also give you some embed code, so you can embed the chopped video into a blog, VLE or webpage. TubeChop (at the moment) doesn’t use iframes, so works well with Blackboard. Like this: Like Loading... Filed under: CPD and reflective practice, e-learning, google, How do I...?