Watercolor tutorial
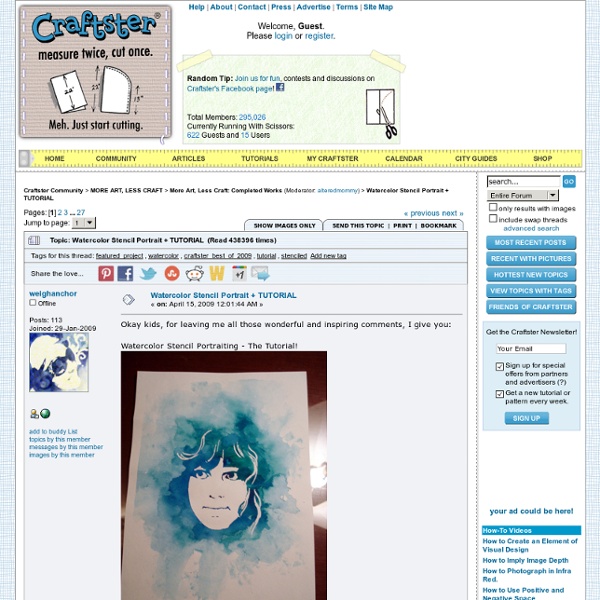
Okay kids, for leaving me all those wonderful and inspiring comments, I give you: Watercolor Stencil Portraiting - The Tutorial! Bear with me, it's almost midnight and I am exhausted, and I leave for vacation tomorrow. And I've never done a tutorial before. Hahaha. Okay. 1. 2. 2a. You should end up with something like this; 3. 4. 5. 6. 7. 8. I didn't do a very good job. 9. 10. 11. 12. Alright, I hope that was helpful to everyone! Also, IF YOU USE THIS TUTE, POST WHAT YOU MAKE!
Vintage Gift Wrapping
Every year I try to come up with unique ways to wrap the Christmas gifts. Last year I went with monograms on kraft. This year I am sticking with kraft paper (is anyone surpised?) I really should call it more shabby chic than vintage since I am using modern items too. I so love the look of the white doilies against the kraft. And an actual doily adds a special touch. I think this one might be my favourite. I used a punch for the scalloped circles and stitched them together. One of the nice things is that the gift recipient can keep and reuse some of the packaging if she is at all crafty. I have quite the stash of these items so I will be adding some gift wrapping kits to my Etsy shop in the next update. 2012 UPDATE: I no longer have gift wrap kits available, but you can see a wide selection of vintage trims doilies and book pages here Don't you agree that a big part of gift giving is how the gift is presented?
Colored Pencil Holder
Welcome Pinners! Don't miss the latest DIY's and Tutorials from Small & Friendly, please subscribe via email or in a reader! Update: Crayon version available here! For me, summer and sewing don't seem to mix. I put together a little tutorial in case you want to make one. No-Sew Colored Pencil Roll Tutorial - has been published! * where you will find this project and 44 other awesome no-sew crafts. Download Pencil roll pattern to make the whole thing more clear. Here's to simple summer crafts - no machine required! *This post contains affiliate links, when you make a purchase through this link I make a tiny comission, thanks!
Braid
Here's a brand new, extra magical hair how-to by Katie of Skunkboy. 1.Start with a dramatic side part. 2. Separate a small section of hair on the side. This will be the beginning of your braid. 3.Taking that section, separate it into two smaller sections. 4. Using a fishtail braid method, begin braiding. 5. Continue the french braid until you reach behind the ear. Then finish your braid all the way down using the regular fishtail method. 6. Thanks so much, Katie.
Related:
Related: