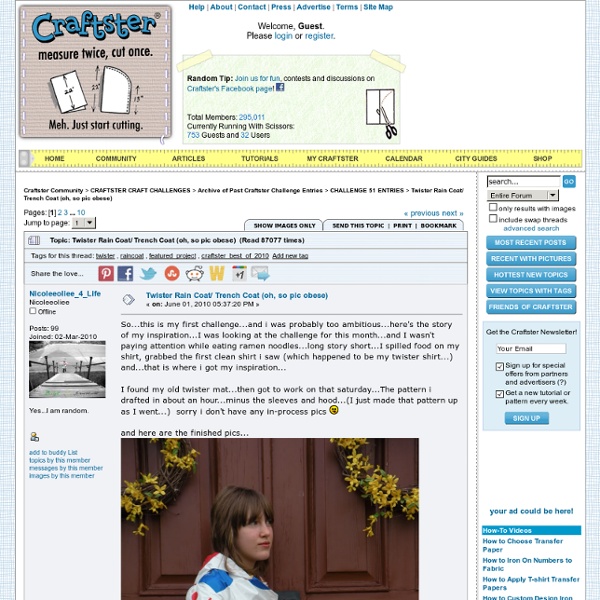
Make Your Own Damn Bras
I got sick of waiting to go to Spotlight to buy a good bra pattern, I decided to DIY! This is good if you do not have a very large bust. I'm a 12C-ish, and this tutorial shows you how to make a basic padded bra. You can easily add underwiring, which - when I get some - I will add to this tute on how to put that in as well. I am going to buy a bra pattern, and give that a test run too, the most widely reviewed one that seems to be good is Kwik Sew 3300, so hopefully I can pick that up tonight as well as some bra-making supplies. You're probably wondering why on earth I am making my own damn bras? Well not anymore! Please note:: there will be no shots of me actually wearing these bras! As you can see, they can be worn as little summer tops if you're super brave ((I dn't want to think about that, it's deadly winter here)). This is the quick n dirty version. ((sorry!)) Are you ready? * A bra you are willing to cut up that fits you well. Now you're going to cut your bra up. Pin Whoops.
Owl be Green! - Upcycled owl purse
My 13-year-old daughter is huge into owls right now, so I thought I would make her an owl purse for Christmas. Ssshhh! Being the thrifty-green sort, I found a wool tweed suit jacket that had seen better days. The moth holes on the collar and ripped up lining made it undesireable... not to mention the ginormous elbow patches and the leather braid buttons. So... old wool jacket, wool scraps, thread, and dye on hand, and those nifty leather buttons from the coat - all I needed was some lining fabric. Ugly, worn coat - wash and dry! Start cutting! And embroidering and appliqueing... Waste not, want not! Sew it all together and stitch in the lining. To anyone who plans on making one: I used a really stiff fusible interfacing on the tweed, to keep it structured. When you do the lining, Leave the bag right side out, with the lining inside out. If you can think of a better way to line it, please share. =)
Scarf Vest
One step DIY's are the best. Am I right or am I right? I recently made this scarf into a more wearable piece of clothing, by simply cutting two slits. It's all about where you cut the slits. Some of you might also recognize it from the pictures I posted from the ReadyMade Magazine Party. I used a 30x30 vintage square scarf. Supplies: - Large square scarf or fabric - Scissors - 3 minutes of your time First and only step: cut two diagonal slits on either side of the scarf's midpoint. Don't worry about making everything perfectly straight. I eyeballed this and didn't measure anything before hand, but I understand that's not everyone's style. (Click to enlarge) You don't even have to use a scarf if you don't want to. Thanks to Jenni from I Spy DIY for helping me snap these pictures! Again, don't forget to check M&J Trimming's website tomorrow, Tuesday May 17, to see the DIY's that I made with their surprise box of supplies. xo, kirsten
the library tote tutorial
Here's a fun tote bag project I thunk up (yes, thunk) the other day. Of course there are tons of ways to make a tote bag, but I thought this one was fun and gives you a lot of options no less! | The Library Tote Tutorial | Whether you like things scrappy or streamlined, this bag is ready to go when you are. Ready to make one (or a few?!) Materials: 1/2 yard exterior fabric 1/2 yard lining (if you choose to use any) 1/2 yard for straps, or cotton webbing or a handle type you prefer bias tape - handmade or store bought thread, sewing machine water soluble pen {1/2" seam allowances throughout, unless indicated differently} Cut and prepare pieces: Cut two pieces from the main pattern piece out of the exterior fabric. Cut two pocket pieces. Cut strap pieces: cut two pieces 6" tall by 24-27" long, depending on how long you want your handles to be. Cut reinforcement pieces: these are on the inside of the bag, they can add a decorative or fun touch if you'd like, cut two pieces 3" tall by 13" wide.
Going to Space, BRB | Unicorn Parade
This weekend Taylor, Sym and I DIYed some space shirts! We started with plain black organic cotton t-shirts from American Apparel, in small (for Sym), medium (for me) and large (for Taylor). Sym probably would have been better with an extra small but they didn’t have any in the store but if you buy 3 of the same style you get 15% off. Gotta save that nine dollars! First we brushed and dripped bleach on them. Next they went into a dye bath of wine red dye. After the dyeing we bleach them a second time- Taylor brushed his again while I went with a straight drip-and-splatter approach. For the next step I mixed up four batches of dye- scarlet, wine red, royal blue and a purple I cobbled together from the wine red and blue. After the final rinse we left them to dry overnight and then this morning it was time to add some stars! And the finished product!
Lingerie sock : Knitty First Fall 2011
Lace cuff With smaller needles if you have them, cast on 120 [135] stitches using the long tail method. Divide the stitches as you prefer, and join for working in the round, being careful not to twist. Picot round: [K1, yo, ssk, k1, picot stitch, k2tog, yo] to end. 64 [72] stitches Cuff round: Work Cuff Chart around. Work until all 38 rows of Cuff Chart are complete. Leg Change to 2.0 mm/US 0 needles if required. Size M only: Knit first 4 sts of round with last needle. Leg round: Work appropriate size of Leg Chart across round. Heel The short row heel is worked over 33 [37] stitches. Top of heel For size L: Heel row 1 [RS]: Work 19 sts in twisted rib pattern as established, turn. Both sizes: Heel row 1 [RS]: Work 17[33] sts in twisted rib pattern as established, turn. Size L: Proceed to Bottom of Heel Size M only: Heel row 18 [WS]: Turn. Bottom of Heel Row 1 [RS]: Knit the next stitch (the normal stitch in the first yarn-over pair). See pattern notes re: the decreases.
Viking shoes
Edited to add: Due to alle the comments regarding the title of this instruction, I've changed the name to 'iron age shoes' which might be more historycally correct. I learned to make these by using my own foot as a template. Therefore, all the measures given here are highly approximate.
New Green Mama: Reversible Messenger Bag Tutorial
Here's what you will need: Main body -2 pieces of home dec weight fabric or corduroy measuring 14" x 12" (Fabric A) Main body-2 pieces of contrasting home dec weight fabric measuring 14" x 12" (Fabric B) Flap- 1 piece of Fabric A- 12" x 11.5" Flap- 1 piece of Fabric B- 12" x 11.5" Back Pocket- 1 piece of Fabric A- 14" x 8" Back pocket- 1 piece of Fabric B- 14" x 8" Small Pocket- 1 piece of Fabric B- 7" x 12" Strap- 1 piece of Fabric A- 6" x 42" Depending on the weight of your fabric, you may want to interface it. I purchased 1 yard of each fabric and had plenty of fabric left over. Let's get started. Cut out all your pieces. Cut a 1 inch square out of the bottom corners of all 4 pieces. Interface pieces. Take your strap piece and iron each side towards the middle. Then fold in half and iron. Round the corners of the flap pieces. With right sides together sew the flap pieces together leaving the top open. Clip the curves. Turn right side out and iron. Stitch across the bottom of the pocket.