Aperture and Shutter Priority Modes
How to use Av Mode: Aperture Priority : Canon XSi | 450D Guide & FAQ | 50D Guide | Digital SLR Tutorial | Photography Guide
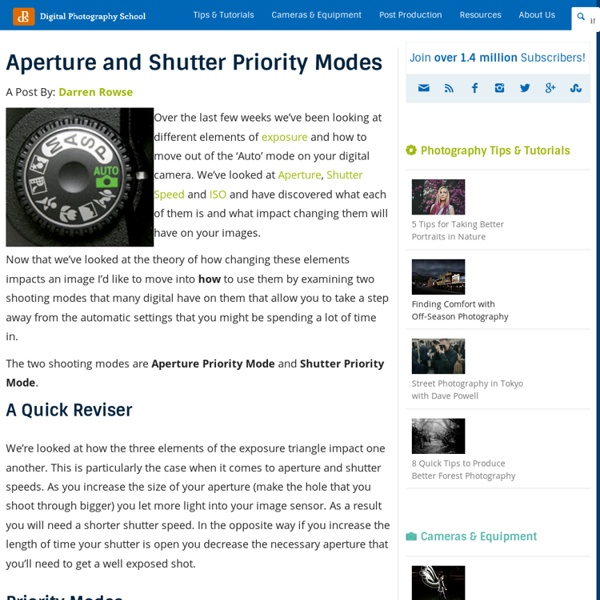
How to use Aperture Priority or “Av” mode What is lens aperture? In the most basic sense; Av mode or Aperture Priority is the mode in which the camera selects the shutter speed to acquire a user defined exposure in accordance with a user selected lens aperture. When to use Av mode: Aperture priority is an excellent all around shooting mode. I use Aperture Priority whenever I want to control the depth of field of my image, and have no concern over the shutter speed. I use aperture priority when shooting sports, I use my 70-200 2.8 Lens, set the aperture for 2.8 and then meter my subject. If my shutter speed is too low, I bump my ISO up until I achieve an appropriate shutter speed. I also use aperture priority when I am shooting landscape photos. Below we have a small image menu which will present to you the same scene taken with different aperture values. Want more understanding of aperture? F18 Narrow Aperture Wide aperture F4 The most light is let in, and we get a fast shutter speed.
Shooting in Aperture Priority Mode | Digital Photography
More and more people are upgrading from digital point and shoot cameras to the now more affordable digital SLR cameras. Many people are attracted by the option of interchangeable lenses and increased creative control of the SLR cameras but many are often confused by all the options that come with this newfound tool. Although the digital SLR can capture great images when left in the automatic mode, it is much more fun and interesting to use the camera to control the outcome of your images. I have always loved taking pictures of people and animals and I remember the first time that I captured a picture of my kids where the children were in focus and the background was soft and blurred. This image focused all the attention on my kids and not on the trees in the orchard behind them. Captured at f6.3 (notice the muted background). From the time that I viewed this image on my computer I was determined to learn how to create this affect and not rely on luck.
What are Aperture and Shutter Speed? | Lightroom Presets: Pretty Presets
A common question among new photographers is, “What are shutter speed and aperture?” A lot of people seem to get hung up on this question, thinking that it has a complicated answer, but with a little bit of study, it is really quite a simple concept: your shutter speed and aperture determine how much light enters your camera. The two are closely related, as you will see, so let’s look at aperture first. 1. Aperture is the amount of light that is allowed into the camera through an opening in the lens, and is measured in f-stops. As you can see in this diagram of common f-stops, f/1.4 has a very wide opening, whereas f/11 is much smaller. You’re probably thinking, “Why would I want less light to enter my lens, why not just shoot at the widest aperture possible, at all times?” In the example above, look at the progression between f/1.8 and f/3.5. The shutter speed also affects how much light is let into the camera, so let’s now look at shutter speed. 2. 3.
Free Facebook Timeline Cover Templates and Tutorial for Photoshop
You are here: Blog Home » Activities » Free Facebook Timeline Cover Templates and Tutorial for Photoshop With all of the Facebook changes recently, it’s hard to keep up and it can cause major headaches for photographers. Facebook’s most recent change is the “Timeline.” If you do not have it yet, you will soon. Use our new FREE Facebook Timeline Cover Templates and you will never struggle with what to place at the top. We’ve created seven unique, fully-customizable Photoshop Timeline Cover Templates. They are easy to use. Visit our website or Facebook Page to download the FREE Facebook Timeline Cover Templates and start decorating your personal Facebook Page. * Our standard terms of use apply. Here are the examples of what I made with the templates. Polaroid Style Opening Frame Template Four Opening Film Timeline Cover Template Nine Opening Timeline Cover Template One Opening Plus Background Template Speech Bubble Template - Just Add Words or a Photo
Related:
Related:
