
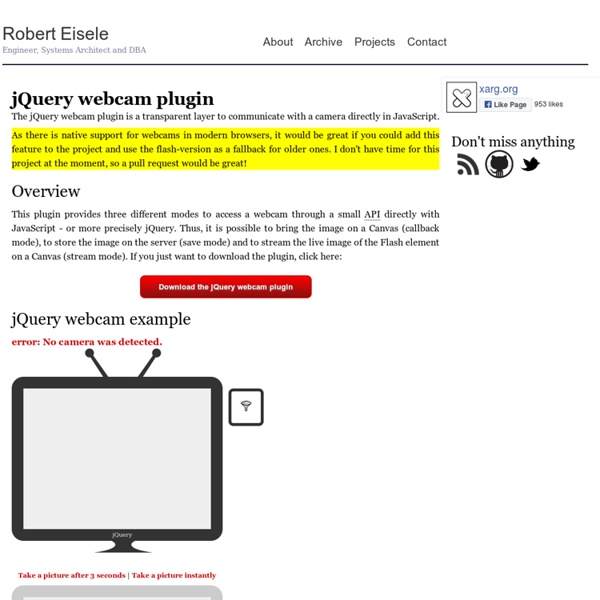
jQuery Webcam, contrôler une webcam en Javascript De nos jours, les webwares deviennent interactifs et sociaux. Il n’est pas rare que les utilisateurs soient amenés à se servir de leur webcam pour communiquer. Mais l’intégration de fonctionnalités tirant partie d’une webcam n’est pas une chose aisée. jQuery Webcam est un plugin jQuery qui permet de créer une interface transparente pour communiquer avec une caméra directement en Javascript. Le script est construit sur une couche en Flash ou HTML5, qu’il contrôle directement afin d’afficher ou manipuler les images issues de la webcam. Le plugin est capable de streamer les images, d’en faire des captures et de les stocker sur un serveur distant. L’appel est on ne peut plus simple. Bien entendu, les possibilités de personnalisations et de paramétrage sont nombreuses. Un très bon plugin qui permet d’ajouter très rapidement et sans gros développement des fonctionnalités multimédia à son site ou son webware. Téléchargez le plugin jQuery Webcam
comment installer une webcam sur un site internet Installer une webcam sur votre site Pour installer une webcam sur un site internet il vous faudra le matériel ci-dessous : - un ordinateur pentium 3 minimum - une webcam pour capturer les images - un logiciel html pour réaliser la page web qui comprendra l'image de la webcam - un hébergeur internet pour stocker les images capturés - le logiciel java d'installé, si vous ne l'avez pas cliquer içi - un logiciel spécialisé de webcam içi "easy free webcam" En admettant que vous ayez le matériel nécessaire on peut passer à la première étape : télécharger easy free webcam sur le site de l'éditeur. Une fois le téléchargement terminé, vous pouvez installer le logiciel et redémarrer ensuite l'ordinateur ! On peut commencer à configurer le logiciel, s'il n'est pas lancé aller dans > démarrer > tous les programmes > easy free webcam Pour configurer le logiciel vous devez aller dans l'onglet "ftp" et remplir les champs comme ci-dessous : après la balise <head> le code suivant : exemple
Javascript: Rafraichissement d' image. | CommentCaMarche Crée une page HTML dans laquelle tu places le codeci-dessous. Crée deux images dans le même répertoire que cette page. Nommes-les "green.gif" et "red.gif". Pour changer la source d'une image, donne un id à ta balise image: <img id="img_01" /> et utilises la fonction suivante Javascript pour la modifier: document.all("img_01").src="uneimage.gig" où "img_01" est l'id de l'image et "uneimage.gif" est le fichier contenant l'image à afficher. <html> <head> <title>Untitled</title> <script> var firstImage; var secondImage; function loadImages(){ firstImage=new Image(); firstImage.src="red.gif"; secondImage=new Image(); secondImage.src="green.gif"; } function showImages(){ document.all("img_01").src=firstImage.src; } loadImages(); </script> </head> <body> <img id="img_01" onMouseOver="javascript:this.src=secondImage.src" onMouseOut="javascript:this.src=firstImage.src"/> <script>showImages();</script> </body> </html> ;-) HackTrack
jQuery API Javascript - Manipulation des contrôles clavier | CommentCaMarche Cette astuce a pour but de vous faire découvrir la (ou du moins une) manière de contrôler les évènements clavier en javascript. Cela vous permettra de contrôler/attribuer les/des comportements particuliers à certaines touches du clavier. Techniques pré-requises Avant toute chose, les domaines suivants doivent vous être familiers: Evènements du clavier Voici la liste des évènements possible d'un clavier en javascript. onkeypress : lorsqu'une touche est activée onkeydown : lorsqu'une touche est enfoncée onkeyup : lorsqu'une touche est 'relevée' Pour de plus amples renseignements sur les évènements et leur gestion, vous pouvez consulter la rubrique javascript event Il faut bien noter la différence entre, d'une part 'onkeypress', et d'autre part 'onkeydown' et 'onkeyup' ! Attention cependant, tous les objets HTML ne comprennent pas ces fonctions de type écouteur, pour cela, renseignés vous sur le net avant de vous plonger dans votre code. L'objet 'event' Javascript Page web Fonction applyKey
POO/IHM Objectifs Développement d'Interfaces Homme-Machine (IHM). Sensibilisation à la conception d'IHM. Mise en œuvre du concept de séparation couche de présentation - couche applicative. Découverte de différentes toolkits. Plan Introduction à la notion d'IHM (1 séance) IHM en SWING (3 séances) IHM en GWT (3 séances) IHM en Flex (3 séances) 2 séances supplémentaires pour ajuster le planning en fonction de l'état d'avancement des étudiants Détail des séances Mode d'évaluation Contrôle continu (1/3 de la note globale). Vous êtes libre de développer avec IDE ou sans. Réaliser un IHM web avec Python et Bottle Il existe de nombreux frameworks de développement web en Python. Le plus connu, et à mon avis le plus efficace, reste Django mais je voudrais vous présenter Bottle, une solution très légère dont la philosophie est complètement différente de celle de Django. Idéal pour développer très rapidement par exemple une IHM web. La légèreté comme philosophie Django se veut le framework des perfectionnistes sous pression. Il est pensé comme une solution complète apportant l'ensemble des outils nécessaires pour développer rapidement un site internet. Bottle a une approche beaucoup plus minimaliste d'un framework web. Une page web = Une fonction Python Du point de vue du code, là aussi Bottle recherche la légèreté. import bottle@bottle.route("/")def index(): return "Hello world!" bottle.run() #lance le serveur web en localhost sur le port 8080 Ouvrez un navigateur sur la page et la page affiche "Hello world!". Les décorateurs pour simplifier le développement Par exemple: print toto.
Un framework Web python dans une bouteille Introduction à Bottle Bottle est un framework Web très simple à mettre en oeuvre et qui permet d'écrire des applications Web rapides avec peu de lignes de code. Il suffit de lire l'exemple fourni sur la page du projet pour s'en rendre compte. Pour illustrer son fonctionnement, nous allons créé un outil simple de diffusion d'un diaporama. Contexte de notre application On aimerait pouvoir diffuser un briefing (suite de diapositives) à un ensemble de personnes via leur navigateur Web. On aura donc un serveur disposant : d'une application/serveur Web qui pointe sur un répertoire donné et affiche la dernière image disponibled'un accès FTP sur ce même répertoire sur lequel on va placer des images de notre briefing On aura N clients qui iront sur l'URL fournie par l'application et ils disposeront d'un bouton pour interroger régulièrement le serveur sur l'image en cours à afficher. Contraintes techniques Les clients auront une interface très simple : L'environnement de développement Le script de base <!
motion Motion est un logiciel de détection vidéo et qui permet de diffuser un flux vidéo via internet par le protocole HTTP. C'est une solution simple pour diffuser le flux de sa webcam en ligne ou pour détecter des mouvements dans le champ d'une caméra par exemple. Pré-requis Disposer d'une connexion à Internet configurée et activée. Avoir une webcam qui fonctionne. Pour vérifier l'installation de votre webcam saisir dans un terminal : gstreamer-properties dans Video/Test, le test devrait afficher l'image de votre webcam. Installation Lancement automatique Par défaut, le daemon motion n'est pas activé/démarré. Si l'on veut l'activer, il faut mettre à 'Yes' la variable start_motion_daemon dans le fichier /etc/default/motion. En mode utilisateur (hors daemon), le mieux est de copier le fichier /etc/motion/motion.conf dans son propre dossier personnel. sudo cp /etc/motion/motion.conf ~/ Puis, mettre les bons droits : sudo chown $USER ~/motion.conf Configuration de base pour une webcam motion -c motion.conf
Ajax, JavaScript, CSS, HTML 5 et interfaces graphiques