MADE: TUTORIALS
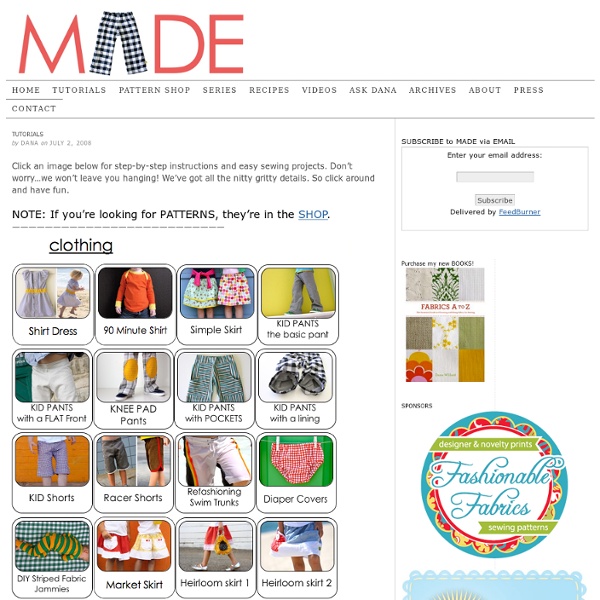
by Dana on July 2, 2008 Click an image below for step-by-step instructions and easy sewing projects. Don’t worry…we won’t leave you hanging! We’ve got all the nitty gritty details. So click around and have fun. NOTE: If you’re looking for PATTERNS, they’re in the SHOP Leave a Comment Previous post: Advertise Next post: for ME SUBSCRIBE to MADE via EMAIL Enter your email address:Delivered by FeedBurner Purchase my new BOOKS! | Copyright © 2014 MADE * All Rights Reserved | Web Hosting By RFE Hosting WordPress Admin
http://www.danamadeit.com/2008/07/tutorials.html
Wild Ginger Wild Things!
Free software to easily design and print patterns for hats, bags, footwear, and other fun stuff. Wild Things is now available on the iPad App store. FREE Wild Things Features Wild Things! is a fully functional FREE program for drafting patterns for hats, bags, wraps, footwear, and other accessories All of the patterns in Wild Things print to the dimensions you specify.
How to Make Clothing Buttons from Shrink Plastic…
This tutorial is an old one of mine that’s too good not to share again. Since posting the first time, I’ve had lots of questions about these buttons which will hopefully be answered in this revised post. Equipment Some handy notes:
Fabric Labels Tutorial
Many people have asked me how I make my labels so I have decided to make this little tutorial including pictures and any little tips that I have learned along the way. You will find that making your own labels is quite simple and much cheaper than purchasing custom labels. Pour yourself a cup of tea and enjoy. Materials needed:computer, graphics program (I used photoshop) & inkjet printerregular printer paperiron-on transfer paperutility knife, cutting mat & metal rulerribbon (I used 1/2 inch natural cotton twill tape)iron & ironing boardscissors Step 1: Design your image using your program of choice working with a resolution of 300ppi for a clear image. The height of your image should be smaller than the width of your ribbon.
DIY Faux Curled Rosewood Wreath {Made From Rolled Recycled Book Pages}
I have seen various versions of Faux Rosewood Wreaths in just about every store and catalog for the upcoming season; most with a price tag running upwards of $40 or more. Some are crafted of paper and other of real wood shavings. Last year I made a few rolled flower gift toppers from recycled book pages and they remind me so much of the curled wood roses I thought they would make a good substitute. {with a much lower price tag}
Miscellaneous
married to a bmw Free Sewing Patterns: Miscellaneous 06. December 2008 · Write a comment · Categories: Sewing Back to Free Sewing Patterns
Sewn Baby Gift Ideas and Tutorials « THE DOMESTIC DIVA’S DISASTERS™
My blog friend, Tracey, asked if I had any ideas on what to sew for a new baby. Although I have lots of ideas for great gifts, I have to keep it simple as there are not enough hours in the day to keep up with all the new babies being born around me…LOL! When I have to make quick baby gifts, I tend to do a lot of embroidery and embellishing.
Sewing
Description: This Free Capelet Pattern, from Ruffles And Stuff, is just perfect for changeable Spring days. Craft Link : Free Capelet Pattern Read More : Sewing or Home Description: Use the Pleated Wrap Skirt Tutorial to create a neat little multi-season addition to your wardrobe. Craft Link : Pleated Wrap Skirt Tutorial
modkid boutique
Asian-inspired shirt and dress sewing pattern Sizes 2T, 3T, 4T, 5T, 6 and 7 Chic and sophisticated with an Asian-flair, Kyoko will soon become a favorite in your child’s wardrobe. It features a criss-cross bodice with two sleeve length options and a very full attached stripwork skirt in two lengths. Kyoko has a loose-fitting style so there’s no need for buttons, zippers or snaps. A sweet obi-style sash pulls everything together and finishes the look.
retro mama
Make Baby Stuff
Related:
Related: