
How to Design a Man's Closet" A man's wardrobe consists, for the most part, of suits, shirts, ties, jackets, sweaters, and casual wear. You won't find the wide variety of items or lengths that are common in a woman's wardrobe. Although many feminine equivalents to a man's clothes do exist, the issue of importance is a matter of space rather than classification. A man's garments are usually longer than a woman's (except for dresses). This fact leads to a significant, though subtle, element affecting the organizing of a man's closet: Space can be used more efficiently in a man's closet. In this article, we will explore to design a man's closet for maximum storage and efficiency. To organize any closet, the first step is to establish a set of standard operational procedures, or handling instructions, for the items that will go in the closet. Remove accompanying belts from slacks. The question of what to do with seasonal clothes usually arises sometime during the organizing process. ©Publications International, Ltd.
How About Orange I had a fun mail day recently: one of my packages contained a 2013 calendar gift from Italian designer Simone Massoni. Called "Chicks and Types," Simone has illustrated a series of pin-up girls and paired each one with a featured typeface for every month of the year. A few of the ladies are a bit spicy and missing their tops, and I'm too bashful to show you those. I'm completely charmed by the illustration style, the interesting color palette, and the deliciously thick, soft paper stock. Calendars are available in Simone's Etsy shop. P.S. "It's funny how you picked Rosa as the main image for the post, since it's one of my faves. Just for people to know, every pin-up has a story. Fabrizio is named after Federico's father, who the font has been dedicated to. Now we can appreciate this page even more!
Kim's Komfy Kouch So I finally got around to getting the instructions for my DIY sofa from my boyfriend and he took a few photos to illustrate some key points. Sorry for the delay folks but I have a terrible memory and have been super busy lately. These are in his words, including the title (which I don't want to take credit for LOL). (Thanks Jeff!!) First thing is to measure the cushions you are going to use (we used the Ikea's Lillberg sofabed cushions). You want the cushions to fit tightly into the sofa. The frame is made from 2x4's, the width ones that attach to the legs are first and then 2x4 lengths lay on top around the edges. Another 2x4 is cut to fill in the gap so the 2x6’s on top sit evenly. FYI – do not screw your wheels/legs to the couch like this. Lay some 2x6’s lengthwise on top. The ledge on the back was made by raising a 2x6 so it would make a space for pillows. The sides are finished with the MDF and cut at 45 degree angle at the corners.
Household Cleaning Tips from WomansDay.com - How to Clean House A few years ago, I found out that I’ve been cleaning all wrong. I was in a hotel room, when a maid came in and sprayed a solution on every surface…and then left. Right when I thought she’d forgotten, she returned. Pro cleaners have brilliant tricks to get the job done. Change Your Strategy The biggest mistake people make is cleaning room by room (this is called “zone cleaning”). Most pros are in favor of “task cleaning”: completing one chore, such as dusting, throughout the entire house, before starting the next. The Starting Point: Upstairs bathroom “I always start there,” says Romero. The Plan of Attack: Top-to-bottom, left-to-right For each task, start at the highest point in the room (if dusting, this might mean high shelves), and move from left to right across the room. Step 1: DustDust each room, including the topsides of all the furniture, undersides of shelves, and all handrails, as well as picture frames, TV screens and knickknacks. 1. 2. 3. 4. 5. The Bleach Secret!
Steal This Look: Scandinavian Holiday Decor Ideas Older Steal This Look: Scandinavian Holiday Decor Ideas by Sarah Lonsdale Issue 50 · Holiday Gifts · December 14, 2010 Newer Issue 50 · Holiday Gifts · December 14, 2010 Share on email Why is it that the Scandis always seem to nail it when it comes to design, even holiday decorations? Above: Swedish company Ferm Living offers the felt Garland in natural-colored wool for €34. Above: An advent calendar spotted on Emmas Design Blogg features paper-wrapped gifts attached with wooden clothespins to a felt backdrop. Above: Candles in simple clay pots filled with moss via Kjerstis Lykke. Above: A white painted branch with Kraft-paper wrapped gifts makes a minimalist advent calendar, via The Style Files. Above: Simple garland fencing at Axel Vervoordt's recent Winter Exhibition; photo via Belgian Pearls. Above: Presents wrapped with Kraft paper and silver ribbon via Fabulissime. Restaurant Visit: The Tipsy Parson in New York By Allison Bloom Design Sleuth: Simple Red Reading Light By Julie Carlson
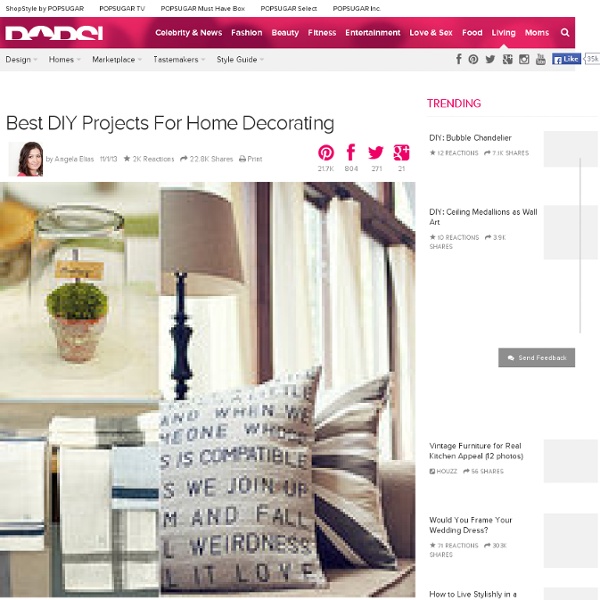
DIY Gear: Create Your Own Awesome Believe it or not, Do-It-Yourself isn’t just the realm of Bob Vila and that dude Ty on all those Discovery shows. You can, in fact, do it yourself. With a helpful bit of inspiration and an almost complete lack of instruction (exactly how we like it), you can combine found items and a bit of know-how into some seriously awesome stuff for your home – without the obscene price tag that high designers and big box stores would charge you for similar items. Like any good vacation, the planning of any project starts with the destination. Disclaimer: Real life DIY doesn’t have a standby emergency team. This Hyundai sponsored post is about snapping out of the norm and creating your own awesome. Wall Lamp Like the functional Erector set cranes you used to build as a kid, this lamp combines a few pieces of wood, some nuts and bolts and electrical hardware to create one of the cleanest wall or desk lamps that you can save roughly $250 building yourself. Pipe Shelf Calculate your desired shelf size.
50 Tools Man is "weak in himself, and of small stature," wrote 19th-century essayist Thomas Carlyle. Yet, with tools, "the granite mountain melts into light dust before him, seas are his smooth highway, winds and fire his unwearying steeds." And this from a guy who never felt a 5800-rpm circular saw scream to life in his hand. While much has changed since Carlyle's day, one thing hasn't: We need tools to build, repair and maintain the mechanical world in which we live. 1. * Few tools combine brute force and finesse as elegantly as a sledgehammer. 2. * In theory, you use a center punch to start holes in metal. 3. * The putty knife is more than a single implement. 4. * DIY projects may come and go, but you won't get a second shot at good vision--protecting your eyes should be your first priority. 5. * For portability and convenience, you can't beat the time-honored adjustable wrench, which enables you to turn a wide range of nuts and bolts with a single tool. 6. 7. 8. 9. 10. 11. 12. 13. 14. 15.
DIY: Laundry Room Drying Rack For a long time, I have really wanted one of those drying racks from Ballard Designs. You’ve seen them. They’re so perfect in the laundry room for drying your delicate clothing. I really wanted to save the money and build one myself. I knew I could do it with the right supplies. I even drew my own diagram on a napkin. Here’s a look at the final result: This is the perfect solution for drying all of my delicates! How to Build a Laundry Room Drying Rack + Supplies: 2 x 2’ precut birch (1/2 inch thick)Two 1/2 x 2” poplar boardsTwo 3/8” dowel rods (48” long)Sash lockNarrow loose pin hinges (set of two)D ring hangers for mounting on wallBracketed hinge for side (or chain with small screw eyes)Three white porcelain knobsPrimer and paint of choice Necessary tools: Drill bit set, including 3/8 inch drill bit, screwdriver, framing nails, a hammer, and a saw. Step One: Measure and cut your 1/2 inch x 2 boards to fit the 2 x 2 precut birch. Step Three: Finish assembling your rack with framing nails.
Green house 33 Meticulous Cleaning Tricks For The OCD Person Inside You Ballard Knock-off I am joining Happy to design for Sunday Favorites which is a chance to re-run your favorite post. I chose the Ballard Knock-off post because it seemed to be my readers favorite. This post received twice the comments of any others. The first two photos below are of a print in Ballard's catalog which sells for $349.00 plus $100.00 in shipping cost. I knew I could replicate the look for a lot less. First I searched the free sites for a antique style document I could download. My local copy shop was able to enlarge the print to poster size, approximately 24 x 36. I then stained just the edges of the board and burned the edges of the poster with a match. I applied Mod Podge to the board and the back of the print and then used a credit card to smooth out the wrinkles. My cost break down for Ballard style print: Digital download $ 3.75 Enlargement $12.00 Board $12.00 ______ Total cost $27.75 I had the stain and Mod Podge left from another project . Sherry
The Quaint Cottage The Decorated House