Fantastic Fun and Learning: Fun Things to Do with Kids
Confetti Sunshine: DIY herb wreath placesetting
Here is another DIY project that has been sitting in my “done” pile for quite a while. While I came up with this idea months ago, I think it’s fitting to share it now since it strikes me more as a autumn type DIY project. I think these herb wreaths would make a gorgeous Thanksgiving table arrangement, and have been thinking up all different uses for the fabulous little rings. To make your own herb wreath you will need: A bunch of fresh herb Floral tape 1: Gently tape the herb stems together.
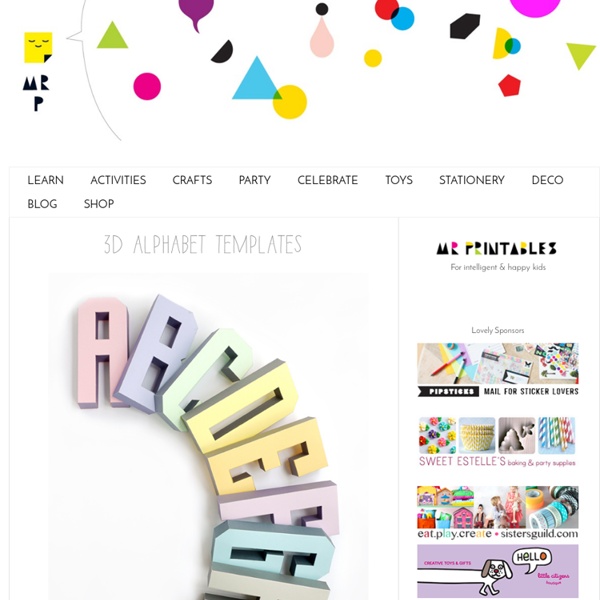
Free Printable Letters
'Please be sure to follow us on Facebook to get updates! Facebook. Thanks for visiting! Hey Friends, Happy Hump Day! More free printable letters for banners? Megan showed the tutorial on how she put together her banner here. Megan also made this one for her fireplace in her family room. Here are all the free printable letters and the extra symbols I made! *Please note that if you would like to print your letters small you can adjust the settings on your printer. Hope you enjoy! -Christen Like this: Like Loading...
Police Printable Pack ~ Free Early Learning Printables
Awhile back I shared a lapbook that we put together on policemen, but Kaleb wanted to learn about them this week, so I revamped the printables for us to work on together. I’m going to have one happy boy this week! Here’s a peek inside the new Police Printable Pack! The Police Learning Printables include two separate downloads, one geared toward younger Preschoolers and another for Kindergarten. You can download the Police Printables here. Books to Go Along Find more helpful {and free} Early Learning Printables on my website. Enjoy! Visit these great companies! Share and Enjoy
Succulents and Sunshine | Succulent Ball Topiary - Succulents and Sunshine
After seeing the beautiful succulent topiary balls at the Succulent Celebration in June I knew I wanted to try making one. I am so in love with the products by Topiary Artworks that I knew I wanted to buy from them again. I opted to go with the 4″ sphagnum moss ball, not too big, not too small. I’m glad I didn’t get a ball any bigger because it ended up taking more succulent cuttings than I thought to complete it. Like I said, I started out with the 4″ sphagnum moss ball from Topiary Artworks. Just like with the succulent wreath, I used scissors to poke holes in the ball and then inserted the cuttings. When you are making the topiary ball be sure to start at the bottom! As far as placement of colors and textures, my idea with this project was never have two of the same variety next to each other. Linked up at Savvy Southern Style. Tired of all your succulents dying? Check out my ebooks on growing and propagating succulents! For more details about both books, click here.
Free Printable Alphabet Baby!! So Fun!!
Hey there! Join us on Instagram and Pinterest to keep up with our most recent projects and sneak peeks! Hey guys! Happy Monday! I have had several questions about my letter I framed in my new bathroom shelf I shared last week. One of my favorite ways to decorate is by printing out letters and displaying them in fun ways. So… I made you guys some new free printable letters! Here is mine hanging in my bathroom… So… You know the drill. These are all 5×7 prints. Print Letter A Print Letter B Print Letter C Print Letter D Print Letter E Print Letter F Print Letter G Print Letter H Print Letter I Print Letter J Print Letter K Print Letter L Print Letter M Print Letter N Print Letter O Print Letter P Print Letter Q Print Letter R Print Letter S Print Letter T Print Letter U Print Letter V Print Letter W Print Letter X Print Letter Y Print Letter Z Hope you guys love them! And as always, I would LOVE for you share these and PIN them with your peeps below! Free Printable Alphabet Free Printable Banner
Printables from A to Z from Homeschool Creations
The printables shared on this site are FREE of charge and you are welcome to download them for your personal and/or classroom use only. However, free or purchased printables are NOT to be reproduced, hosted, sold, or stored on any other website or electronic retrieval system {such as Scribd or Google docs}. My printables are copyright protected and I appreciate your help in keeping them that way. :) If you download and use some of my printables and then blog about them, please provide a link back to my blog and let me know ~ I’d love to see how you are using them! Please be sure to link to the blog post or web page - and not directly to the file itself. Thank you!
poppy haus: The Trapeze Planter
Plants are trendy right now, I'm just saying. Inspired by the current interiors of Anthropologie, the amazing San Francisco oddity Paxton Gate and this recent tutorial from Emily Henderson, I've been trying to incorporate more houseplants as decor into our front room. The space is flooded with natural light, just perfect for green plants and my brown thumb. Today's DIY was a freebie for me; we had all the materials lying around, including these small coconut fiber pots- meant for planting directly into the ground. I got my hands on a fiddle leaf fig (background shot), and some lush ferns- in case you didn't know, these plants are the hot new (prehistoric)plants.
Free Printable – Letters & Numbers
Happy Friday! I hope you are all having a great week! Today I will be sharing a super easy project! This one can be customized for any room in your house and I have done all the hard work for you! And guess what? These are 8×10 prints that can be easily printed from home or a photo place (like Walmart, Walgreens, etc.). These are the 8×10 letters, and I will be posting everything in 5×7 as well later. Letter A Letter B Letter C Letter D Letter E Letter F Letter G Letter H Letter I Letter J Letter K Letter L Letter M Letter N Letter O Letter P Letter Q Letter R Letter S Letter T Letter U Letter V Letter W Letter X Letter Y Letter Z And here are numbers 0-9, an ampersand and a heart… Number 0 Number 1 Number 2 Number 3 Number 4 Number 5 Number 6 Number 7 Number 8 Number 9 Ampersand Heart And don’t worry… If the project I am sharing with mine intimidates you, these can also be printed and put in an 8×10 frame just like this… Let me show you how I created my son’s letters for his room! I started with 1×12 whitewood or pine board.