background preloader

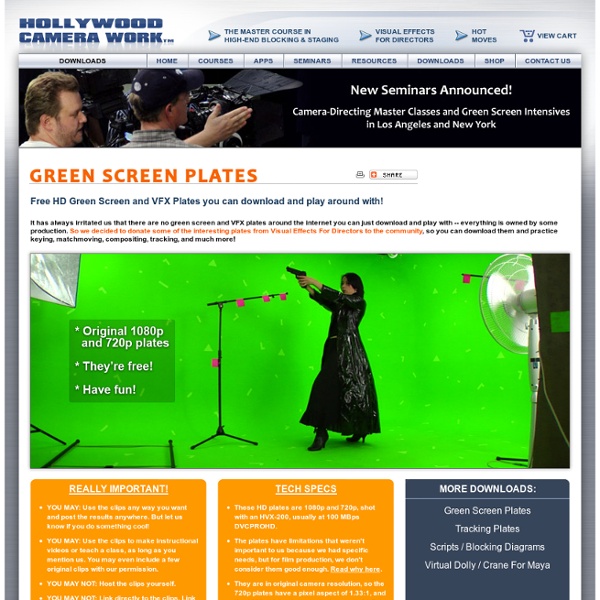
Hollywood Camera Work - Downloads - Free HD Green Screen Plates and Footage to experiment with

Hollywood Camera Work - Downloads - Free HD Green Screen Plates and Footage to experiment with

BANG!  The Anatomy of Explosions MUNITIONS - the Atomic Bomb Cont. Fission bombs use an element like uranium-235 to create a nuclear explosion, the fuel must be kept in separate subcritical masses, which will not support fission, to prevent premature detonation. The two or more subcritical masses must be brought together to form a supercritical mass at the time of detonation. To bring the subcritical masses together into a supercritical mass, two techniques are used; Gun-triggered and Implosion. The bomb known as Little Boy (left) was the first nuclear weapon used in warfare dropped on Hiroshima by the B-29 Enola Gay. The Fat Man bomb was the second nuclear weapon used in warfare and was dropped on Nagasaki in 1945. Fission bombs worked, but they weren't very efficient.

The Top Ten Tips of Texturing One way to create dirt has already been covered, and that's photo overlays. Those are great for general wear and tear on your texture. If you want small specific details, you'll need to use other techniques. Dust and dirt can be done very quickly with a solid brownish layer and a layer mask. Rust is a bit more tricky. I used to handpaint rust, but it always had a bit of a cartoony look, and I was never able to get crispy rust that looks convincing and real. That was until DennisPls shared his technique with me, which I've been using ever since. Good damage placement only requires one thing: logical thinking. That can be chipped paint, scratches, rust, etc. There is a sure chance that you'll find dust and dirt in such an area. This doesn't only work for small borders. The front of the forklift (1) is the area that will suffer the most, and will therefore have more damage than other parts.

Green screen films - Royalty free HD stock video CGArena releases 300 free animal reference images Wednesday, April 18th, 2012 | Posted by Jim Thacker Fleas to meet you: one of over 300 varied reference images of animals and birds available on CGArena. CGArena has added over 300 photographic reference images of birds and animals to its online library. The material, which is free to use, spans the usual range of dogs, cats and livestock, plus a fair range of birds and more exotic creatures. Resolutions vary from image to image, but most of the files we tried were at least 4,000 x 3,000 pixels or greater, which should be plenty large enough for most purposes. Visit the CGArena animal reference image collection Tags: animal, bird, CGArena, free, high-resolution, photographic, reference images

3D Lighting Tutorial by Amaan Akram, www.amaanakram.com Trying to simulate a real environment in an artificial one can be a daunting task. But even if you make your 3D rendering look absolutely photo-realistic, it doesn't guarantee that the image carries enough emotion to elicit a "wow" from the people viewing it. Making 3D renderings photo-realistic can be hard. Putting deep emotions in them can be even harder. However, if you plan out your lighting strategy for the mood and emotion that you want your rendering to express, you make the process easier for yourself. The overall thrust of this writing is to produce photo-realistic images by applying good lighting techniques. Each light source can be broken down in to 4 distinct components and analyzed accordingly. I consider the abovementioned terms to be self-explanatory, but I will give some description of each in the following text. I would like to give a few examples here from the world of photography. I shall now individually describe each of the 4 components of light. fig. 5.6

Rigging a Character in 3DS Max - Spotlight Multimedia Set up character in usual pose facing the front and arms stretched wide. Select all body parts and hit Alt-X, which turns it semi-transparent. Right-click and freeze it. Attach Mesh to the Biped - Physique Modifier To attach the mesh to the skeleton we apply a Physique Modifier.Unfreeze you character by right clicking and Unfreeze AllSelect all components of the character (you may need to use the Select by Name list) and apply Physique from the modifier menu

Studio Lighting Techniques Studio Lighting Techniques by Chuck McKern Most photographers are interested in portrait lighting but most seem not to understand how to do it. The techniques that we are going to discuss can be used with either hot lights or studio strobes. You can use these same concepts with flash units, however you will not be able to see the effect until after you shoot. With practice you will be able to control the harshness of the light as well as being able to de-emphasize problem areas, such as a narrow face or a round face. If you get daring enough to use a hair light cones and snoots will allow you to control the light so that it only illuminates the hair and doesn’t spill onto the shoulders and face of your subject. Background lights can be used to illuminate the background, gaining more depth or separation in your image. The reflector cards do not need another light source, as they will reflect the light that is already there.

untitled Autodesk 3D Studio 4 - sous DOS Projet vierge Menu Création Insertion d'une caméra Menu Info Menu File Menu Views Menu Program Menu Network Mode Sélection Mode Modification Mode Surface Mode Lumières Mode Cameras Moteur de rendu Options du rendu Affichage cloth, la simulation de vêtements dans 3ds max avec 3ds Max 2014 sur Tuto Dans ce tuto dédié à 3ds Max, vous allez apprendre à vous servir du modificateur Cloth pour effectuer des simulations de vêtements. Vous utiliserez les fonctions de Cloth appliquées à des géométries polygonales mais surtout du Garment Maker (fabricant de vêtement) pour réaliser des simulations réalistes de drapeau, vêtements, déchirement de vêtements ou autres objets mous... Plusieurs leçons vous permettront de maîtriser ce modificateur pour au final être capable d'appliquer à un personnage animé, une simulation de robe ou tout autres simulations de vêtements... Les fichiers de travail sont fournis. Vous pouvez suivre ce tuto sur toutes les versions de 3ds Max même si le tuto est réalisé sous la version 2014. La version de démo de 3ds Max est disponible ici : Version de démo de 3ds max. Bon tuto ! Jetez un oeil à ces autres tuto 3ds Max 2014 Pour vous faire un avis, voici un extrait de quelques secondes. FrenchSchoolofCG , formateur certifié Toutes les formations de FrenchSchoolofCG

Mari | Olivier Schmitt Version: The Foundry – Mari 2.6v1 Nous allons étudier ici les méandres de la programmation Python pour le logiciel de peinture 3D Mari: l’API Python de Mari ! The Foundry a racheté ce logiciel maison de Weta Digital en 2010 et développe depuis en permanence ses fonctionnalités, sa logique, son ergonomie, mais également son API Python depuis 2011. Pour la petite histoire, j’ai été missionné début 2013 par Illumination Mac Guff sur la grande question du développement d’outils maison Mari pour les productions en cours (Despicable Me 2 & Minions) et celles à venir. Excité à l’idée d’être le premier Mac Guffien à mettre les pieds là-dedans, j’ai très vite plutôt eu l’impression d’être le premier homme sur Terre à tenter de faire quelque chose avec cette API… Je tiens donc tout de suite a vous prévenir, si vous êtes un(e) grand(e) fan de l’API Python de Maya, vous risquez d’être un peu déçu ! Une adresse à retenir pour trouver de l’aide: www.paintmore.co.uk Introduction Package mari Divers Layers

Related: