
Nouvelle ligne outil de tricotage: taille Calculator Shaping So it's Friday. It's Spring. Don't you think we all deserve a little teensy goodie today? Yup. We do. That's why here in the Knitting Daily offices, we've spent part of this week cooking up a spring surprise for you: The Knitting Daily Online Waist Shaping Calculator! This little wonder widget takes you through the steps we've been talking about in our Waist Shaping 101 mini-course and does the math for you! A few notes on how to use the calculator: You can use either inches or centimeters in this calculator--but be sure to be consistent throughout! You can use either negative ease or positive ease. Hover your mouse over the little question marks for a definition of that item. This calculator was designed for bottom-up sweaters. Hey crocheters! If you need a reminder as to how all of this works, here are the posts in our Waist Shaping Series that walk you through each step: Waist Shaping: An Overview Waist Shaping: From Hem to Hip Waist Shaping: From Hip to Waist So: Enjoy!
système de pourcentage | Picks Knit Tutoriels Elizabeth’s Percentage System Elizabeth Zimmermann, timeless knitting guru, is the founder of a series of equations related to sweater construction. She refers to these mathematical ratios as Elizabeth’s Percentage System or EPS. The system asserts that the ratios between elements of a well-fitted sweater are proportional and can be used to create ideal garments time and again. The percentage system is based on two general sweater shapes: the yoke and the drop shoulder. All calculations are based on the number represented by the variable K. There are many wonderful things about this system. Below are Elizabeth Zimmermann books and DVDs that can be consulted for additional information and suggestions concerning EPS (Elizabeth ’s Percentage System). First let us take a look at the yoke version of the percentage system. Next, consider the drop shoulder version of the example sweater. Depending upon the type of neckline you choose, the number of stitches you need for D may vary.
How to knit seamless set-in sleeves from the top down | By Gum, By Golly How to knit seamless set-in sleeves from the top down by Tasha • October 28, 2013 • Today I have a big ol’ knitting tutorial for you! I’m going to show you a technique I sometimes use to seamlessly knit sleeves that look set-in. If you’re not a fan of seaming, then it’s an awesome technique to have in your arsenal. I actually don’t mind setting in sleeves and do that more often than not. You knit sleeves like this by picking up stitches around the finished armhole, working short rows to form the sleeve cap, and then working the sleeve on down to the cuff. It can be referred to be slightly different names—top-down set-in sleeves, faux set-in sleeves, afterthought sleeves, seamless set-in sleeves. If you’re resizing a vintage pattern and feel queasy at the thought of reshaping a sleeve capIf you want to convert set-in sleeves to seamlessIf you’re adding sleeves to a vestIf you just plain don’t feel like setting in sleeves Supplies Things to know Makes sense, right? Mark the top of the sleeve
Comment adapter un modèle tricot au fil à tricoter de son choix et à sa taille La première question à se poser, c'est : le nouveau fil est-il adapté ? Pour éviter les surprises, il vaut mieux remplacer un fil par un autre le plus semblable possible ! Evitez, par exemple, de remplacer un fil fantaisie à effet "plume" par un fil simple ! Il faut également, pour éviter trop de calculs, le choisir avec un échantillon le plus proche possible de l'original. La deuxième question, c'est : combien en-faut-il ? Imaginons, par exemple remplacer Caline par Annecy. Tricot Calculatrice de point Have you ever found a wonderful wool and then went searching for the perfect pattern only to find one you love but it used a different type of wool? Are you a hard to fit size? Do your finished products always look like they were made for someone else? Do you want to knit a garment for someone else in a different size? Do you design your own patterns but have a hard time adjusting your pattern for different sizes? The Knitting Stitch Calculator is a new feature for pattern-knit.com that will solve all of your problems. Input your stitch and row gauge. You must adjust your body measurements to reflect the desired finished measurements. For an adult sweater, the finished measurement is typically 4-5 inches larger than body measurement. The best way to get your desired fit is to use a sweater you currently have that fits perfectly and measure it. Here is a helpful chart that will give you the proportions of typical sizing. Bookmark This Page! Go To The Knitting Stitch Calculator
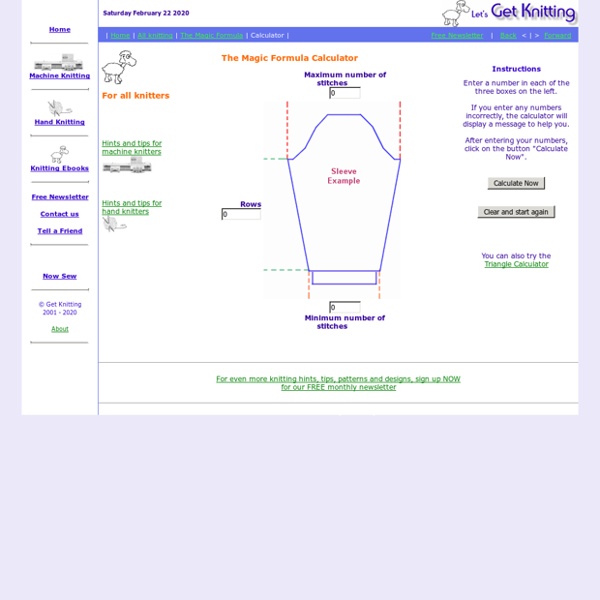
SSSP 4.5: Formula Cheat-Sheet for Set-In Sleeves October 4, 2008 by knittingharpy I know my previous post on set-in sleeves, though intended to be simple, was still a welter of lots of words and formulas and scary things. For your (and my) immediate sleeve-designing needs, here’s a cheat-sheet with just the formulas for calculating a basic set-in sleeve. For expanded detail or information about how to get measurements A – D, refer to Jenna Wilson’s Knitty article or this KnittingHarpy post or both. Shaping a Set-In Sleeve Cap Using Armscye Measurements Your Sleeve Cap Instructions Decrease H* stitches evenly on each side across X* rows, in addition to initial bind off A and final bindoffs 1/2 C and 1/2 C, to create your sleeve cap. Like this: Like Loading...
Débuter un scoubidou - 3 techniques à 2 fils - Apprendre a faire des scoubidous Enfiler des perles... Ca semble tout simple, dit comme ça: enfiler des perles ... et bien avec un mode d'emploi , insérer des perles dans son tricot c'est tout de suite très très simple: That seems quite simple, said like that: thread pearls and well with an instructions for use, insert pearls, it is very very simple at once: Il faut un crochet fin ( 1mm, 0.75mm ou 0.6mm pour des perles très fines), des perles ( oui je sais ça a l'air evident comme ça, mais on ne sait jamais!) A fine hook (1mm, 0.75mm or 0.6mm for very fine pearls), pearls is needed (yes I know that looks evident like that, but you never can tell!) Ensuite sortez la maille où vous souhaitez enfiler la perle. Attrapez le fil avec le crochet et faites descendre délicatement la perle sur le fil. Then take out the stitch where you wish to thread the pearl. Ensuite remettez la maille sur l'aiguille de gauche et tricotez la comme vous le souhaitez. Then put back the stitch on the left needle and knit as you wish it.
SSSP 4: Set-in Sleeves Made Eas(ier) ETA: Check out the worksheet I’ve put together as a quick-and-easy alternative to this text. I love set-in sleeves in a ridiculous way. I think they’re stylish and flattering. I had a terrible time with the sleeves on the SSS. My personal set-in sleeve guide is Jenna Wilson’s Knitty article. FYI: Armscye == the armhole you shape in the body of your knitted garment, and to which you attach the sleeve. The inches of your initial armpit bindoff in the sweater body, A. A, C and D: A, C and D are relatively easy to get. 1. 3. The length of that string is approximately half the perimeter of your armscye. So now you have A,B, C and D, plus your gauge. Your goal is to get a sleeve cap whose perimeter is equal to the perimeter of your armscye, or B * 2. First, we have to take care of the lengths of the perimeter already accounted for by your initial and final bind offs. So far, you know you’ve bound off A inches to start, which takes care of a certain number of inches of your perimeter. Like this: