
Galileo/it RepRap Galileo Release status: working La RepRap Galileo è una stampante 3D opensource ideata da un team italiano-Team Kent's Strapper-. E' derivata dal modello della RepRap Prusa da cui sono stati mantenuti il movimento degli assi X,Y,Z ma sono state apportate modifiche sostanziali che hanno permesso di ottenere una maggior area di stampa e un minor costo di realizzazione Il team Kent's Strapper ha aperto nella città di Firenze il primo centro italiano RepRap in cui si localizza sia il negozio sia il centro espositivo: vengono esposte Reprap Huxley,Prusa,Mendel e Rapman oltre al modello di loro realizzazione Archimede.Partendo dall'analisi delle strutture delle stampanti precedenti RepRap e derivate, sono state ricercate le condizioni per poter sviluppare un nuovo modello denominato Galileo in onore del grande sienziato Stampante 3d Galileo by Kent's Strapper Stampante 3d Galileo by Kent's Strapper Oggetti Stampati Le Premesse Dimensioni Ingrandite Struttura a risparmio Open Design Elettronica
ReplicatorG is a simple, open source 3D printing program - ReplicatorG Creating large-scale parts with Sciaky’s direct manufacturing (video) Jan.8, 2013 Established in 1939, Chicago-based Sciaky provides groundbreaking direct manufacturing (DM) solution to save manufacturers time and money on the production of large, high-value metal parts and prototypes. The Sciaky's DM solution, which is based on additive manufacturing principles, is a large-scale, fully programmable means of achieving near-net shape parts made of titanium, tantalum, inconel and other high-value metals. It can make functional prototypes and production parts up to 19' x 4' x 4' (579 x 122 x 122 cm). How does Sciaky's DM work? Starting with a 3D model from a CAD program, Sciaky's fully-articulated, moving electron beam welding gun deposits metal, layer by layer, until the part is complete and ready for finish machining. Over the past two years, Sciaky's DM solution has been used by the Department of Defense (DoD), U.S. 本站所有文章版权归3ders.org所有,未经许可不得翻译或转载。
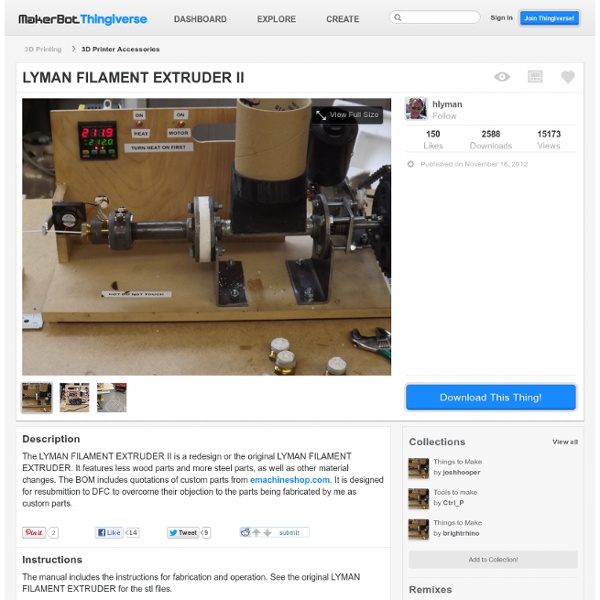
Filabot: Plastic Filament Maker by Tyler McNaney Filabot is a 3D plastic extrusion system. For example mostly any type of recyclable plastic, such as milk jugs, detergent bottles, soda bottles, shampoo bottles, product packaging, and many more, can be processed through the Filabot to make usable 3D printing filament. This will allow for users to remake filament from an old print that is bad or not needed. The Filabot will grind, melt and extrude the plastic filament. Plastic recycling and extrusion have been around since plastic was invented. The Size of Filabot and Operation: Going along with the desktop theme, The Filabot will be designed to fit on a desktop. The grinding unit of the Filabot will process plastic up to the diameter of 4in, larger pieces will have to be broken down before feed into the grinder. After grinding the plastic will be a uniform size and will be automatically feed into the hopper. The molten plastic will be extruded out of interchangeable nozzles. What will the money be used for? Plastics That Can Be Recycled:
Hydrographic for 3D printing Publié par : Thomas / 25 février 2014 Le mois dernier, Bertier Luyt (président du Fabshop) a découvert l’existence de la technologie d’impression hydrographique, un procédé de transfert de motifs sur objets en 3D utilisé largement dans l’industrie (casques, intérieurs de voitures…). Excité par cette découverte, qui peut être appliquée à tout objet en plastique, le Fabshop a décidé de tester cette technique sur des objets d’impression 3D. Voici donc notre tutoriel pour réaliser vos objets avec cette technique assez magique. Hydrographic design for 3D printing from le FabShop on Vimeo. Pour ceux qui veulent se lancer, voici plus d’informations sur le site Instructables. Design chaussure : continuumfashion.com
Second Step to Mini FabLab | Interdependent Thoughts The laser cutter is the true workhorse of any making set-up. And last week I have ordered one for our minFabLab at home. The machine is a Chinese machine provided by HPC in the UK. The mechanics are fine, but the software less so. However, the LaOS project creates open source hardware and software to run the machines, and you can buy the machine without the original control hard and software. The good people behind the LaOS project regularly travel to the UK to get ‘gutted’ laser cutters from HPC. You can find some pictures of the machine at Bart Bakker’s website on his miniFabLab, and a description of the LaOS project is also available. The machine has been ordered, and will be transported to the Netherlands early July. Next up is looking for a vinyl cutter (after the summer) and taking a closer look at what I already have and still need for a micro-electronic workbench during the summer.
in italiano - RepRap in Italian/Costruire una reprap Questa pagina non è stata verificata e potrebbe contenere informazioni non corrette Ci sono diversi modi per costruire una RepRap o una Repstrap; il metodo scelto per queste istruzioni è stato scelto per minimizzare le conoscenze e gli strumenti necessari. Per esplorare altre opzioni cliccare su: Build a RepRap-Advanced ("Costruire una RepRap - Avanzato"). Il Design Classico RepRap è "Darwin" nell'immagine a destra. Ci sono istruzioni per la costruzione completissime e accurate qui: Make Your Own RepRap ("Costruire la vostra RepRap"). La RepRap è stata attentamente studiata per utilizzare solo componenti che possono essere costruiti con una RepRap ed altri componenti economici. I Cloni RepStrap Darwin sono copie abbastanza accurate del tipo Darwin ma i componenti RepRap sono sostituiti da componenti creati in un modo diverso, magari in plastica stampata, in acrilico o compensato tagliato al laser. Una reprap o una repstrap può essere suddivisa in diversi componenti principali: sudo . Totale
Laboratoire 3Dnatives : comment optimiser votre MakerBot Replicator 2 ? Nous vous annoncions la semaine passée le lancement du laboratoire 3Dnatives composé de notre machine de référence, la MakerBot Replicator 2. Aujourd’hui, on vous dévoile tout sur les capacités réelles de cette imprimante et les possibilités d’évolution de celle-ci car OUI, bien que le modèle de MakerBot sort du contexte de l’Open Source, ce n’est pas pour autant qu’il est impossible de la faire évoluer ! Esthétiquement parlant, il n’y a pas grand-chose à redire sur la machine. La structure du châssis est solide et la finition est à la hauteur mais qu’en est-il de la conception et des composants ? Sur ce point de vue, le discours est quelque peu différent, car après avoir passé près d’un an à essayer d’en tirer le maximum, force est de constater que MakerBot aurais pu mieux faire… Les problèmes rencontrés L’extrudeur d’origine des premières Replicator 2 Pour votre information, sachez que ce kit de remplacement est disponible gratuitement ici (hors frais de port). Le plateau de construction
Open Source Machine