Cómo hacer visible lo invisible: así es el mapa más completo hasta la fecha de la materia oscura, uno de los grandes misterios del Universo
Derechos de autor de la imagen DES El mapa que ves en la imagen arriba es absolutamente excepcional. Para elaborarlo fue preciso fotografiar 26 millones de galaxias, y en su creación trabajaron cerca de 400 investigadores de más de 20 instituciones en siete países. El mapa muestra la distribución de uno de los componentes más misteriosos del universo, la materia oscura. Y es el más completo divulgado hasta el momento sobre este fenómeno. Pero, ¿qué es la materia oscura y en qué se diferencia de la energía oscura? Y si la materia oscura no puede observarse, ¿cómo lograron los científicos hacer un mapa de su distribución? "Uno de los mayores misterios" El mapa fue creado por el proyecto internacional denominado Dark Energy Survey, DES, literalmente Cartografiado de la Energía Oscura. El tipo de materia que conocemos, desde nosotros mismos hasta las galaxias, constituye sólo cerca del 4% del Universo, según teorías actuales. Materia oscura Energía oscura "Una de las cámaras digitales más potentes"
Tutorial Raspberry Pi - 5. Crea un transmisor de radio FM - Geeky Theory
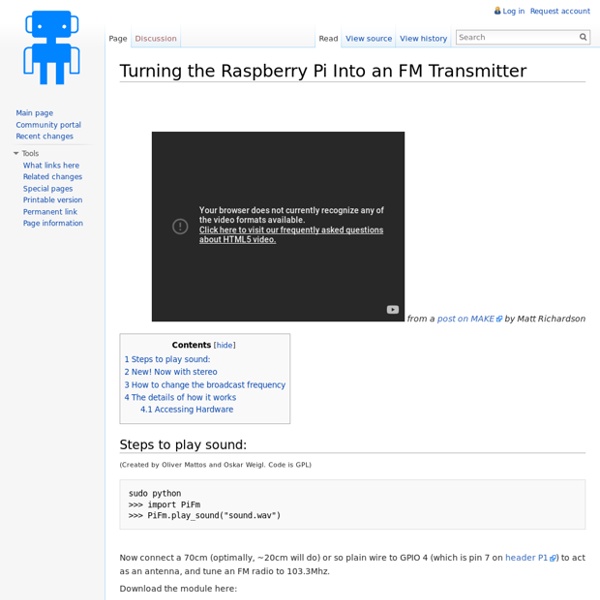
¡Hola a todos! Hoy os traemos, como cada martes, un nuevo tutorial de Raspberry Pi. No es un código que haya hecho, pero veo necesario dedicarle un artículo en Geeky Theory. Tras este tutorial, sabremos cómo crear un transmisor de radio FM basado en Raspberry Pi. Si recordáis, hace tiempo escribimos un artículo sobre cómo transmitir código Morse por radio AM con Arduino: TX AM con Arduino. Los archivos que vamos a necesitar para este tutorial, los podéis descargar desde este enlace: PiFM.tar.gz Utilizaremos como antena un cable de aproximadamente 20 cm para tener algo de cobertura, el cual conectaremos al pin GPIO 4, que es el pin de reloj (CLK). Las señales de reloj se usan para proporcionar un pulso que puede sincronizar varias partes de un sistema que lleva a cabo acciones que tienen una relación temporal entre ellas. GPCLK0 (GPIO 4 y pin número 7), es un reloj de propósito general capaz de crear una señal de pulsos cuadrados hasta una frecuencia máxima de 75 MHz. 1. 2. 3. 4. ls 5. sudo .
Raspberry Pi as an FM Transmitter
This morning I was lazily browsing Reddit when I came across a project by the Imperial College Robotics Society in the UK. It’s code and instructions for using the Raspberry Pi as a low-power mono FM transmitter. When I saw how easy it looked to do, I ran over to my Pi, downloaded the code, and got it running within a matter of minutes (see video above). One of the best parts about this project is that you don’t need much hardware besides the Pi itself.
Homematic Funkmodul inkl. RTC Echtzeituhr für Raspberry Pi (Fertiggerät) ⋆ Homematic-Guru.de
Der beliebte Minicomputer Raspberry Pi bildet, ausgestattet mit diesem Funkmodul und der Software RaspberryMatic eine vollwertige Homematic Zentrale mit Leistungsreserven für komplexe Hausautomationssysteme. Dieses Modul ist offiziell nur als Bausatz erhältlich. Hier bekommen Sie ein fertig gelötetes Modul inkl. RTC Echtzeituhr fertig zum aufstecken auf ihren Raspberry Pi. Das RTC speichert die Uhrzeit und gibt diese nach einem Stromausfall o.Ä. direkt an die RaspberryMatic zurück. Die Offenlegung der CCU2-Software zur Open-Source-Software mit offenen Schnittstellen (HM-OCCU-SDK) macht es möglich, auch andere Hardwareplattformen als die CCU2 als Homematic Zentrale zu nutzen. Neben diesem Modul benötigen Sie noch einen Raspberry Pi 2B/3 sowie eine SD-Karte mit RaspberryMatic-Betriebssystem.
Raspi As WSPR Transmitter | Gerolf Ziegenhain
Recently the Raspberry Pi (Raspi) has gained much interest in the Ham Radio community. One interesting things is: the I/O pins provide access to a clock signal (GPCLK0) and it is possible to modulate this clock signal via software. This has motivated Guido Ten Dolle (PE1NZZ) to implement a WSPR transmitter and to publish the sources under GPL. Immediately my 10mW have been received in 743km distance by G6HUI (WSPR Spots): Information on how to do this yourself can be found in the WsprryPi repository.
Espectro Radioeléctrico - Ministerio de Tecnologías de la Información y las Comunicaciones
Quizás parezca un término y un tema muy técnicos, pero el espectro radioeléctrico se trata del medio por el cual se transmiten las frecuencias de ondas de radio electromagnéticas que permiten las telecomunicaciones (radio, televisión, Internet, telefonía móvil, televisión digital terrestre, etc.), y son administradas y reguladas por los gobiernos de cada país. La definición precisa del espectro radioeléctrico, tal y como la ha definido la Unión Internacional de Telecomunicaciones (UIT), organismo especializado de las Naciones Unidas con sede en Ginebra (Suiza) es: "Las frecuencias del espectro electromagnético usadas para los servicios de difusión y servicios móviles, de policía, bomberos, radioastronomía, meteorología y fijos." Este "(…) no es un concepto estático, pues a medida que avanza la tecnología se aumentan (o disminuyen) rangos de frecuencia utilizados en comunicaciones, y corresponde al estado de avance tecnológico. Un repaso corto a las bandas de frecuencia nos indica que:
Código, Tips y Programas Varios: Construyendo un Gateway IoT 6LoWPAN con Raspberry Pi
Sin embargo, aún no hemos revisado a detalle: ¿Qué hace o cómo funciona el código de ejemplo? ¡Y justo eso es lo que haremos en esta entrada! Si han estado atentos, en el paso anterior ejecutamos las tres etapas de preparación que incluyen la síntesis, el ruteo y la generación del bitstream de forma automática. En esta entrada vamos a seguir el diagrama completo del flujo de desarrollo con FPGA que mostrabamos en la primera entrada para entender mejor el funcionamiento de estas herramientas de desarrollo electrónico. ¡Comencemos! Paso 1: Diseño electrónico En esta parte utilizamos nuestros conocimientos en diseño de circuitos para construir el esquema o diagráma de las funciones que queremos que realice nuestra FPGA. Utilizando una técnica inspirada en Dave-CAD decidimos un post-it y lapicero para generar nuestro diseño obteniendo el siguiente resultado: Comprendamos un poco que pasa dentro de este circuito: Paso 2: Generación de HDL // 1. Definiendo las conexiones a los pines físicos // 1. make