
How to Quit Shampoo Without Becoming Disgusting Are you cheap? Lazy? Vaguely and perhaps unjustifiably paranoid about slathering your body with chemicals on a daily basis? Why would you want to quit shampoo? So, let’s review: quitting shampoo will clear up your complexion and make your hair look awesome, plus it will save you time and money. Here’s how you do it: Step 1: Switch from shampoo to baking soda and vinegar -To make your new “shampoo,” slowly add water to baking soda until it’s just slightly gooey. -Next, make the “conditioner.” -Now it’s time to implement your new hair-washing routine. -Use the baking soda and vinegar in place of shampoo and conditioner for at least two weeks. Step 2: Switch from baking soda and vinegar to just water At this point, all you need do is massage your scalp under running water in the shower. Your hair will become quite greasy, but only for a little while. After the first week, you'll still have a little more waiting it out to do. Step 3: Add the baking soda and vinegar back in, once a week
Bubble trouble Every day I faced off against lackluster tresses, while two friends of mine couldn’t stop raving about their own glossy, sexy hair. They had recently stopped shampooing — just went cold turkey — and the results were marvelous. Both are decidedly un-crunchy, so I knew they weren’t making some hippieish statement about evil soap conglomerates or shampoo pollution in our waterways; this no-suds policy, I reasoned, must actually be good for hair. What did I have to lose? Seven months later, my hair has never looked better. The problem with shampoo is that most of it contains sodium lauryl or laureth sulfate as a foaming agent. Bahman Karimzadeh, a Los Angeles stylist and staunch anti-shampooist, advocates a more DIY approach to conditioning. Admittedly, when I first got off shampoo there was a funk factor. That’s when I contacted Karimzadeh, who counseled “shampooing” with conditioner once a week. And so here I am. After it dried, I admired the shine in the mirror, but something was off.
Hairstyles for the Holidays By poppytalk | A little festive hair inspiration today –whether it’s for a holiday party or New Year’s Day, a few pretty ideas and how-to’s to achieve a special hair-do for the season upon us. Check out the slideshow below! nggallery id=’122026′ The Fishtail Bun This pretty updo is adorable. Apply Hair Tinsel This would be perfect for an evening like New Years or Christmas eve.From chilron4u.com My other recent posts that might interest you: How To Style Maiden Braids Last month I did a makeover story with Kelsie and had many requests for a maiden braid tutorial. Yesterday she came in and we photographed these simple step by steps. Kelsie has extremely long and thick hair, but anyone with shoulder length or longer can do these braids (see my photo below for an example). Steps 1-2: Braid two strands on each side of a center part. Steps 3-5: Wrap braids around the crown of your head and pin in place with one pin each. Step 6: Arrange braids so that they cover the front of your head like a headband. Steps 7-8: Pull the rest of the hair into a ponytail and pin it into a cute messy bun. Step 9: Add final pins and spray.
Summer Hair Braid Trends Braids, pleats, or plaits—whatever you call them, we're absolutely loving all things twisted in hair this season. Beautylish brings you the three hottest braid trends this season and three easy braid DIY tutorials to replicate the look yourself. Who needs a headband when you can make one from your hair! We're loving this European, Heidi-inspired front braid that you can style into an updo or wear with your hair down. See how easy it is to give yourself a plait with Imogen's tutorial. It's easy to give your braids a little extra something with ribbons, flowers, bows, and any other accessories you can think of. The fishtail braid (or Herringbone braid) became a popular trend among celebrities and fashion mavens this year, and we too adore the sea-inspired style.
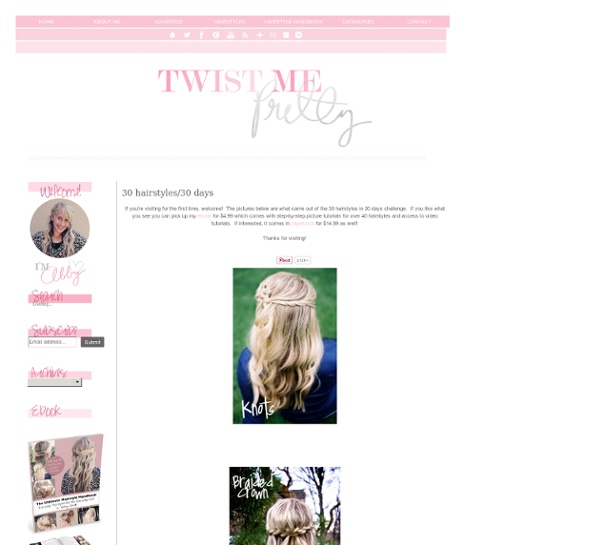
Day 18 Day 18 – Pin tucked braid Create the look of a bobbed haircut by pinning and tucking your hair under. I’ve also added a braided headband to this style. Want to learn how to do this hairstyle? Check out my ebook 30 Days of Twist & Pin Hairstyles! You can get your copy right here by clicking the button below. You don’t need an e-reader or a Kindle to read this book. If you want to see some of the other styles featured in my ebook, take a look at some of the other 30 Days of Twist & Pin. Have you seen my other 30 Day Hairstyle Challenge? At Hair Romance we want you to love your hair. Related posts:
Update On The 'S' French Braid Updo: Step By Step How-to I am flattered that the response is so great on the French Braid Updo. Here is a series of steps in photos that hopefully sheds some light on how to do it. Brush your hair. If it goes big, that's OK! Better actually. *For curly hair, don't brush it, just run your fingers through your hair. Start slight off centre of your crown. Braid slightly diagonally towards your ear. Curve back from your ear and braid in the same manner to the other side. Keep braiding as per above back and forth until you run out of hair. Et Voila. Helps?? Let me know if this a) helps or b) confuses more. Even though I've been a hairstylist for 20 years, I swear you can do this if you can master a French braid. TIP: Next time you see your hairstylist, ask her to watch how you French braid and correct any mistakes you may have. I know, this just may be the Rubik's Cube of hairstyling.
See Creatures & The Perfect Mermaid Curls Although “perfect” is a relative term, this method for curling hair is pretty much perfect by my standards, mostly because it isn’t fussy. While I’m a sucker for both ringlets and Californian waves, I like my own curls somewhere in between: relaxed but bouncy. Mermaid-like. Supplies: 1″ curling iron, brush, and hair sprayTime: 45 minutes (for thick hair) All of the magic happens with Revlon’s “Helen of Troy” ceramic 1″ curling iron. For those who have long, thick hair like me, you might find that larger curling barrels produce the most pathetic excuse for “waves” that fall out within the hour, regardless of the amount of hair spray. I’ve found that the 1″ barrel creates tight waves that look good for at least 5-6 hours (though they do relax over time). For hairspray, I’m a fan of Tigi’s Hard Head, which has a strong hold without the severe crunchiness. 1. 2. 3. 4. 5. Repeat this around your entire head. Don’t get lazy with the back of your head! Et voilà!