
How to Make Simple Crochet Slippers « Crafts IMPORTANT NOTE: This pattern uses US crochet terminology. You can find the SLIPPER SIZE, YARN and HOOK specifications at the end of this article !!! (To see more of my patterns, please visit my ONLINE SHOP!) I am an addict. An addict for crochet slippers. It all began when I saw slippers similar to these somewhere on the internet. I loved them so much I couldn’t get their tempting image out of my head. All I needed was a pattern. But because I am terribly, terribly impatient, I found creating my own pattern quicker than looking for an official one on the web. And since I’m no crochet guru, the pattern turned out to be really simple. Actually, these slippers might be the simplest slippers in the universe. Or not. But they might. This is what I did… Round 1: 5 ch (chain stitch); join into ring with sl st (slip stitch) Round 2: 3 ch; 7 dc (double crochet stitch) into the center of the ring; join with sl st Round 3: 3 ch; 1 dc into first stitch; 2 dc into each next stitch; join with sl st Row 14: turn (!)
Tutorial Tuesday: Crochet flowers Here’s a new skill to learn: crochet! We know how much you loved these beauties from issue 3, so Carmen Heffernan is back to share the crochet love with even more of you online. Supplies: Cotton DK yarn in various colours 3.5mm (UK9/US E4) crochet hook Tapestry needle Abbreviations: UK terms are used in this pattern ch – chain dc – double crochet htr – half treble crochet tr – treble crochet dtr – double treble crochet rep – repeat sl st – slip stitch st – stitch If you’d like to use a different weight of yarn, just check the label for the recommended crochet hook size and use that! Large Flower Row 1: ch 3 Round 2: 11 tr into 3rd ch from hook, join with sl st to top of beginning ch 3 (12 tr made) Round 3: Join 2nd colour into top of any tr st from last round. Fasten off. (6 x 4 ch loop spaces made) Round 5: sl st into 1st ch space. (2 ch, 3 tr, 2 ch ) over each 4 ch loop space. Round 7: sl st into 1st chain space. (2 ch, 4 tr, 2 ch ) over each 5 ch loop. Small Flower Row 1: ch 2
How to make colourful crocheted flowers These tiny flowers are sweetly adorable, totally thrifty and really easy to do. In mere minutes, you can whip up a rainbow bouquet from scraps of your leftover yarn. And when you're done growing flowers you can gift them to all the crafty folk you know. Although we bet they'll be making them too … Materials:• Cotton DK yarn in various colours• 3.5mm (UK9/US E4) crochet hook• Tapestry needle AbbreviationsUK terms are used in this pattern:ch – chaindc – double crochethtr – half treble crochettr – treble crochetdtr – double treble crochetrep – repeatsl st – slip stitchst – stitch If you'd like to use a different weight of yarn, just check the label for the recommended crochet hook size and use that. Row 1: ch 3 Round 2: 11 tr into 3rd ch from hook, join with sl st to top of beginning ch 3 (12 tr made) Round 3: Join 2nd colour into top of any tr st from last round. Round 5: sl st into 1st ch space. (2 ch, 3 tr, 2 ch ) over each 4 ch loop space.
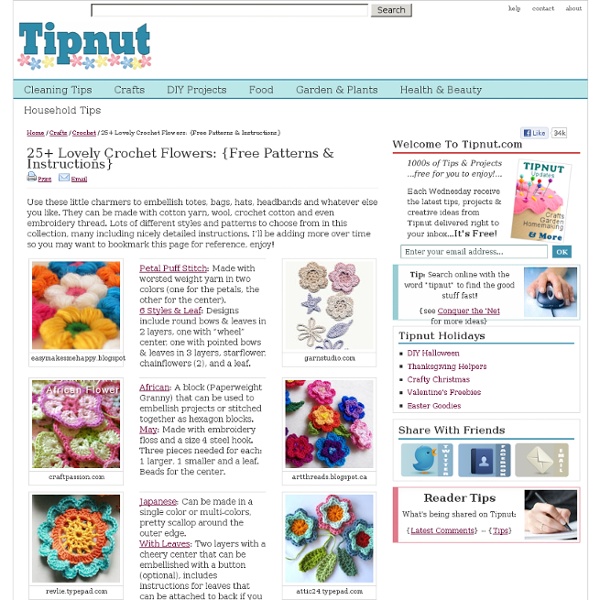
15 Free Granny Square Patterns To Crochet Crocheted granny squares are a hit with crafters since there are so many different items you can make with them: blankets or afghans, scarves, potholders, wraps, totes…the ideas are endless! Here are several different designs to check out, use a single pattern for a project or mix them up as you like. I also added a helpful tutorial at the bottom showing you how to join them all together and another for how to make a flat border (for blankets). You may want to bookmark this page for future reference since I’ll be adding new goodies here as I find them, enjoy! myrosevalley.blogspot.ca Daisy: Petals are made with a cluster stitch and have a bit of a pointy tip. Big Circle: Each ring in the circle is a different color, each background can have a different color if you like. signedwithanowl.blogspot.ca undisthreadness.blogspot.ca 16 Circles: Wow! Sunburst: Lovely samples on this page, actual pattern used is archived on the web here. zooivlooi.blogspot.ca millemakes.wordpress.com yarn-ing.blogspot.ca
Pretty Little Petals [Free Pattern] Strictly speaking, this post was intended to be the "Part Two" section of the Granny Oblong saga. Except that I went on a frogging spree, and now the whole thing is sitting in the "in progress" box (which has a lid, so I don't have to look at them for a while! :P) But since you were promised a pattern, and since this is called "eggbirddesigns" not "eggbirdthefrog", a pattern ye shall receive!! Pretty Little Petals ETA: You can now link to this pattern on ravelry here Notes sp - space sl st - slip stitch sc - single crochet dc - double crochet ch - chain The pattern is written in American terms, however if you prefer UK terms there is a fab 'translator' here. To Begin: create a magic loop (if you're unsure how to do this, click here). Round 1: Ch1, 2sc into each space around. Round 2: Ch1, *2sc in next sp, 1sc in next sp* - repeat between * 6 times [18 sts total] Round 3: Change colour. Round 4: Ch3 (counts as first dc), 5dc in the same space. To finish, just sew in your ends, and hurrah!
Teeny Tiny Flowers This is a very simple little crochet pattern for small five-petalled flowers and leaves.I love making crochet flowers. I love the decorative nature of them, that they can be used to embellish all sorts of crochet, knit or fabric garments and objects. They can be used to decorate a bag, a hat, a cushion, a coat. In rows, in little posies, or randomly scattered. First a word about yarn thickness and hook size.Below are three flowers made using the exact same pattern, but with different yarns and hooks.On the left, Rowan DK handknit cotton, on the recommended 4mm hook.In the middle, the same Rowan cotton, but on a 3.5mm hook.On the right, Rowan DK wool on a 3.5mm hook. I prefer to use a slightly smaller hook size than usual so that the flowers come out tighter/smaller (as in the middle flower). The pattern is written in UK terms, the stitches as follows :: sl st :: insert hook, yarn over, pull the loop back through the stitch, then through the loop on your hook. For US peeps: UK dc = US sc
Crochet A Frilly Flower "Just living is not enough" said the butterfly, "one must have sunshine, freedom and a little flower". Hans Christian Anderson Since I posted my simple bunting tutorial, I've been asked several times how to crochet the flower I pictured. I daresay very similar flowers have been made up and down the Land Of Blog but, since I didn't follow a pattern for it, I am happy to share my little Frilly Flower (using UK terminology) with you ... Happy days. Hx Here goes a free pattern for a Croco-Flower. It’s... Do you like free crochet patterns? Hi there , sometimes, you wrote me, that when you would like to open some of my free pdf crochet patterns - that it says to you, that the file could not be opened... well - I think that it is something what I can not able to know why it is happening... so I made a big decission :-) and I decided to write my free patterns directly on the blog and to pdf's files too :-).. What do you think about it? And what about to begin right now? With hmmm ...... OK, let's begin :-) Make a cup of coffee or tea, take a hook 3 mm and some rest of 100% cotton, 5 ply weight yarn, maybe you find some buttons and I know, that you find some beads in your sewing's suitcase too :-) I choosed the colors of chakras: 115 red, 281 orange, 208 yellow, 205 green, 165 light blue, 124 indigo blue, 113 violet and 114 cyklamen Material I used: 100% cotton - Catania Solids by Schachenmayr SMC Abbreviations used: Chain (CH) Slip stitch (SlSt) Single crochet (SC) Half double crochet (HDC) Double crochet (DC) Instruction: Petal:
Project: Crochet Heart Scarf By Alice Merlino This romantic little scarf is the perfect accessory to tuck around your neck and keep the chill off while you wait for spring to arrive. Made with cuddly soft cotton-blend yarn, it’s comfortable enough to wear all day. And if you are not one for squish sentimentality, you’ll be happy to know they make this yarn in black, too. Either way, the lacy holes and motif-as-you-go construction makes this a project you can crochet in an afternoon. Materials 1 skein Knit Picks Comfy Fingering, shown above in Flamingo 2.75mm crochet hook 3.75mm crochet hook Yarn needle Scissors Abbreviations: st = stitch ch = chain ch sp = chain space sc = single crochet dc = double crochet tr = triple crochet sl st = slip stitch Pattern You’ll make two scarf halves that you can connect in the middle so that your hearts are always right-side up when you wear your scarf. Many stitches are made into the chain space of the previous row. Step 1: Make the first half of your scarf. Step 3: Connect the scarf halves.