label
Pearltrees
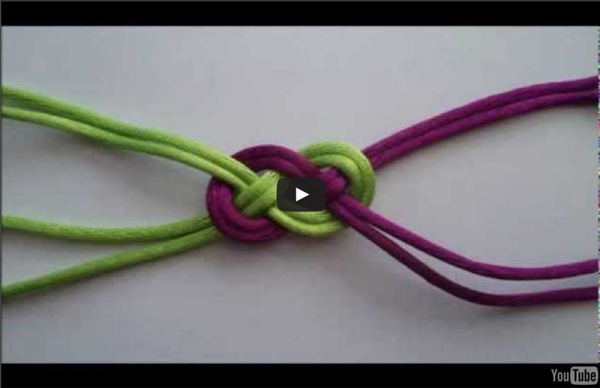
D.I.Y SHAMBALLA BRACELET BRESILIEN NOEUD MARIN BRACELET MACRAME BRACELET AMITIE
Bijoux originaux et Shamballa - Bijoux Tendances
Related:
Related:
to experience pearltrees activate javascript.