
How to Draw Hair, Part 1 Looking back at my tutorials on drawing the head, I realized that I covered individual features, but completely left out hair. This tutorial will is split into 3 parts: The Basics, Types of Hair, and a Step by Step drawing. I’ll start this first part of the series with common mistakes that I see all the time. Common Mistakes when Drawing Hair Forgetting about the volumes This is the most common mistake I see from newer students. Too Much Texture This one is similar to the first, but this can still happen even if one pays attention to the volumes. Impatience – Bad Design There are so many random little shapes in hair, that good design is a necessity. Sharp Outlines I’m referring the the outer edge between the hair and background and also the connection between hair and skin. Consider the Form Underneath the Hair Spherical Skull Most hair styles you will draw will be affected by the skull underneath. The groups of hair wrap around the form underneath and inherit the same light patterns. Shadow
How To Draw Hands Tutorials So everybody knows that the hands and the fingers are one of the hardest things to draw. So here is a personal collection of different hand references, hope to enjoy it and never stop practice. Hogarth hand poses from Iron Giant (middle of page) Mickey Mouse Hand Model Sheet by Les Clark ca. 1932 Merlin hand poses via Deja View Hand drawing tut by uchuucacahuate on deviantart. Excellent hand tutorial by alexds1 on deviantart.com Mr. Useful collection of hand poses by Chrissy Fellmeth Collection of female hand poses by artrush73′s Study of the hand in minimal style
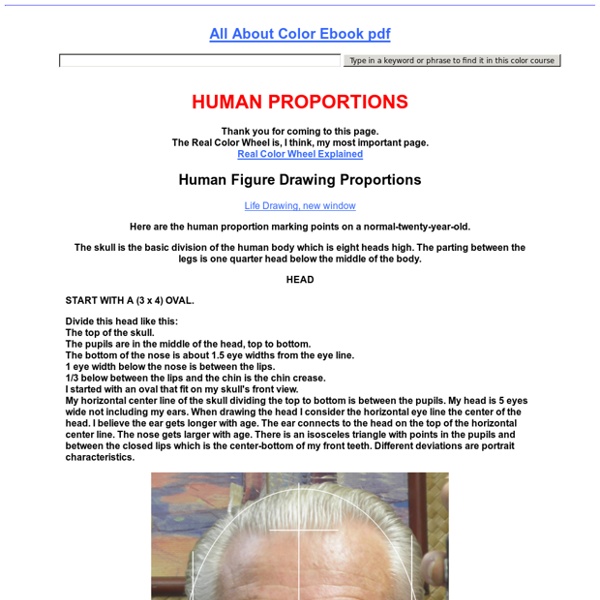
Eyes and Freckles The color pencil drawings of Amy Robins. Artwork © Amy Robins Link via Life is a Danceable Tragedy How to Draw the Head From Any Angle The Basic Forms To draw the head from any angle you must first understand its basic structure. Look past all the distracting details and visualize the underlying forms. The head deconstructed into its basic forms, is a sphere as the cranium and a block as the jaw and cheek bones. A Sphere as the Cranium The sides of the head are flat, so we can slice off a piece from both sides of the ball. A Block as the Jaw and Cheek Bones Attach the shape of the jaw. Constructing From Any Angle Step 1 – Determine the angle of the ball The angle of the head is established at the very beginning of the drawing with the ball. X Axis - The up and down tilt is established by the angles of the horizontal and vertical lines in the oval. Y Axis - The direction the head is turning (left or right) is established by the width of the oval. Z Axis - The twist is established by the angle of the center line, the angle of the oval and the placement of the oval on the ball. Step 2 – Find the thirds Step 3 – Add the jaw
How to Draw Lips For a video version of this tutorial visit www.proko.com/how-to-draw-lips-anatomy-and-structure This tutorial is a continuation of How to Draw the Head from Any Angle. I will cover the basic forms of the mouth, some anatomical information, and the key information about the minor planes. At the end, I will show a step by step drawing of the lips. Basic Forms One of the most overlooked ideas of the mouth is the cylindrical tooth cylinder underneath. You can see here how this inflated cylinder affects the surface forms of the lips: Major Planes Anatomical Information I won’t go into too much detail about all the muscles of the lips and their functions because that’s not the intention of this tutorial. is a great resource for anatomy. The red portion of the lips and the part directly above and below is called the orbicularis oris. Minor Planes The Red Portion of the Lips The top lip has three forms and the bottom lip has two. The forms of the lower lip are usually fuller then the upper lip. 5.
Drawing Hair in Pencil By Maery Drawing hair is hard work. It's complicated, time consuming, and often the results are terrible, and trust me, I speak from personal experience when I say that. I'm posting them here (much to my ever-lasting shame) to demonstrate something. Getting Started: tools Pencils: It sounds pretty simple, but I'm going to go over the basics once more. Whew! Down and Dirty: drawing hair Layout: putting down the basics Here I've started with a face already drawn in for simplicity's sake. As you might imagine, the first thing you have to do is block in the hair. Also, keep in mind the environment. Establishing Mid-Tones: the foundation of your piece At this stage, you're basically feeling out where the mid-tones will be. In this stage it's really important to consider your light source. At this stage, don't worry too much about what your pencil work looks like. Also, I'll have a quick word on hair color. Finding Shadows: darkening it up At this point we're hunting for shadows. Me?
Self Portrail Stencil I am soooo excited about this one. Please do try it, especially you journal artists. It is a lot more fun than you'd think to manipulate images of yourself. Although I make stencils a lot, it had never occurred to me to do a self-portrait until I read Randi Feuerhelm-Watts' brilliant book, Wide Open. If you don't have her book, go get it today. Materials you need: Clear photograph of yourself, preferably a self-portrait Photoshop, PE (Photoshop Elements), or other photo editing software. Making the Stencil The first thing you need to do is to select a good photograph. Once you find the right photograph, you need to simplify and turn it into b&w in Photoshop or PE. Next, change your image to black & white and simplify it a bit: Image/Adjustments/Threshold. Remember: Everything that is Black you will be cutting away. Finally, Save your document immediately! Cutting the Stencil This is the easy and not so easy part. Once all the black is cut away, you'll need to try out your stencil.
Pencil Drawings - Realistic Portrait Art - Sketches and Colored Pencil - Grand Rapids Artist Les expressions du visage Avant de commencer ce tutoriel, je vous conseille d'apprendre à dessiner les têtes et les visages (proportions, architecture, rotations...). Et si vous avez d'autres questions, n'hésitez pas à les poser par mail ! Cher internaute, adepte des tchats ou de forums, j'ai une bonne nouvelle : vous savez déjà dessiner les expressions du visage ! Non seulement le personnage est inexpressif, mais en plus, utiliser des émoticons dans des bulles de BD (qui est du texte "oral" puisque le personnage le prononce) est à éviter absolument ! Pourtant, avec ce premier personnage, vous avez visuellement exprimé des émotions. Alors, pourquoi ne pas dessiner ces émoticons directement sur la tête de votre personnage ? Et c'est gagné ! Donc, quand vous avez un doute sur la manière d'exprimer un sentiment, cherchez lequel de ces émoticons vous utiliseriez. Découvrons un peu plus en profondeur les émoticons ! Il existe principalement deux types d'émoticons. On peut imaginer autant d'émoticons que l'on veut !
Tutoriel dessin - Dessiner une bouche… - Faire un portrait… - Dessiner un visage… - SylvieS ou la passion du dessin Je reçois beaucoup de demande pour dessiner des portraits manga à partir de photo. Malheuresuement à cause de mon emploi du temps surchargé je ne peux pas effectuer ce genre de travaux. Ceci dit je vais ici vous proposer un petit tutoriel pour faire vous même vos portraits manga. Voici donc ma mèthode pour "mangater" une photo... Ce qu'il vous faut : Un programme de dessin quelconque qui gère les calques (photofiltre studio, photoshop, gimp, etc.) Une tablette graphique (vous pouvez tenter à la souris mais ce sera plus difficile) Une bonne photo, pas trop sombre ni surexposée, de grande résolution. Réaliser un portrait manga n'est pas beaucoup plus compliqué que de réaliser un portrait réaliste. Je travaille actuellement sous photoshop element 5, les étapes seront donc réalisées sous ce programme mais vous pouvez adaptez avec d'autres programmes de retouche photo à condition qu'ils gèrent les calques. 2) Nous allons commencer par reproduire les traits principaux de la photo. Voilà ! Dessin
Comment dessiner un visage Image 1 Tracer un cercleTracer un oeuf à partir de ce cercle Image 2 Tracer la ligne verticale qui traverse l'oeuf en son milieuTracer la ligne horizontale qui passe par le milieu de l'oeufDessiner les yeux sur cette ligne en respectant la distance d'un oeil entre les deux yeux Image 3 Tracer la ligne du menton en bas de l'oeufTracer la ligne du nez au bas du cercle.Tracer la ligne des sourcils de sorte que la ligne du nez soit exactement au milieu des sourcils et du menton.Tracer deux lignes verticales qui descendent à partir du bord interne de l'oeil pour obtenir la largeur du nez, soit la largeur d'un oeilDessiner les sourcils et le nez en vous aidant des lignes qui viennent d'être tracées Image 4 Diviser la distance qui sépare le nez du menton en 4 parties égalesDessiner la bouche entre le 2e et la 3e ligne Image 5 Chaque visage est différent alors il vous faudra adapter les proportions que je vous ai données à votre modèle !
2a0c58828291fdd8049f5a0dbcd36c19 t↑te muscles 1