Five Minute Brimmed Beanie
I have a fun quick tutorial for you today. It started out as an experiment. I saw $1 cuffed beanies at Walmart and wondered if I could add a brim to them to make them look a little bit like these Colombia brand ones. It wasn’t perfect but turned out pretty cute.
Make a Pink Ruffly Umbrella
Home » $5 and Under, cheap crafts, From Our Readers, Headline, Tutorials 22 June 2010 56,461 views 12 Comments by heather In addition to choosing a winner of the CSI Dollar Store Project, I was also able to choose my top 10 projects. It wasn't easy to narrow the top ten down, but all of the top 10 projects were innovative and showed me something I haven't seen before (or cleverly twisted something I have seen before). One of my top tenners, Becky, made a pretty pink ruffly umbrella out of an unlikely material.
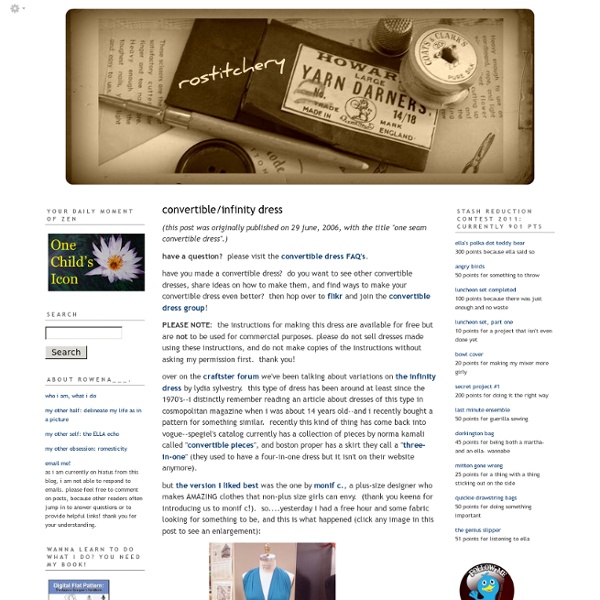
The Convertible "Infinity" Dress: How it almost defeated me, and what you need to make one
I made this thing. It’s pretty cool. It’s a convertible dress that’s basically a circle and two straps, so it’s really easy, inexpensive, and crazy versatile. It’s been around forever and everyone seems to love it (in fact, part of the reason I’m posting this is to answer some questions for people I’ve run into), and I can hardly believe how close I came to not making it at all. I first found the instructions at a blog called rostitchery, and then I came across a second set at Cut Out + Keep. It sounded so easy.
How to Revamp Old Clothes
The changing of the seasons doesn't mean you need to buy a whole new wardrobe. If you're too strapped for cash to invest in a new wardrobe, give your old clothes a whole new look by revamping them! Check out these creative ideas on how to look fashionably cool without draining your wallet.
Anthropologie Climbing Cowlneck
I apologize for the lack of posts. The charger to my laptop is broken so the only access I get is through my phone or at my parents' house. Not to mention I went to Vegas for the weekend with my girlfriends with NO kids WOO HOO! Not using the internet has been pretty nice though I gotta admit, and I realized I've been using the computer way too much and that I should focus on what's more important like relationships with my family. So I don't think I'll be blogging everyday, maybe every other day or so. But guess what!?
Making reversible bag
from top of straps to bottom of bag: 50 cm / 20 inchesheight: 28 cm / 11 incheswidth: 40 cm / 16 inches I don’t know because I used leftover fabric for my bag. You can print the pattern and place it on your fabric to make an approximation.
Made By Lex » refashions
How To Make Leg Warmers or Boot Socks October 20, 2011 6:13 am Wow! I’ve been absent a while!
DIY-how to make a twist-top
inspiration this week was this shirt from Anthropologie. I bought this shirt from wal-mart for $4 in XXL. HOWEVER, I thought I would never say this but I think I'm done with ruffles. GASP, I know I know, I'm a ruffle queen and i still love them and will still wear them, but after owning 15+ items with ruffles on it, I think I quenched my thirst for ruffles. for now at least. ;) so my newest craving? knots and twists.
Make a Gathered Skirt With DIY Couture
Even as a competent seamstress, UKer Rosie Martin found the pattern for a friend’s wedding dress to be complicated and daunting. It soon occurred to her how helpful a simple, visual set of instructions would be, giving her friend the confidence to sew her own outfit. And so, DIY Couture was born. DIY Couture supports the slow revolution by helping people to produce garments that are precious, rather than disposable. This is the antithesis of “fast fashion.”
Making Her Clothes Last! (Part One)
Children! They grow so fast! Unfortunately, the money tree can't always keep up, can it? I'm trying to alter some of Paige's clothing to be wearable longer. I love the instant gratification of projects like this. A little whack here, and a gather there, and you have a whole new article of clothing!
Sewing 101 with Gwen, Mitered corners
What a fabulous way to start the new year...a fun new Sewing 101 Guest. Please enjoy Gwen's tutorial on making a mitered corner. Hey! I'm Gwen from Gwenny Penny. I was so excited when Chris asked me to write a post for her Sewing 101 series.
Boho Maxi Dress: a tutorial
This dress is an incredibly easy make. By now you may have realized that I'm all about the simple projects. I'm far from being a master seamstress, I just work with what I know and try to learn as I go.