
Game Arts Institute – Program The Game Industry is a rapidly expanding field and offers jobs for artists of all types. Our programs are created to maximize your potential and help you join in the nearly $80 billion industry. We’ve come a long way from 8-bit arcades. Video games today are packed with intense details, realistic textures and complex interactions. The Game Arts Institute can get you there! So, set your controller down for a bit, pick up a stylus, and start maxing out your artistic talent! Class Length: 12 weeks Class Price: $1,999 Like anything, you start with the small stuff and work your way up. Make the most of ZBrush’s interface using Ryan Kingslien’s Feature FrameworkSculpt any type of surface using ZBrush’s built-in systemsIncorporate ZBrush’s tools into time-saving workflowsSet up image planes and use blueprint reference in MayaUse polygon modeling techniques to create characters Assignments & Expectations: register@gameartsinstitute.com Apply Today! Class Length: 12 weeks Class Price: $2,799
Transpose Master » ZBrush Docs Transpose Master is designed to help you pose a model that is composed of SubTools. It works by creating a low resolution combined mesh of all the SubTools which you can pose. The pose can then be transferred back to the original model. The Transpose Master sub-palette is in the Zplugin palette. Controls Transpose Master sub-palette in the Zplugin palette TPoseMesh Press the TPoseMesh button to create a combined mesh of all the SubTools of your model. Important! Make sure that no SubTools are partially hidden as this will mean the pose cannot be transferred properly and you will get a Vertex Mismatch error message. TPose>SubT After posing the combined mesh, pressing the TPose>SubT button will transfer the pose to the original model, updating each of the SubTools. ZSphere Rig Turn on the ZSphere Rig option if you want to use ZSphere rigging to pose your model. Grps Turn on the Grps option if you want to preserve the existing polygroups for your model. Layer StoreTM Rig PasteTM Rig Tips
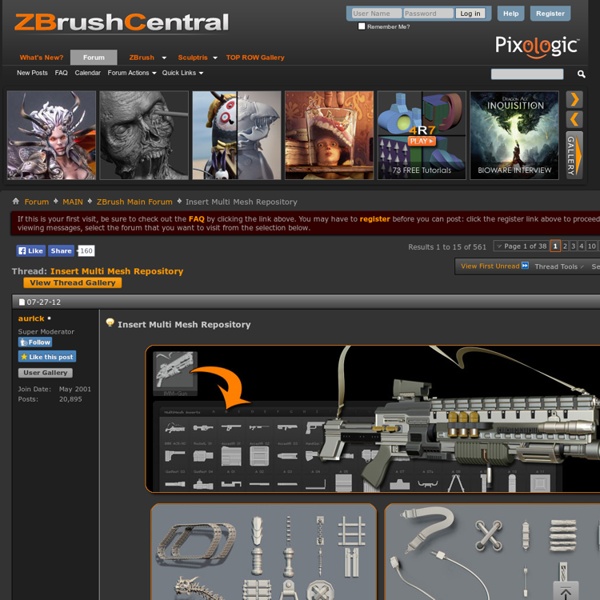
BadKing Freebies and Art Here is a Hard surface Zbrush sculpt I created a while ago that I plan to release as part of my ongoing FREE Spiderbot tutorial series. Here is how I created the cannon in the scene: I have just finished work on a 3d character based on my BadKing company logo. I’m wondering if he’s a little too creepy to use in some promotional material. Here are a few freebies from my BadKing Website... Here is a List of some of the ZBrush Insert Multi Mesh Brush (IMM) (also available as a Model Set). Here are a few Tutorials from my BadKing website.
Knald Dynamesh Full Tutorial Hard Surface Sculpting As ZBrush evolves that fast during the last three years, many artists came up with new and innovative modeling and sculpting techniques by using the new tools and brushes Pixologic invented. I tried to test some of these workflows myself, used a concept sketch of the amazing Andrew Ley ( and made a 3d model out of it. To be honest, I was much more focused on testing the new tools and techniques than to create an exact copy of his sketch. For me it was important to develop a fast and efficient way for creating complex machinery parts. Hard Surface Modeling in ZBrush 3.1 The following models are made in ZBrush 3.1 a few years ago. Short Modeling Breakdown 1. 2. 3. 4. 5. 6. 7. 8. 9. Interesting Links: Mike A.
BaseMesh A base mesh is a low-resolution polygonal model that can be used as the starting point for digital sculpting. Creating a Base Mesh When using a sculpting app it's usually best to create a cage or basemesh that is as close as possible to 100% quads. Also try to avoid "poles" of 5+ edges running into each other. Triangles and poles can lead to "pinching" in the model when sculpting. Keep the quads a fairly uniform density over the model, and be clever about adding more detail where it will be necessary (eyes, ears, nose, etc.), since otherwise you will end up subdividing your mesh far more than necessary just to get enough polygons to sculpt detail into these areas. It helps to add a quick UV to the basemesh before sculpting, since this can be used to bake a DiffuseMap if you choose to do some 3D painting at some point. Some more good advice from Scott Eaton in his ZClassroom article Artist In Action: Digital Figure Sculpture. Base Mesh Library CategoryCharacterModeling
TUTORIAL – creating perfectly tiling meshes in Zbrush for use in videogame environments | Owen Shepherds 3d game art portfolio This tutorial walks you through a workflow that I have developed that allows you to create perfectly tiled normal maps on perfectly tiled lowpoly geometry, especially useful for cliff faces and rough stone surfaces. Stage 1- create a height map in ZBRUSH - First create a Ztool, I created a simple beveled cube in maya, then stamped some shapes into it in Zbrush and saved it out as a tool. - Create a new document at the size of your intended map. - Load the tool in and start drawing them on the canvas, draw them in empty space but don’t go over the edge of the document. - Use the Tilde key(~ or @ if in the UK) to offset the canvas (hold it down and move the canvas so the centre is offset to the edges). - Fill the space in the middle. - Repeat until canvas is filled making sure no gaps are left. Stage 2- apply heightmap to flat plane - Create “plane3d” and convert to polymesh Stage 4- baking Use whatever program to bake out the textures you need Like this: Like Loading...
kuler bodies-in-motion 30 second sequences from BiM Not long ago, I had twelve artists from Natural Motion (of Morpheme and Clumsy Ninja fame) into Somerset House, my home away from home, for a four day anatomy workshop. At the end of each day we would take about 20 minutes to draw from the Bodies in Motion library. sketching from BiM We made extensive use of the timer for gesture drawing. timelapse of a sequence of 30 second poses