RPi Low-level peripherals
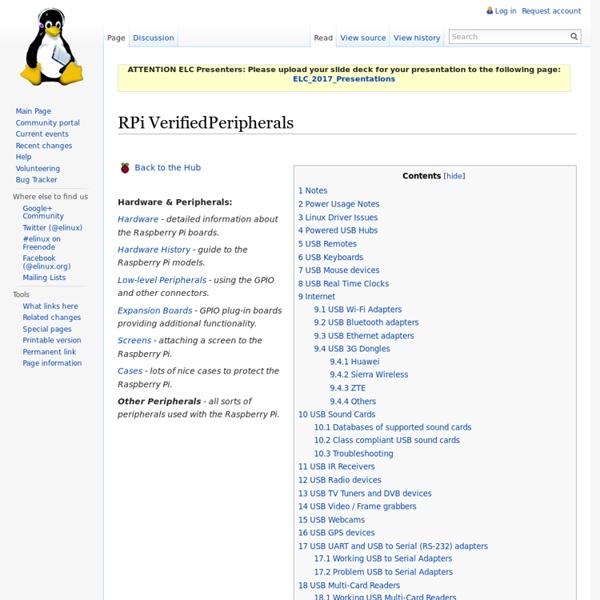
Back to the Hub Hardware & Peripherals: Hardware - detailed information about the Raspberry Pi boards. Hardware History - guide to the Raspberry Pi models. Low-level Peripherals - using the GPIO and other connectors. Expansion Boards - GPIO plug-in boards providing additional functionality. Screens - attaching a screen to the Raspberry Pi. Cases - lots of nice cases to protect the Raspberry Pi. Other Peripherals - all sorts of peripherals used with the Raspberry Pi. Introduction In addition to the familiar USB, Ethernet and HDMI ports, the Raspberry Pi offers the ability to connect directly to a variety of electronic devices. Digital outputs: turn lights, motors, or other devices on or off Digital inputs: read an on or off state from a button, switch, or other sensor Communication with chips or modules using low-level protocols: SPI, I²C, or serial UART Connections are made using GPIO ("General Purpose Input/Output") pins. Note that no analogue input or output is available. Links Useful P2 pins:
[Raspberry Pi] HOW TO - Installation perso sur Debian6
Choix de la debian6 1- installation de l'image dans la SD : * * soit en utilisant Win32DiskImager 2- enclencher la SD dans la Raspi et "start your engine !!" 3- entrer le login pi et mot de passe raspberry (attention au "a" - clavier qwerty inside :p !! 4- premier boot... attendre le prompt puis : (je reprend rapidement ici le starting guide proposé par * changer les paramètres de localisation car par défaut tout est "US" (donc qwerty, fuseau horaire etc...) sudo dpkg-reconfigure locales puis configuration du clavier : sudo dpkg-reconfigure keyboard-configuration de la timezone : sudo dpkg-reconfigure tzdata 5- Création d'un nouvel utilisateur : sudo adduser username sudo visudo ajouter dans le fichier à la suite des utilisateurs : puis CTRL+K, CTRL+X
Tutoriel Seedbox (DDL et torrent)
Bonjour,voici un petit tutoriel pour la mise en place d'une seedbox (je rappelle que je suis débutant en linux ^^) :1.Montage de la clé usbTout d'abord il vous faudra monter sur le raspberry un support de stockage, j'ai choisi une clé usb de 16go en ntfs. Il faudra donner un nom à cette cléPar putty, mettez vous en administrateur avec : "sudo su".Ensuite "fdisk -l" vous permettra de voir les partitions sur votre raspberry, ma clé usb est reconnue comme "dev/sda1".Vous allez éditer le fichier "fstab" avec "nano /etc/fstab" et mettre à la fin "dev/sda1 /media/nom_de_la_clé_usb ntfs-3g defaults 0 0".Tapez ensuite dans putty "mount -a". Votre clé usb est monté sur le raspberry pi.J'ai crée un dossier nas sur la clé usb par "mkdir /media/nom_de_la_clé_usb/nas" 2.
RaspBox - Boitier Acrylique pour Raspberry Pi
Vous voulez protéger votre précieux board Raspberry Pi des court-circuits, tout en préservant l'accès aux connecteurs ? Ce boîtier au look hi-tech est constitué de deux plaques de verre acrylique et d'entretoises métalliques. Il se monte sans colle: les différentes pièces s’emboîtent les unes dans les autres autour du Raspberry Pi, et le tout se verrouille avec 8 vis. Si vous inversez la disposition des plaques supérieures et inférieures, vous pouvez fixer sur votre boîtier un Micro-Hub USB Yoctopuce et jusqu'à trois modules Yoctopuce, ce qui permettra à votre Raspberry Pi d'interagir avec le monde réel. Yoctopuce offre gratuitement le design de ce boîtier, sous license Creative Commons Attribution-ShareAlike 3.0 License. Spécifications Articles liés et exemples d'applications Accessoires et produits liés Téléchargements
GPS Display Device
Here are some other old small projects. These are probably from my high school days. Some are from my university days. I’ve collected them all onto this one post when I moved my website. GPS Device Back in 2007 when smartphones were not popular yet, I managed to build this: I built it to do Geocaching. ADNS2610 Optical Mouse Sensor Here it the sensor sending raw image data through USB. Wii Nunchuk Projects These extremely simple USB projects take me only a few hours to do, because of my expertise in Wii accessories and USB. Robots These were all made in around 2007 and 2008 while I was in high school Me being the Electrical Lead on the UW Mars Rover Team I designed a lot of circuitry for them. Echo (Sumo Wrestler) This fella won the “Judges Award” at UW, which means we didn’t win the wrestling but the judges liked our design the best. Charlie Line Following (at the Canadian National Robot Games 2007) Charlie Remotely Controlled (my first radio controlled project) Charlie Controlled using Wii Nunchuk
New Raspberry Pi development vm version 0.2 « Executing Gummiworms
[update (11/3/12): This version is now out of date. Please use v0.8 the torrent of which is at The readme and the sha1 ] [update: There is a tiny little buglet in the vm that slipped passed me as it didn't crop up when I was testing that yum worked as I didn't install a library that needed to go in the top level of the rootfs. If you get a lot of errors about unpacking or mkdir... when trying to install something using yum then you'll need to do the following cd $HOME/raspberry_pi_development/f13arm_rootfs sudo chmod -R 777 * and that should fix it. sorry about that. the torrent is now available.] RaspberryPi Development Virtual Machine 0.2
Creating a LAMP server (web server - Linux Apache Mysql PHP) on the Raspberry Pi - Linux tutorial from PenguinTutor
This provides details of how to configure a Raspberry Pi as a webserver. This is similar to the guide to using Xubuntu as a LAMP webserver, but adds some of the things that need to be handled differently for the Raspberry Pi. It is termed a LAMP server which is one of the most common configuration for webservers which standard for: Linux – operating system Apache – webserver (http) software Mysql – database server PHP or Perl – programming languages This setup is probably overkill for most uses of the Raspberry Pi, but it is the setup that most users will be familiar with and is a good way to learn about setting up a webserver. All this configuration is done at the command line. Why use the Pi? Avoiding the geeking answer of “because I can” I think there are some good reasons for doing this. Learn Linux The main aim of this site is to teach Linux skills. Learn web programming The aim of the Raspberry Pi Foundation is to teach programming to children. Debian Linux Security passwd type
03 - Carte de protection des GPIO
Bienvenue sur le projet Rover Pi. Le but de ce projet, hors le simple fait de s'amuser avec les GPIO du Raspberry Pi et d'utiliser celui-ci à des fins robotique.Vous trouverez ici toutes les étapes nécessaires au développement et à la construction de ce robot. Ce projet est en cours de création.