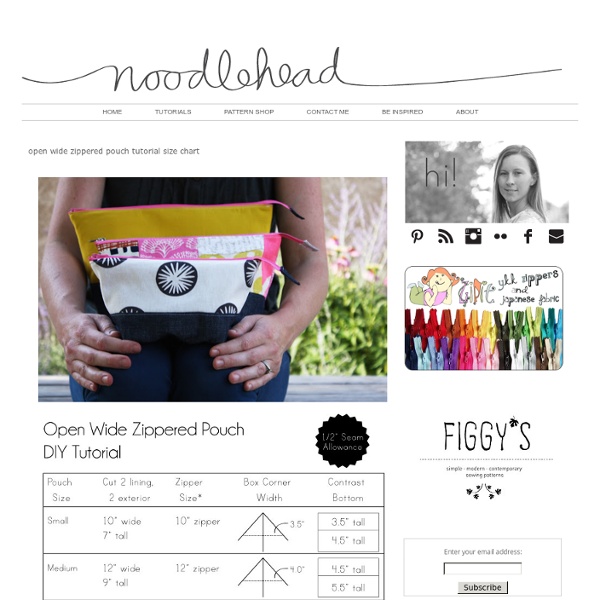
Open wide zippered pouch tutorial size chart
3D paper diamonds
Hello there. Hope you all had a great Easter! We had a lovely relaxing holiday (….well as relaxing as it gets with kids). Before I forget I just want to say a big thank you for all the kind messages you have send me regarding my book (you really are a nice bunch!) I’ve been meaning to get this paper diamond up for weeks now…but it’s taken ages to figure the template out (and I’ve been having breaks between each failed attempt). It’s based on simplified version of Satoshi Kamiya’s origami diamond. These paper diamonds are tricky to make (& require a fair bit of patience) so definitely adults only! When you have made your diamonds you can attach thread and hang them up. How-to 1. 2. 3. 4. Happy Monday all! Edited to add: A few people have had problems printing the templates (the dotted lines do not print).
Fold a heart page marker
I hope you’ll whip up some heart page markers to share with those around you. It’s simply too easy not to make. Here’s how: Use a square piece of paper. This origami model is simple but versatile because it’s also able to become a 4-leaf clover or a flower by grouping 4 together, and hide a small item (like a ring) in front or even have it stand on its own by making an easel with the back flap.
V and Co.
adelynSTONE
DIY Kimono Jacket + Hood
Recently, my housemate gave me some lovely mustard fabric… and this project emerged from it! Regrettably I did not document the steps that led to the finished product. This was partially due to the fact that I was very unsure about the end result mixed with the overwhelming excitement to start the project when I arrived home with the flannel lining. I have however, documented the steps via drawings and photos I took post project for your benefit. Tools: Outer Fabric – 2 metres to 3 metres Lining Fabric – 2 Metres to 3 Metres Sewing Machine Overlocker (optional) – I finished my se ams with an overlocker, but it is not necessary #Note: Amount of fabric will depend on your measurements and desired outcome Tutorial: I created an extremely basic pattern based on my own measurements which means that it is quite simple for you to create your own! This is how I created the general jacket shape. I then created a sash/belt and sewed it to the back of the jacket. LOve <3 Yin x
diy: mailing bag clutch
Tuesday, July 24, 2012 diy: mailing bag clutch linked to savvysouthernstyle , Jenniferrizzo Posted by Pinecone at 11:12 AM Email ThisBlogThis!Share to TwitterShare to FacebookShare to Pinterest Labels: bubble bag clutch, DIY, mailing bag clutch, make it, padded mailing bag clutch 6 comments: L o v e l y t h i n g sJuly 24, 2012 at 4:23 PMThis is darling!! Load more... Links to this post Create a Link Newer PostOlder PostHome
DIY – Painted leather bag
I found a bag in this great color on Net-a-Porter. I loved it, but it was way out of my budget. So I decided to make my version, with off course a little twist of my own. On the right you see the bag I found for just one Euro at the thrift store. The full instruction continues after the jump . . . I used many layers of paint to get the whole bag covered. On the left you see the bag I inspired my bag on.
Blue Flower Earrings & Rings DIY
Every summer for the past 8 or 9 years, my family and I have spent time with our friends from Idaho. They have two girls around my age and a boy that gets along well with my brother, so times are always crazy when the nine of us are all together. Yesterday was not only my last day of work and also the day that we met up with them! It's so exciting to see them again! Last year, I had the opportunity to travel with them to many countries in Europe. I am in the center and Taylor is on the right. Today's project is really simple yet incredibly adorable. I had quite a bit of fun snapping these pictures - they're all set on a bike rack! Ready to learn how? Here's what you'll need: -ring bases/blanks and/or earring bases/blanks - The really nice three-piece ring base (the very top picture above) is from JoAnn (it was on sale for $2!) -flower (or other object) pieces - I have my eye on some really well-priced ones here. -E-6000 epoxy glue -Q-tips Here's what you do: 1. 2. And you're done!
Stars for Streetlights
When I was a little kid, I loved to make things with clay. I mean loved. My favorite things to make were tiny clay animals-- complete zoo sets for homemade dioramas, colonies of penguins, paddlings of ducks, and miniature replicas of every animal I ever owned. (When you grow up in the country, you accrue quite a few.) I was so in love with clay that I would spend my birthday buying packs of bake-able Fimo clay from Hobby Lobby. While my clay-stealing days are over, I still love the stuff. (This picture is from Jessica's blog where she made an INCREDIBLE and EXACT replica of the pricy Anthro necklace.) My version. -Bake-able Fimo Clay -Oven -Paint (Unless the clay is the color you want.) Step 1: First you need to shape the beads and then poke holes in the top with a paper clip/needle/whatever you can find around the house. Step 2: After you've painted the beads, seal it with your favorite trusty Mod Podge. String some beads and you've got it! Yup.
Related:
Related:
