
Make Your Amateur Photos More Professional | Photography With everyone and their grandmother having a digital camera you can make almost anybody look like a professional photographer, well, better-than-amateur at least. You can use this simple process on almost any photo you take. Let’s start with our regular, old, point-and-shoot photo. This one was taken with a little higher-end camera, but it can still use a lot of work. First, we’re going to sharpen our image a bit using the Unsharp Mask [Filter > Sharpen > Unsharp Mask]. Now we’re going to add a Levels Adjustment layer [Layer > New Adjustment Layer > Levels]. Next step is to add a Brightness/Contrast Adjustment layer [Layer > New Adjustment Layer > Brightness/Contrast]. One more adjustment layer… the Hue/Saturation Adjustment layer [Layer > New Adjustment Layer > Hue/Saturation]. Now you can probably already see how much of a difference these few steps make. It’s a subtle change, but it usually makes the photo look nicer. I’m going to start by duplicating my Background Layer [Ctrl + J].
Making Unrealistic Things Look Possible in Photoshop CS4 Perhaps one of the most satisfying gratifications of designing with Photoshop is the ability to create the impossible—making unrealistic things look possible. Here we’ll combine dancers with splashes to create a unique “splash dance.” 1 [WHITE BACKGROUNDS WORK BEST] Like many techniques in Photoshop, this one will be easier if the photo you choose is on a white background. We’ve chosen this istockphoto.com image of a leaping dancer. 2 [FIND SOME SPLASH PHOTOS] A quick search of “splashes” and “paint splashes” on istockphoto.com provides a bunch of nice splashes. 3 [DRAG-AND-DROP] Drag-and-drop the splash photo onto the photo of the dancer. 4 [FREE TRANSFORM; LOWER THE OPACITY] With the splash layer active, press Command-T (PC: Ctrl-T) for Free Transform. 5 [ADD A LAYER MASK TO BLEND THE SPLASH] With the splash layer still active, click on the Add Layer Mask icon (circle in a square) at the bottom of the Layers panel.
Hack Your Door to Lock and Unlock via Text Message @hahn: I don't know about all that. With the right safeguards in place, I think this would be secure enough for my tastes: 1. Ensure it only responds to messages from ones' own phone. (Perhaps with a log of attempts from other users.) 2. 3. 4. 5. 6. Believe it or not, I'd feel a bit more secure with this system (with some tweaks) than a traditional lock-and-key system for the same reason I feel better about having extraneous cards in my wallet: If my phone (or overstuffed wallet) is missing, I'm going to know it.
Build-Your-Own "Ultimate" Adobe Photoshop CS6 PC Without a doubt, the single most-requested feature here on Hardware 2.0 in the 'Build-Your-Own PC' category is for an "Ultimate" Photoshop system. Now that Adobe has officially launched Photoshop CS6, it's time to take a look at this new release and prepare a hardware package that does it justice. It seems that the reason why people are interested in the hardware specifics for a PC with Photoshop is because it's a big, heavy application that, when pushed even modestly, can bring even a high-end system to its knees. Well, here it is, a guide to building your "Ultimate" Photoshop CS6 system. Personally, I'm not much of a Photoshop user, and most of my "art" ends up looking like the 4chan Rage Guy, so please don't ask me any Photoshop-related questions! While I'm specifically looking at a system suited to Photoshop CS6, this build will work equally well for any of the big Adobe products, such as Premiere Pro CS6 or even the 'full' Master Collection CS6 package. Processor Storage Graphics card
40 Really Cool Photo Manipulation Tutorials In the art of designing, knowledge on photo manipulation and its corresponding technique is a major edge among other designers… Why? Because it gives you the advantage of creating world-class designs from a simple photo or image. By the simple act of manipulating an image, numerous possibilities such as styles, images and designs are opened for you to explore and influence. In continuation of collecting amazing photo manipulation tutorials, here’s another list of fresh tutorials to enhance your knowledge on image manipulation. 40 Really Cool Photo Manipulation Tutorials is compiled in this next post that you are about to see. You may want to take a look at the following related articles: • 40+ Best Cinema 4D Tutorials that You’ll Love to Learn • 40+ Autodesk 3ds Max Tutorials for Beginners and Advance • 45+ Truly Stunning Digital Painting Tutorials • 30+ Most Wanted Photo Manipulation Tutorials in Photoshop How to Create Fantacy Woman in Amazing Photo Manipulation Green Landscape Beanstalk Ads
How to tune Photoshop CS6 for peak performance Adobe® Photoshop® CS6 Performance Promoting a faster Photoshop experience for all users Users of the previous version see: How to tune Photoshop CS5 for peak performance The depth and spread of tools and features in Adobe Photoshop CS6 and Photoshop CS6 Extended software make the two editions applicable to a variety of work environments and suitable for a wide range of tasks by image-makers of all skill levels, from enthusiasts to professionals. In some environments, Photoshop is employed in a dedicated, standalone fashion, while in others, it is a pivotal part of a larger suite of programs. What type of Photoshop user are you? Essential hardware Computers are built with a variety of components. Table of Contents: 64-bit architectureMemory (RAM)Storage (hard disk): Processor (CPU)Video or graphics cardScreen or MonitorKey steps to optimize Photoshop CS6 performance: Additional Information 64-bit architecture Photoshop CS6 provides 64-bit support on both Mac and Windows® systems. Memory (RAM)
[ Tutorial ] How to easily fake an HDR effect in photoshop Adobe Photoshop CS6 Memory Optimization - Puget Custom Computers The main factor when it comes to RAM performance is simply the speed of the RAM. Obviously, faster RAM is indeed faster, but often the difference is so small that it does not have a measurable impact on system performance. We've looked at this in the past in our Breaking the Hype of High Frequency RAM article, but the focused of that article was mostly on gaming and basic computer usage and not specifically Photoshop. It is entirely possible that Photoshop CS6 can benefit from using higher frequency RAM, so that is one question we want to answer. The configuration of the RAM is a bit more complicated as it is a multi-part question. The first part is whether it is better to have fewer, larger sticks of RAM or more, smaller sticks of RAM. The last thing we will cover does not relate directly to performance, but is the estimated amount of RAM you will want in your system.
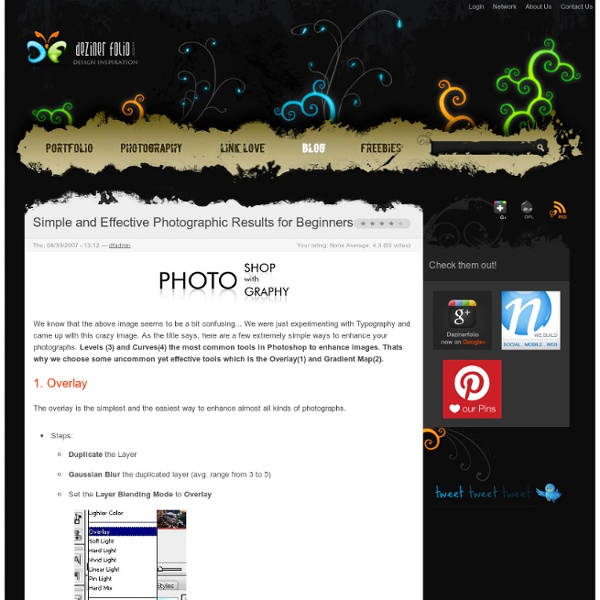
Achieving a Vintage Look Through Color Tones in Photoshop CS by Guest Contributor Anna Gay Photographers are often striving for a “vintage” look in their photos, and even though there are endless ways of achieving a vintage look, there are a couple of characteristics to keep in mind. First of all, the color tones in a vintage photo often lean towards either a blue or a red hue, or a cross-processed look. Vintage photos also have an element of noise or grain that can be achieved through textures, and also a certain amount of vignetting around the edges of the photo. This photo is the result of adjusting the color curves, adding two vignettes, and a color fill, which we will walk through step-by-step. First, open your photo in Photoshop and make sure your foreground color is set to white in your side tool bar. You will see the above dialogue box. As you can see here, there should be three layers – your Background image, then your two gradient layers. Now, let’s adjust the color curves. Use the drop down menu to adjust each color channel.
Photoshop CS6 GPU FAQ Adobe tested the following video cards before the release of Photoshop CS6. This document lists the video card by series. The minimum amount of RAM supported on video cards for Photoshop CS6 is 256 MB. Photoshop 13.1 cannot display 3D features if you have less than 512 MB of VRAM on your video card. Important: This document is updated as newly released cards are tested. Adobe tested laptop and desktop versions of the following cards. nVidia GeForce 8000, 9000, 100, 200, 300, 400, 500, 600 series nVidia Quadro 400, 600, 2000, 4000 (Mac & Win), CX, 5000, 6000, K600, K2000, K4000, K5000 (Windows & Mac OS) AMD/ATI Radeon 2000, 3000, 4000, 5000, 6000, 7000 series AMD/ATI FirePro 3800, 4800, 5800, 7800, 8800, 9800, 3900, 4900, 5900, 7900 AMD/ATI FireGL W5000, W7000, W8000 Intel Intel HD Graphics, Intel HD Graphics P3000, Intel HD Graphics P4000, Intel(R) HD Graphics P4600/P4700