
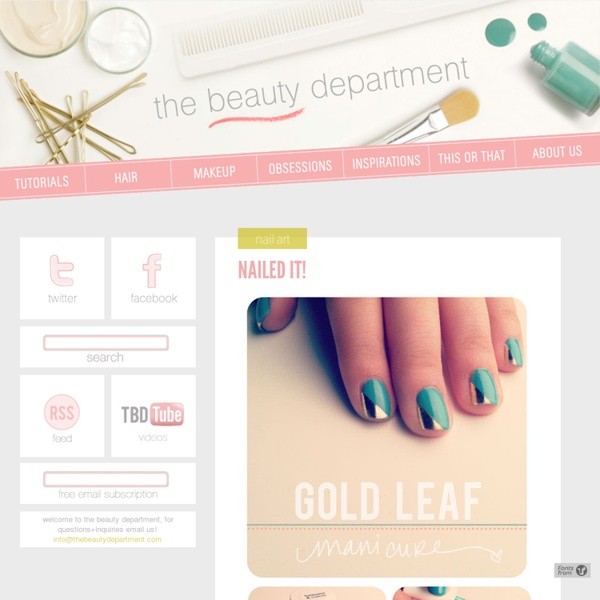
NAILED IT! photos/post/design: Kristin Ess (wood floor insert photo from remodelista.com) You gotta love those magical moments when you’re just minding your own bizz and inspiration jumps out and smacks you right between the eyes. Not long ago I was looking through floor patterns for a home project. My favorite pattern in the world is called the “herringbone pattern”. NOTE: Before you start, use one of your polish colors as a base for your nails about an hour before (or the night before) so they have plenty of time to dry before you apply the nail strips! Take a section of nail strips from the Sally Hansen Hard as Nails French Manicure kit and cut them in half long ways.
PIN IT UP, GIRL Our email box is literally flooded with requests for updos so here’s a fun one to get us all going! This is always a favorite for attending an event. This updo looks gorgeous on any hair color but particularly amazing with hilighted hair because it gives the hair lots of depth and dimension. For lack of a better word, I love the way it becomes “swirly”. Best thing is; it’s easy to do, gorgeous and keeps your hair out of your way for the night. Tools you’ll need: curling iron (to prep the hair with waves), sectioning clips, teasing comb or brush, clear elastic rubber band, bobby pins, light to medium holding hairspray (to mist over at the end). Tags: bride, bridesmaid, date, hair, hair style, hair tutorial, how to, kristin ess, kristin ess hair, lauren conrad, prom, sister, special occasion hair, the beauty department, thebeautydepartment.com, tutorial, twisted, updo, wedding, wedding hairstyles Related posts:
MANI MONDAY: DIY GLITTER POLISH photos/post/graphic design by Kristin Ess A lot of you have mentioned that some of the polishes that we’ve posted in the past are too expensive when you’re living on a budget. Well, this sparkly DIY glitter polish tutorial should help you out. Here we go: Roll a post it into a cone shape and tape the side to create your funnel.You’ll need 3 kinds of sparkle. I used thick chunky craft glitter from the craft store, a fine craft glitter by Martha Stewart, and a gold pigment powder. This makes a great gift when you’re a little tight on money– just personalize it by re-labeling the bottle with love. Tags: beauty, DIY, do it yourself, gift idea, glitter, how to, kristin, kristin ess, mani, mani monday, manicure, nail polish, nailed it, nails, polish, polished, robin's egg mani, sparkles, sparkly, the beauty department, thebeautydepartment.com, tutorial Related posts:
MANI MONDAY (DOUBLE FEATURE!!) Hot date this Valentine’s day? Perhaps you want to try this mani! And even if you’re flying solo or hanging with friends, this manicure is bestie approved and the combination is really fun. Fully inspired by a pair of Louboutins– it’s like looking at them from the bottom. The subtle hint of animal print + rich red = a fun, flirty vibe! TOOLS: cheetah print nail stickers (used OPI + Sephora in this tutorial), reinforcement stickers, red nail polish, clear top coat. Steps 1. 2. 3. 4. 5. AND… Next up is the sweeter side of the Valentine mani. TOOLS: base & top coat, dark pink, medium pink, light pink, reinforcement stickers. 1. 2. 3. 4. 5. 6. Tags: DIY, how to, jenna day, kristin ess, mani, manicure, nail, nail art, nail polish, nails, pretty, the beauty department, thebeautydepartment.com, tutorial, valentine, valentine's day Related posts:
PRETTY POLISH IDEA photos + post by Kristin Ess First of all, sorry for the lack of posts this week. By now you know that Lady Conrad has a brand new book called THE FAME GAME. We joined her on her book tour and that busy schedule left little time for much else. But we’re back and bringing you the ombre stain mani! We’ve seen lots of ombre techniques in the past, but this one is pretty cool because it’s done on your bare nails and has more of a stain effect than looking like actual nail polish. You will need: 3-4 gradient nail polish colors (dark to light and all in the tonal family), a clear top coat, a triangle makeup sponge, a cup of water, a piece of paper for blotting the polish, a paint brush + nail polish remover for clean up. Unscrew the lids of your 3 or 4 gradient colors so they’re ready to go. Try it in other colors. Tags: DIY, do it yourself, how to, kristin ess, mani, mani monday, manicure, nail art, ombre, paint, polish, spring, stain, style, summer Related posts:
SHORT STUFF photos and post design: Kristin Ess This updo/chignon was kind of a random discovery for short hair. My gorgeous client Katie, who has a long bob, was sitting in my chair and this happened so we thought we’d snap some photos and share since we get a lot of requests for short hair styles! TOOLS: bobby pins, accessory, hairspray. Prep: You’ll want the hair to have some texture before you pin it up. Take the entire left side and start twisting near your ear. Now using a hand mirror, check it out from the sides and back to make sure it’s well proportioned and balanced. Add a sparkly accessory and this will make a great New Years Eve updo for you shorties! Tags: accessories, accessory, chignon, DIY, hair, hair style, how to, kristin ess, new years, new years eve, short hair, the beauty department, thebeautydepartment.com, tutorial, twist, twisted, up style, updo Related posts:
Tuto Bonjour les filles ! Je reste dans mon délire "Je rentabilise à fond mes vernis menthes" en vous proposant un nail art qu’on pourrait appeler chevron ombré, ou un truc du genre. J’ai utilisé plusieurs vernis pour le réaliser: Saint George de chez A England, At Vase Value de China Glaze, Syrma de LM cosmetic, Mind your Mittens d’Essie et le Mor12 de Nfu Oh. Bien évidemment, le même motif est réalisable avec plein d’autres nuances et marques, c’est juste que ce sont eux que j’avais sous la main au moment où l’envie de gribouiller sur des ongles m’a prise ! Je suis un peu déçue (pour ne pas dire atrocement) par mes photos puisque j’avais totalement perdu l’habitude de les prendre à la lumière du jour, du coup désolée d’avance pour les reflets de la fenêtre un peu partout, on perd pas mal en qualité mais bon, on va s’en sortir ! Enfin bwef, je vous montre les différentes étapes et vous fais un petit topo:1. Like this: J'aime chargement…
PRIM + PROPER photos: post designed by kristin ess Today we’re introducing you to one of the easiest hair tutorials ever– the braided bun! It can be done on almost any texture or length of hair, using regular or fishtail braids! Luckily, we have our very own gorgeous/genius photographer, Angela Kohler, (in front of the lens for once) to show us how this is done… Before you start, know that this hair style is just 5 simple braids, made into a bun shape. It makes things a little less complicated when you think of it like that. TOOLS: curling iron, 5 clear elastics, bobby pins, sectioning clips and hairspray is optional! Start by curling your hair. Xx Kristin Tags: angela kohler, braided, braiding, braids, braidy, bun, bun braid, fun, hair, hair do, hair style, kristin ess, kristin ess hair, lauren conrad, new year, new years, new years eve, NYE, style, the beauty department, thebeautydepartment.com, tutorial, up do, up style, updo Related posts: