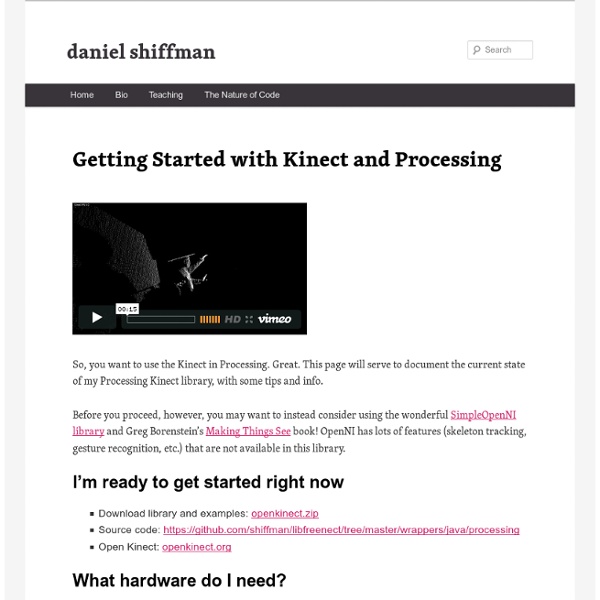
Getting Started with Kinect and Processing
Main Page
C++ GL Example
main.cpp Makefile This Makefile is probably not Portable to your System then are changes required CC = g++ LD = g++ LDFLAGS = CFLAGS=-g -Wall `pkg-config --cflags libfreenect` -lopengl32 -lglut32 LIBS = `pkg-config --libs libfreenect` -lGL -lGLU -lglut OBJECTS = main.o PROG = mycppview all:$(PROG) $(PROG): $(OBJECTS) $(LD) $(LDFLAGS) $(LIBS) $(OBJECTS) -o $(PROG) %.o: %.cpp $(CC) $(CFLAGS) $(LIBS) -c $< clean: rm -rf *.o $(PROG)
Making Things See Available for Early Release
I’m proud to announce that my book, Making Things See: 3D Vision with Kinect, Processing, and Arduino, is now available from O’Reilly. You can buy the book through O’Reilly’s Early Release program here. The Early Release program lets us get the book out to you while O’Reilly’s still editing and designing it and I’m still finishing up the last chapters. If you buy it now, you’ll get the preface and the first two chapters immediately and then you’ll be notified as additional chapters are finished and you’ll be able to download them for free until you have the final book. This way you get the immediate access to the book and I get your early feedback to help me find mistakes and improve it before final publication. So, what’s in these first two chapters? Chapter Two begins the real work of learning to make interactive programs with the Kinect. I’m also excited to see what O’Reilly’s design team comes up with for a cover. Enjoy the book!
Connect Kinect to PC Using PrimeSense Drivers - OpenKinect | Grups de Google
Hi I was confused with different instructions for connecting Kinect to PC. Actually I couldn't install OpenKinect drivers, but I come up with an instruction 4 Dummies! I would be glad if somebody makes something like this for OpenKinect. Sajjad Step 1 Uninstall any previews drivers, such as CLNUI, OpenKinect,.... Uninstalling a driver does not seem to be easy esp in case of OpenKinect Step 2 Download and install the latest stable or unstable OpenNI Binaries from OpenNI website. There might be a security check message in this step and the next one. Step 3 Download Kinect Driver from the following link. Unzip the file and run avin2-SensorKinect-0124bd2\Bin\SensorKinect-Win32-5.0.0.exe Step 4 Restart Step 5 Plug in Kinect. Currently no driver for Audio available by Primesense, although there is one provided by OpenKinect. Step6 Check OpenNI samples. Step 7 Download and install the latest stable or unstable OpenNI Compliant Middleware Binaries (NITE) from OpenNI website. Step 8 Restart. Step 9 Step 10
Multimedia- ASUS Xtion PRO LIVE
Multiple sensing functions to make development easy The Xtion PRO LIVE uses infrared sensors, adaptive depth detection technology, color image sensing and audio stream to capture a users' real-time image, movement, and voice, making user tracking more precise. The Xtion PRO LIVE development solution comes with a set of developer tools to make it easier for developers to create their own gesture-based applications without the need to write complex programming algorithms. 1. 2. 3. 4. In addition, the Xtion PRO series also supports the Unity3D game engine to make game/app development easier. Easy to use The Xtion PRO LIVE features an easy plug and play USB design, with the Xtion PRO LIVE development solution OPNI NITE middleware compatible.
Related:
Related:
