
page corner bookmarks | I Could Make That This project comes to you at the request of Twitterer @GCcapitalM. I used to believe that a person could never have too many books, or too many bookmarks. Then I moved into an apartment slightly larger than some people’s closets (and much smaller than many people’s garages) and all these beliefs got turned on their naïeve little heads. But what a person can always look for more of is really cool unique bookmarks. Page corner bookmarks are cute, practical and deeply under-represented in the world.* They’re easy to make, easy to customize, and will set you apart from all those same-same flat rectangular bookmarks. If you like this tutorial, here are a couple others that might be up your alley. If you’re loving the toothy monster vibe, check out these simple monster heating bags, filled with rice or wheat and entirely microwavable, to keep toes or fingers or tummies warm during the chilly winter months. What you’ll need: Putting it all together: 1) Follow steps 2 and 3 from above.
page corner bookmarks This project comes to you at the request of Twitterer @GCcapitalM. I used to believe that a person could never have too many books, or too many bookmarks. Then I moved into an apartment slightly larger than some people’s closets (and much smaller than many people’s garages) and all these beliefs got turned on their naïeve little heads. But what a person can always look for more of is really cool unique bookmarks. Page corner bookmarks are cute, practical and deeply under-represented in the world.* They’re easy to make, easy to customize, and will set you apart from all those same-same flat rectangular bookmarks. If you like this tutorial, here are a couple others that might be up your alley. If you’re loving the toothy monster vibe, check out these simple monster heating bags, filled with rice or wheat and entirely microwavable, to keep toes or fingers or tummies warm during the chilly winter months. What you’ll need: Putting it all together: 1) Follow steps 2 and 3 from above.
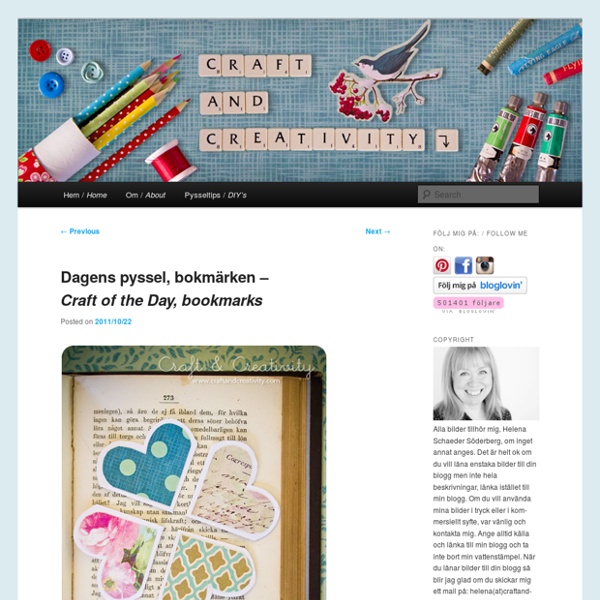
Button Bookmarks « Quiver Full of Blessings Oct18 Christmas gift ideas are totally swirling around in my mind. If you, like me, are also thinking of pretty little gifts that you can make ahead, here’s another quick idea for you. Also, if you are familiar at all with my blog, you’ll know that I did another bookmark idea not too long ago. Well, here’s another one, this time for all of you non-sewers out there. Thinking of trying to make some for yourself? All it takes are a few simple steps: 1. 2. 3. 4. 5. 6. Like this: Like Loading... 8 Cute DIY Bookmark Ideas | Good Life Eats - StumbleUpon bookmarks | 26 comments I don’t really use real bookmarks. I’m not sure why. They’re not expensive, or hard to make, but I tend to just pick up whatever to mark my pages. (For those curious, I finished A Million Suns a couple days later and really enjoyed it! I’ve been eye-ing lots of super cute DIY bookmarks for the last few months that I’ve seen pop up around the web. The problem is, often my bookmarks fall out and I lose my page. I’m definitely going to keep these in mind for future gift giving opportunities after I’ve made a couple for our use at home. 8 Cute DIY Bookmark Ideas Bow Tie Paper Clips Using Fabric Scraps from How About Orange. No-Slip Bookmark Tutorial from Mary Janes and Galoshes. Fabric Button Paper Clip Bookmarks from Quiverfull of Blessings. Remember when I mentioned all those cute ways to use or make fabric rosettes recently? Page Corner Monster Bookmark Template from I Could Make That. Ribbon Bookmark or Journal Wrap Tutorial from Craft Snob. About the Author:
Hand Embroidered Cards Look what I found in my desk drawer! I made these embroidered cards so long ago and then just tucked them away in a drawer to be forgotten about. What a shame! I thought these cards would make a great DIY for the blog because they're easy and fun to make, and you probably have all the supplies on hand already. If you're anything like me you have waaaaay too many colors of embroidery floss tucked away somewhere. What you'll need: Pencil for drawing your designPiece of thick cardboardEmbroidery flossSheets of blank paperEmbroidery needle and a pin with a headBlank Card Start by drawing out your design on a piece of thin blank paper. When I made my fruit cards, I actually used an iron-on transfer from Sublime Stitching, which is a really great book that you should all run out and buy right this very second. Now you can start poking holes along the lines using the pin with a head. Now comes the fun part! Once you're done, admire your work!
Beautiful DIY Kiragami Card Last month, my best friend took me out to lunch for my birthday. She gave me one of the most unique and beautiful birthday cards ever. Surprisingly she told me she made it herself. Now she has always been a "Martha Stewart" type, doing lots of fun crafty projects, but this card was different. So I asked her what inspired her? She smiled anticipating the question, knowing I would be impressed. After lunch, I rushed home back to my computer and searched YouTube. The freebee pattern took two sheets of card-stock paper to make. For the next hour, I believe I made all thirteen of the patterns. When I first came about Curbly last month, I really enjoyed reading articles from creative people like berryberr, diy maven and chrisjob. I've always liked playing around with origami, I could do the “crane,” the “fortune-teller thing” and the ninja star. If you want to check it out you their web site is The YouTube video is at:
Lined Paper Tee by Maybe Matilda I’m pretty dang excited to be guest posting on U Create, of all places, with an easy and fun project for you. Just in time for heading back to school, I came up with this cute top: My name is Rachel, and I blog over Maybe Matilda. I’m from small-town New York, currently living in Utah with my soon-to-be-chiropractor husband and our soon-to-be-one-year-old son. I think this lined paper tee is such a fun way to bring out the inner student, and possibly even encourage a little bookishness in a little one (maybe that’s a stretch, but a girl can hope, right?). It’s really simple to put together, and you can easily make it in any size. Here’s what you’ll need to make this tee: a white tank, tee, or onesie masking tape foam brush blue and red acrylic paint fabric painting medium (available at craft stores–you’ll find it with the paint supplies) (You can see here that I only painted in every other open space for the adult tee. Give it some time to dry, then carefully remove the tape.
10 Things You Should Always Buy in Bulk Meat Normally perishable goods should be avoided at the bulk store, unless you’re feeding one of those enormous families that they make reality shows about. But one notable exception is meat, which tends to freeze well. “I do [buy meat] if it fits into my meal plan for the month,” says House. Our tip? Photo Credit: stevendepolo