background preloader

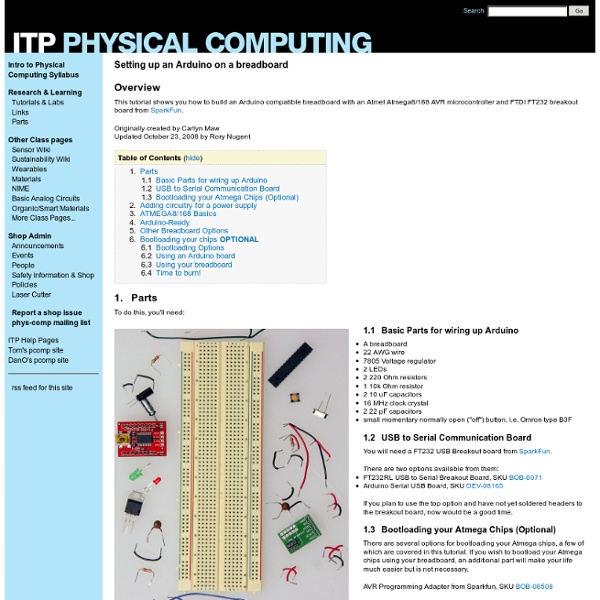
Tutorials / Setting up an Arduino on a breadboard

Tutorials / Setting up an Arduino on a breadboard

Online | Arduino My older son recently started school and needed his own desk for doing homework. I wanted to make something nicer than a simple tabletop with legs, and realized that I could also build in a bit of fun for when the homework is finished. Both my boys and I still had space travel on our minds from our summer trip to Kennedy Space Center. For this desk project, I decided to go with a NASA theme. I researched the Apollo Program as well as NASA's Mission Control Center, and designed my own console roughly based on those. I say "roughly" because the actual Mission Control does more monitoring than controlling, and isn't awash in the whiz-bang rocket noises young kids appreciate. The desk resides under my son's loft bed (which I also built), and stays closed until the homework is finished: When playtime begins, the lid flips up to reveal the Mission Control console: As I mentioned in the video, I painted the underside of the lid with magnetic primer.

PIC vs. AVR smackdown OK, I know what you people want. You want ultimate fighting, embedded E.E. style. You want to know WHICH IS BETTER, PIC OR AVR? Well, I know what side I'm placing my bets on (AVR of course) but for 99% of beginners, it doesn't matter too much which way you start. Regardless, I'm tired of answering the same questions over & over, so here we go! In the last few years, D.I.Y. electronics has taken a major leap forward with the introduction of powerful yet low-cost, easy-to-program microcontrollers. Right now there are two major 'houses' of microcontrollers: the Microchip PIC family and the Atmel AVR family. I am not really an expert here, so please help me fill in this page with more useful info, post it in forum! This is the first point, one which I think is pretty important. Winner? Price is a tough one to compare because sometimes one chip will have more peripherals or RAM. 8-pin: PIC12F629 ($1.29) v. Winner? Parlez-vous turing completeness? Winner? On the AVR side, there's BASCOM.

ArduinoExpertCanPositionServomoteurx3 ARDUINO - EXPERT - CAN - SERVOPar X. HINAULT - Créé le 28/02/2010 1. Présentation Ce programme contrôler 3 servomoteurs à l'aide de 3 résistances variables. Le point essentiel ici est l'alimentation des servomoteurs qui doit être externe à la carte Arduino : voir cette page pour plus de détails. Ce programme utilise les fonctionnalités suivantes : la conversion analogique numérique 10bits sur les voies analogiques analog 0, analog 1, analog 2, 3 servomoteurs 2. 2.1 L'espace de développement Arduino ... pour éditer, compiler le programme et programmer la carte Arduino. 2.2 Le matériel suivant pour réaliser le montage associé une plaque d'essai pour montage sans soudures, des straps, 3 résistances variables linéaires de 10 KOhms, 3 servomoteurs 3. Dans le cas d'une carte Arduino : l'intensité maximale disponible sur une broche est de 40mA l'intensité maximale cumulée pour l'ensemble des broches est 200mA l'instensité maximale que peut fournir l'alimentation 5V de la carte est 500mA. 4. 5. 6. 7. 8.

Arduino Tutorial - Learn electronics and microcontrollers using Arduino! So, I get two or three emails a day, all basically asking the same thing: "Where can I learn about electronics?" In general, most of these people have seen some of my projects and want to be able to build similar things. Unfortunately, I have never been able to point them to a good site that really takes the reader through a solid introduction to microcontrollers and basic electronics. I designed this tutorial course to accompany the Arduino starter pack sold at the Adafruit webshop. Follow these lessons for happiness and prosperity. Lesson 0 Pre-flight check...Is your Arduino and computer ready? Here are some recommended tools: If you need to get any soldering done, you may also want.... All of the content in the Arduino Tutorial is CC 2.5 Share-Alike Attrib. Love it? To some extent, the structure of the material borrows from: The impressively good "What's a microcontroller?" "Spooky Arduino" - Todbot's excellent (if fast-paced!)

Welcome ArduinoExpertCanPositionServomoteur ARDUINO - EXPERT - CAN - SERVOPar X. HINAULT - Créé le 20/02/2010 1. Présentation Ce programme Positionne un servomoteur à l'aide d'une résistance variable (potentiomètre) 10K. Ce programme utilise les fonctionnalités suivantes : la conversion analogique numérique 10bits sur les voies analogiques analog 0, un ou plusieurs servomoteurs 2. 2.1 L'espace de développement Arduino ... pour éditer, compiler le programme et programmer la carte Arduino. 2.2 Le matériel suivant pour réaliser le montage associé une plaque d'essai pour montage sans soudures, des straps, une résistance variable linéaire de 10 KOhms, servomoteur 3. Connecter sur la broche 2 (configurée en sortie) la broche de commande d'un servomoteur. la broche de commande d'un servomoteur. Dans le cas d'une carte Arduino : l'intensité maximale disponible sur une broche est de 40mA l'intensité maximale cumulée pour l'ensemble des broches est 200mA l'instensité maximale que peut fournir l'alimentation 5V de la carte est 500mA. 4. 5. 6. 7. 8.

The World Famous Index of Arduino & Freeduino Knowledge processing GUI, controlP5 About controlP5 is a library written by Andreas Schlegel for the programming environment processing. Last update, 07/30/2015. Controllers to build a graphical user interface on top of your processing sketch include Sliders, Buttons, Toggles, Knobs, Textfields, RadioButtons, Checkboxes amongst others and can be easily added to a processing sketch. Installation Unzip and put the extracted controlP5 folder into the libraries folder of your processing sketches. Details Keywords gui, ui, controller, interface, user interface Reference. Source. Platform osx, windows, linux Processing 2.2.1 Dependencies none User interface for the 'vulcano generator'. project synthazards, syntfarm. A complete list of features can be found on controlP5's github page. Features Automatic controller-event detectionControlP5 offers a range of controllers that allow you to easily change and adjust values while your sketch is running. Custom FontsBy default controlP5 uses a bitFont to render text. Examples

[PoBot] Contrôleur simple d'un moteur électrique Avec un seul circuit de type pont en H (L293 ou SN754410), on peut contrôler deux moteurs à courant continu ou un seul moteur pas à pas à deux phases. C’est ce que nous avons fait lors de nos ateliers hebdomadaires et que nous vous présentons ici. Le but de cet article est de reproduire rapidement une expérience simple : faire tourner un moteur électrique à courant continu ou un moteur pas-à-pas (tels que ceux qu’on récupère dans des imprimantes) avec un composant simple et peu cher. Bien sûr, il faut adapter votre choix de pont en H selon la puissance nécessaire : un gros moteur aura besoin d’un pont plus important (tel le L298). Pas de grande théorie sur les ponts en H, mais juste un rappel : les moteurs électriques que nous allons utiliser font tourner un aimant en faisant circuler un courant dans des bobines. Si vous disposez d’une carte électronique intégrant ce pont en H, c’est plutôt cet article qu’il vous faut. Le circuit intégré Le schéma de test Voici pour un moteur pas à pas :

A Multi-Protocol Infrared Remote Library for the Arduino Do you want to control your Arduino with an IR remote? Do you want to use your Arduino to control your stereo or other devices? This IR remote library lets you both send and receive IR remote codes in multiple protocols. It supports NEC, Sony SIRC, Philips RC5, Philips RC6, and raw protocols. If you want additional protocols, they are straightforward to add. The library can even be used to record codes from your remote and re-transmit them, as a minimal universal remote. To use the library, download from github and follow the installation instructions in the readme. How to send This infrared remote library consists of two parts: IRsend transmits IR remote packets, while IRrecv receives and decodes an IR message. #include <IRremote.h> IRsend irsend; void setup() { Serial.begin(9600); } void loop() { if (Serial.read() ! This sketch sends a Sony TV power on/off code whenever a character is sent to the serial port, allowing the Arduino to turn the TV on or off. How to receive Hardware setup

Wiring playground - SingleServoExample Introduction This tutorial explains how to control a servo from your computer using arduino, processing and Arduino Diecimilia. Don't be fooled, almost none of this is my own code. This example uses the Software Servo Library. Connections It's really very simple to connect the servo to the arduino board. See the pictures: Power Connect the red from servo to +5V on arduino. Ground Connect black/brown from servo to Gnd on arduino. Signal Connect white/orange from servo to Analog in 0 on arduino. Arduino code This code is the same as in Software Servo Library. For this code to compile succesfully in arduino, you'll need the code: The contents of that zip-package go into arduino-xxxx/hardware/liraries-directory. Processing code

Arduino Interrupts Often when working on microcontroller projects you need a background function to run at regular intervals. This is often done by setting up a hardware timer to generate an interrupt. The interrupt triggers an Interrupt Service Routine (ISR) to handle the periodic interrupt. In this article I describe setting up the 8-Bit Timer2 to generate interrupts on an Arduino ATMega168. If you are following the Arduino sound articles this one will be important to read as well. The Arduino default processor is an ATMega168 (datasheet link). Interrupts? Interrupts Links When a new character arrives the UART system generates an interrupt. If you have lots of interrupts firing or fast timer interrupts your main code will execute slower because the microcontroller is spreading it’s processing time between your main code and all the ISR functions. You may be thinking, why not just check for a new character every now and then instead of using this complicated interrupt process.

Related: