
Etoles et leurs grilles gratuites 25 février 2012 6 25 /02 /février /2012 17:16 Etoles aux coloris et aux points fantaisies différents , accompagnées de leurs grilles gratuites , trouvées dans la Galerie Picasa de " Roheline " . Etole aux carrés assemblés Etole parme et son joli point fantaisie Etole aux fleurs bleues Etole alternant des rangées de motifs carrés Etole aux motifs ronds Etole blanche ornée de petites fleurs Etole jaune aux motifs carrés Etole blanche aux motifs ronds Je souhaite un excellent crochet à celle qui voudraient réaliser une de ces jolie étoles .
afghan Video Tutorial: Crochet Solid Square 5 Rounds Video Tutorial: Lefty Crochet Solid Square 5 RoundsVideo Tutorial: Reverse Single CrochetVideo Tutorial: Lefty Reverse Single Crochet - Crab StitchWritten by Teresa RichardsonMaterialsSize K Crochet Hook Size J Crochet Hook 4-Ply YarnAbbreviations CH - Chain SL ST - Slip Stitch DC - Double Crochet EA - Each LP - Loop SC - Single Crochet Chain 4, join. Round 1: CH 3, 2 DC through CH loop. *Chain 2, 3 DC, complete 3 times total from *, CH 1, SC in beginning chain to join. Round 7: CH 3, 1 DC in same CH space. 1 DC in ea of the next 23 DC, *2 DC, CH 2, 2 DC in the next CH 2 SP. 1 DC in ea of the next 23 DC, Complete 3 times total from *, 2 DC in beginning CH, CH 1, SC in beginning chain to join. (27 double crochet total on each side) Round 14: Change to a size J crochet Hook. Continue with the basic pattern and corner increases for a larger afghan.Please visit +Crochet Geek on Google+.
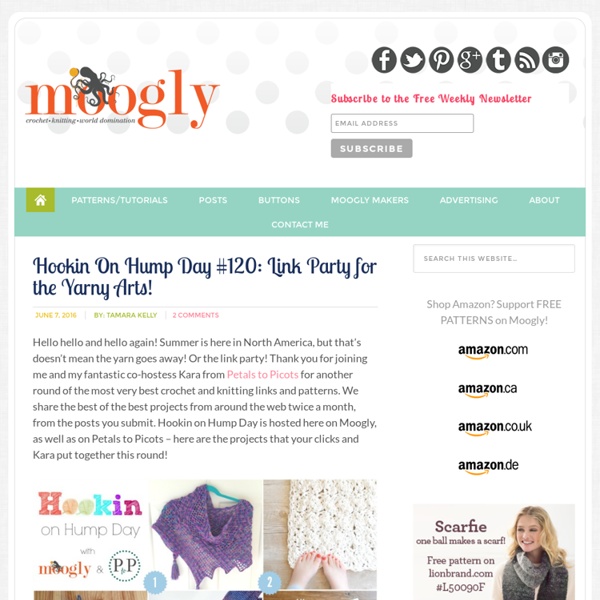
Hookin On Hump Day #82: Link Party for the Yarny Arts! Welcome back to Hookin On Hump Day! I’m super happy to be here with my new co-host, Kara from Petals to Picots! If this is the first time you’ve been here since Kara came on board, be sure to check out all the details of the newest version of Hookin On Hump Day! Click on the names of the patterns and posts you like to go to their sites and pages! #1 – MOST CLICKED: Crochet Shawl Cir-Collar Vest by Maz Kwok’s Designs: So stylish and trendy and a FREE crochet pattern too! #2 – Colorful Coffee Cozies by 4 You With Love: So bright and cheery and a FREE knit pattern too! #3 – Crochet Monster Hat by Domestic Evolution: A super fun hat your kids will LOVE. #4 – Basic Newsboy Hat by Craft Chic: The perfect accessory for these chilly Autumn days! #5 – Triangles & Stripes Baby Blanket by 5 Little Monsters: Great handmade gift idea and a FREE crochet pattern! Thank you all for linking up! Now onto this round’s party! I can’t wait to see what you’ve made now!
designs by diligence Better Together: Free #Crochet Pattern Sets for Gift Giving! Once I fall in love with a stitch pattern, I love to explore several ways to use it. So, I thought I’d gather together these gift set ideas using Moogly patterns! Maybe you’ve made one of these, without realizing there were items to match – now you’ll know! And maybe fill in a few blanks on your gift list! Disclaimer: This post includes affiliate links. 15 Free Crochet Moogly Gift Sets Click on the items you are interested in to go to their pattern pages! Moroccan Tile Set: Blanket, Bag, Hat, Fingerless Mitts, and Cowl! I hope you discovered some new and interesting Moogly patterns to add to your to do list! Be sure to get more Moogly (more more more!)
Hooked on Crochet My free patterns This crochet cell phone cover with detachable strap is not only pretty, but also very practical! Use it without strap to protect your cell phone worn in the bag or attach the strap and hang it around your neck, for example, to have your hands free at the playground or hearing music while driving a bike, etc. *Disclaimer: This post includes affiliate links. Token's Hooky Love The Top 10 Seasonal Trends and 30+ Free #Crochet Patterns! One request that pops up every year is what the new trends are going to be – in fashion, in design, and in crochet! And while the magazines have to figure this stuff out months in advance, I’ve been able to sit back and look around and see what’s really catching people’s eyes. Here is my collection of the top 10 Fall and Winter Trends for 2014 – and free crochet patterns that fit in each category! The overall theme this autumn seems to be big thick yarns and lots of texture! Bulky and super bulky yarns are everywhere in stores, and this trend is also visible on the fashion runways, where knit and crochet has made a big impact again this year. The Top 10 Fall and Winter Trends – and 30+ Free Crochet Patterns! Click on the names of the patterns you like to go to their pattern pages! Chunky Slippers and Boots – a perennial favorite, slippers and boots this year are going big and thick and cozy! North Woods Slipper Boots on DROPS Design: Lots of interest here, these aren’t shy!
DIY Project: How to Crochet Baby Sandals This DIY project is both fun and cute and we can show you step by step how to crochet this sweet baby sandals. So we will walk you through the art of crocheting sandals, which your baby will just love to wear. You will need: soft yarn in 2 colors, soft wool for trim, buttons, G6- 4.25 mm hook (to go down a size use a G-4mm, to go down a second size use a f-3.75mm hook). And now let’s start crocheting. You can find the tutorial here, that is also the one we came across, tried it and turned out to be just perfect as we made some great baby sandals. Video: here This lovely crochet Flip Flops pattern is available here This lovely crochet Two Boot Patterns are available here Tutotrial for this lovely crochet here Tutotrial for this lovely crochet here etsy.com
Lidt flere hæklede ipad-sleeves – inspiration og en lille rettelse :) - Lutter Idyl Her var lige lidt inspiration til hvordan man kan vælge at have een bundfarve og en anden boblefarve (hvis man har købt kits bliver den anden side så modsat for at det passer med garnmængden). Garnet kommer jo i nogle fantastiske farver og til en virkelig god pris – se mere på Tusindfryd Cph – Hverdagsuld. Til alle der har spurgt så regner jeg ikke med at jeg sælger opskriften for sig selv foreløbigt.