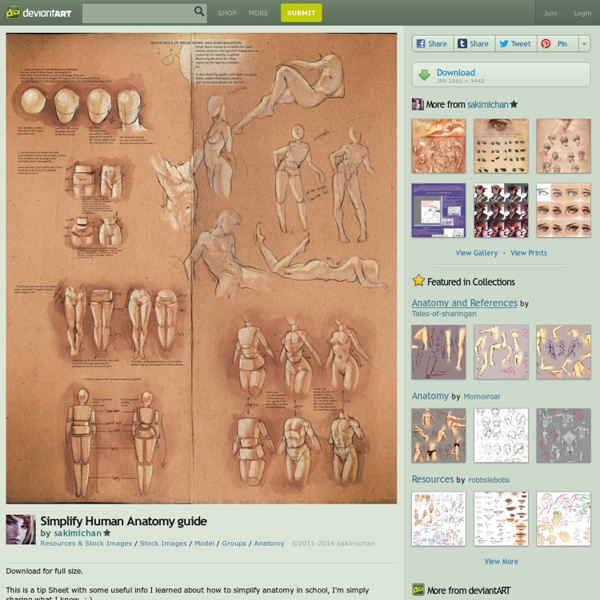


Cheederian anatomy by *BlackMysticA on deviantART .Female Gesture Pose References. by sakimichan on deviantART Artistic Anatomy Is learning to draw anatomy in a classroom more secure (since there is a teacher to check the work and possibly a book to study from) in practicing artistic anatomy drawing, or should artists focus on just practicing from images on websites/blogs like this tumblr? Asketh - pjmx24 Depending on the size of your class and where you are, your teacher can be a great guide to help you and show you what areas you need to focus on more to improve and give you good material to work from! If your class size is too big (ideally a class of no more than 15 is optimal for a teacher to give extensive feedback to all students) you might not get enough feedback to really improve as much as possible to your full potential. Outside of class (or if you have no class) you should focus on drawing in a sketchbook dedicated for life drawing/anatomy. Even a page a week of studying will help you improve. Hope that gives you some insight!
Eyes, step by step by sakimichan on deviantART Pose study6 by Kate-FoX on deviantART Pose study11 by Kate-FoX on deviantART Pose study7 by Kate-FoX on deviantART Drawing faces at an angle by moni158 on deviantART Female poses chart by Aomori on deviantART How to Draw Hair Looking back at my tutorials on drawing the head, I realized that I covered individual features, but completely left out hair. This tutorial will is split into 3 parts: The Basics, Types of Hair, and a Step by Step drawing. I’ll start this first part of the series with common mistakes that I see all the time. Common Mistakes when Drawing Hair Forgetting about the volumes This is the most common mistake I see from newer students. Too Much Texture This one is similar to the first, but this can still happen even if one pays attention to the volumes. Impatience – Bad Design There are so many random little shapes in hair, that good design is a necessity. Sharp Outlines I’m referring the the outer edge between the hair and background and also the connection between hair and skin. Consider the Form Underneath the Hair Spherical Skull Most hair styles you will draw will be affected by the skull underneath. The groups of hair wrap around the form underneath and inherit the same light patterns. Shadow