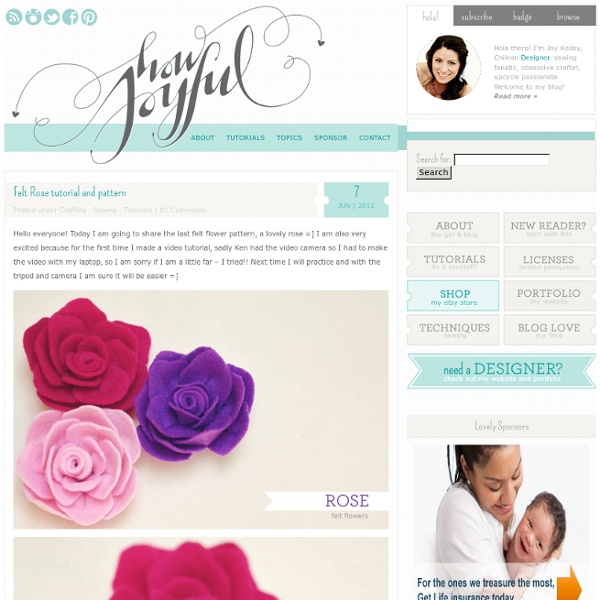
Fishtail Braided Bracelet
By KRetroK | Fishtail braided bracelet [button size="small" color="green" style="none" new_window="true" link=" Daily DIY Tumblr[/button] Try this easy,lovely and awesome DIY from The Daily DIY! You need: -22-26 inches of waxed linen string (or 1-2mm leather cord) 48 inches of twine or string (more or less depending on the thickness of your string) step one: take your waxed linen, fold it in half, and tie a knot in the end leaving a small loop. step two: lay your second string out in a straight line and place your knotted waxed linen near in the middle. start braiding as shown. step three: as you’re braiding, pull up on the string to tighten your stitches. step seven: if desired, stagger loose stitches between sections of tighter stitches to create a decorative design as seen in the tutorial banner (bottom bracelet). step nine: tie knots at the ends of your excess waxed linen strings. Comments
Owl Crochet
Here’s a little black owl to haunt your trees for Halloween. Too bad he’s much cuter than scary! This project is a pretty easy one if you can knit in the round on double pointed needles and know how to do basic increases and decreases. Owl Pattern Makes an owl that is 5″ tall (including the ears) and 4 1/2″ wide (not including the wingspan if you leave the wings free). Supplies 1 ball Chunky weight yarn. Gauge: 3 ½ stitches per inch knit in the round Gauge is not super important here, just keep in mind that is you have more stitches per inch you will have a smaller owl and if you have less stitches per inch you will have a bigger owl. Abbreviations k – knit kfb – knit front and back ssk – slip slip knit k2tog – knit 2 together Body You are knitting the body from the top down. Cast on 6 stitches. Cut off about a 12 inch tail. While still pulling tight so as not to lose your indent, tie the yarn in a small knot to the top of the owl. Ear (make 2) Pick up 3 stitches on one side of the head.
Simple Centerpiece: Recycled Paper Bouquet Vase :: Green Your Decor
You all probably already know from my sunburst mirror that I have an affinity for home decor made of recycled magazine pages. There’s something to be said about turning a material destined for the recycling bin into something beautiful that you’ll keep around for a long time to come. These paper bouquet vases are beautiful on their own, and even more so when single flowers are placed in the test tube bud vases dispersed throughout the vase. I think I’m going to get one of these for my desk. It will be a place to put a few freshly picked flowers to brighten up my work day and an homage to my days as a newspaper and magazine designer. Why It’s Green: Made of recycled magazine pages Price: $25
Felt Easter Bunnies par julieblanchette
A Tutorial: Fabulous Ric Rac Flowers » Matilda Jane Clothing Rocks
Let me start out with a warning or sorry of some sort. The warning is because I have never done a Tutorial before, so I hope this is helpful and easy to follow. The sorry is for how horrible my nails look. I promise I did them after looking through these pics. WOW! I thought I would start off with a Flower, I too, just learned how to make. Material: Time-Roughly 20 minutes about 28 inches of Ric Rac ( This will make a flower about 2 inches in diameter) Suggestion: The thicker the Ric Rac the better Felt (Any Color) One sheet will be fine depending on how many flowers you want to make. Optional: Hair Clips, leaves or buttons Step One: Take the two pieces and hot glue them together. Note: You want to glue them together as if they are a mirror of one another. Step two: Lock in each curve of the first piece with the second. Say to yourself “over,under,over, under”. *If your piece does not look like this, then you most likely glued the two pieces going the wrong direction. Pretty right? Cute right?
Rocks Decoration
Wanna hear a little known fact about me? Once I tell you you'll all graduate to BFF status because only my closest of friends know this about me. Ok, here it goes... I LOVE rocks! Phew! Try it Like This: Where to Buy I generally try not to feature the same seller twice, but this seller just has some of the coolest things!
16 Beautiful Butterfly Craft Ideas
[ Close Privacy Policy ] Privacy Policy / Your California Privacy Rights Revised and posted as of March 4, 2013 Prime Publishing, LLC ("Company," "we" or "us") reserves the right to revise this Privacy Policy at any time simply by posting such revision, so we encourage you to review it periodically. This Privacy Policy will tell you, among other things: Your California privacy rights. ACKNOWLEDGEMENT/YOUR AGREEMENT Company websites are not intended for use by individuals under the age of 18 or those who are not legal residents of the United States. HOW DO WE COLLECT INFORMATION AND WHAT INFORMATION DO WE COLLECT? Distribution Partners Website operators that license our ad serving technology pass information to us so that we may serve advertisements to you. Offer Forms We also collect information about you when you complete a survey or offer form on one of our websites or web pages. Website Registration Forms We collect information about you when you register on one of our websites.
Featured Handmade Artist- SewSweetStitches - April Bern Photography Blog - April Bern Photography
Another thing I loved about this camera? It has really convenient and easy to adjust dials to change settings on the fly (and because you're looking at the LCD screen, you can see, almost in real time, what's happening.) And lastly, this is pretty important to me, there are so many more points of focus you can select rather than just the 9 that the Mark II has! Do I want this camera? Here are some shots I took with this camera and the kit lens:
solid perfume pocket watch locket
Try as I might, I cannot seem to grasp even the most basic of feminine beauty rituals. I’m constantly struggling to master rudimentary hair and makeup techniques, and my one-time foray into the “subtle” art of perfume left everyone in the room with burning nostrils. This DIY solid perfume locket from artisanal perfumer Mandy Aftel is something I can definitely stand behind, though. Mandy only uses pure and natural ingredients to create her perfumes, and this solid scent can be easily applied with no risk of over-dousing. The old pocket watch appeals to my tomboy side, and I love its versatility; you can wear it as a necklace or pin, or simply tuck it into your pocket or purse. Read the full how-to after the jump! Creating your own solid perfume is extremely satisfying. Materials Instructions 1. 2. 3. 4. 5. 6.