
Dip Dye Ombre Tags Ombre! We love this trend. It’s been around a while for fabric but we loved incorporated homemade dip dye ombre items into our packaging. Keep reading to see how to make these pretty ombre tags! Supplies: Clean, empty can Rit dye (mine was in sunshine orange) Plain tags Spoon to stir Hot water Paper towel Mix a tablespoon of the dye with a cup of very hot tap water. Lay the can down on the paper towel. Do the same but dip it until the dye reaches about 1/2 inch beneath where the top line is. You can see in this image the difference between the harsh line and the soft line. Continue, dipping the tag progressively less and less into the dye. Let dry, personalize, and attach to a gift!
CARDBOARD ANIMAL HEADS | Paper Deer, Moose, Elephant LuisRodrigalvarez After working as a designer for several design firms, manufacturers, and advertising companies in Madrid, Spain, Luis followed his wife to Charlottesville, Virginia and landed at Cardboard Safari as head designer. The quick success of his first design, a cardboard deer trophy, emboldened them to make more fun stuff. When not designing Luis loves to cook and share his recipes with family and friends. Having grown up in Spain, he tries to recreate the flavors of the Mediterranean in his kitchen. Luis was inspired to become an artist after working and consulting for the Spanish sculptor Juan Muñoz. When starting a new design he considers the material or the tool as these define the possibilities and limitations.
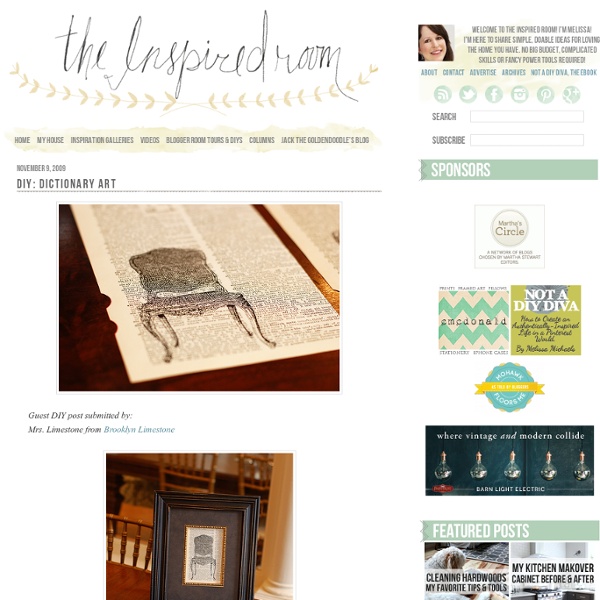
Love Map - A Tutorial I have been receiving many requests on how I made the Love Map. So here is a quick run down. This is the frame that I started with. (smaller version of this tut) I had a old frame & sanded it back I really wanted to paint it white, but didn't have any at home & I really HAD to make this right away. So I actually used Zac's paint. I used some paper towel and rubbed it back to give it a little texture. I was going to use the insert that comes with the frame, but the shape was wrong, so i decided to the use the white backing paper that comes with the frame. I found my 3 pages & ripped them out, then on another map or plain paper. Cut it out Folded, traced & cut around the heart With the maps I intended on using I placed the heart over the exact spot where "we met". I traced & cut in the inside of the pen line. Pasted all three hearts on the white paper evenly. Put glass over the top. Hang & Enjoy!! Better go cross another one off my list Danielle
Owl Stuffies Tutorial Ever since I made my son’s Halloween costume I’ve been having a lot of fun sketching and playing with the idea of making an owl stuffie. So when my mom commissioned me to make a stuffed animal as a present for a friend’s new baby I knew exactly what I wanted to make. This Pattern is to make a small owl stuffie (like the aqua one above) This pattern is not for commercial use or monetary gain Supplies 3 coordinating fabrics (one of them should be a solid color).a small amount of orange felt for the beakPolyfillScissorsFabric paint or felt for the eyesSewing machineNeedle and threadPattern below Open this image in a new tab and print at full size. The fabric that I choose for my main color came from an old pair of pants and was a heavier weight than the cotton quilting fabrics that I picked for my belly and tail colors. The next step is to join the belly wings and face pieces to make the front of the owl. Afterwards you can trim the excess wing to even up the seam.
How to make an easy and stylish paint chip mobile for your nursery Supplies: Wooden knitting ring Assorted paint chip samples in colors of your choosing Spray adhesive (optional) Circle punch Sewing machine Tape Punch out piles of circles from your paint chips samples. I had about 20 circles in each of the 5 colors. Paint chips are one-sided so you’ll have to either glue two together or sew them together when you’re making your strings of circles. Sewing them together when you’re making your strings of colors proved to make more sense to me. Line them up in piles next to your machine the way you’d like them to hang from the mobile. Hold them together and run a running stitch through the middle on your machine making sure to start with plenty of string at the beginning since we’ll be using that string to tie it to the mobile when we’re done. Remove the inner section of the wooden knitting ring (by loosening the knob). Cut four pieces of string or fishing wire, tie and tape them evenly around the circle as well.
How to Make Flying Paper Lanterns Your fire source needs to be both light and hot enough to enable the lantern to float. Take a 10-inch strip of cotton fabric, fold it in half, and tie it in a knot, giving you a small bow. Place it in a lid from a jar or on tin foil. Using pliers, drip wax from a lit birthday candle over the fabric. Heart in Ohio “Shhhhiskibob…. Shhhhhawshank Redemption…. Chicaaaaa..go!” For those of you who aren’t well versed in movie quotes, that’s from the very sophisticated, and my all-time-favorite: Ace Ventura: When Nature Calls. Although I was out of town all weekend and worked zero hours on the house, I have a cute art project to share with you that I worked on at the end of last week. Photo Credit: The insanely talented Stacie I had seen these really cool pieces of string art that someone was selling on Etsy, and as awesome as they were I just wasn’t willing to spend $65. Here’s the How-To: First step is to ask a hot, bearded man to pretty-please cut out a 12″ x 12″ board for you. I chose a primer that was gray — which I don’t recommend if you’re painting with a light color like I did. Once the board is primed and painted you can lay out all of the supplies you’ll need in an OCD fashion like so: And then the fun part: whacking away at the nails with a hammer. And now admire your handy work: Psst! Like this:
Suzy's Artsy Craftsy Sitcom: Feature Friday- Faux Metal Wall Art Looking for the Faux Metal Wall Art? Since this project was originally published on The Sitcom in December 2010, it has been my most popular project by far. Who knew that a bunch of toilet paper tubes and an idea would become so big? You can now find the full tutorial and FREE patterns on Suzys Artsy Craftsy Sitcom here: Faux Metal Wall Art I want to personally thank all my readers for making my Faux Metal Wall Art so popular! A similar project to check out would be my Faux Metal Filigree Frame. For more tutorial fun, please check out my Tutorial Page. Signing you up! If you enjoyed this post...
Cupcake Liner Gift Toppers | Family Chic by Camilla Fabbri WEDNESDAY, FEBRUARY 23, 2011 | Comments: 25 10 cupcake liners, a stapler, a pair of scissors and a few minutes are all you need to make this simple gift topper. Flatten out and stack 10 cupcake liners – staple them together at the center. Fold in half. Make evenly spaced apart cuts into liners to fray the edges. Pull apart liners and shape into a semi-circle. Glue or tape onto box.