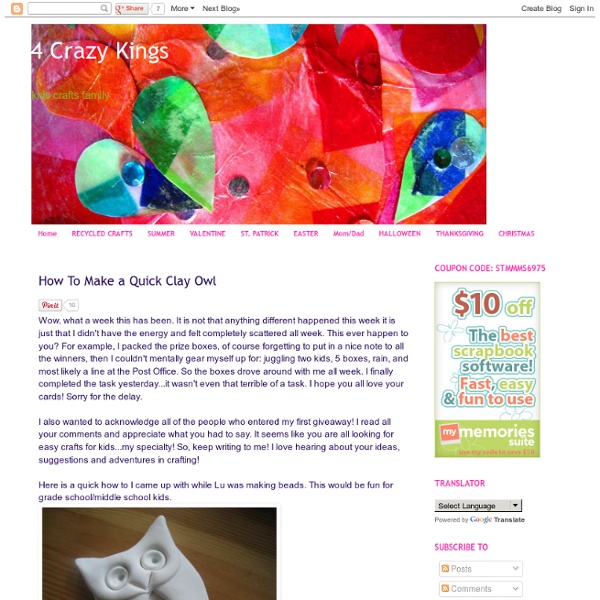
Hazards in Ceramic
Lead poisoning from pottery glaze and paint NO form of lead or arsenic may be used in our materials without specific clearance and training from the instructor. Lead is hazardous to breathe, to ingest (eat), and can be released from firing into the air. Finally, any container glazed with these materials may be toxic to eat or drink from because lead can leach into food or drink stored in the vessel. While new pottery sold today in the United States is generally assumed to be safe from lead, occasionally one still reads about cases of pottery that is accidentally sold with dangerous amounts of lead in the glaze. Lead has many very serious effects if ingested. In paint, lead carbonate was formerly used for white. The following hazardous materials may be used with care and precautions. The court did not find legal proof of negligence on the part of the chemical suppliers. The following materials can liberate toxic fumes while being fired. See:Alfred Franzblau, et.al. OUCH! Allergies
Throw, Cut, and Paste: Combining Wheel Throwing, Handbuilding and Multi-Step Glazing to Create Distinctive Vibrant Forms : Ceramic Arts Daily
The Pedestal Gravity is one of the challenges faced when it comes to thrown forms. A thrown and altered shape may have a dynamic profile from the waist up while the foot often remains static and gravity bound. This issue can be resolved in a few different ways. fig. 1 (click to enlarge) Starting a piece by throwing it up-side down allows alteration to the foot and the opportunity to create a dynamic negative shape under the base. fig. 2 To begin the pedestal, throw a tapered cylinder with a ¼-inch thick floor. fig. 3 After this rim has dried slightly but is still soft and pliable, you’re ready to alter the shape. fig. 4 Cut into the rim on either side of your mark using an X-Acto knife, making an arced, V shape. fig. 5 Following your design ideas and sketches for the finished piece, complete any slip-based surface decoration. The Vase fig. 6 The vase is thrown in two parts. fig. 7 fig. 8 fig. 9 fig. 10
Flat to Functional: Handbuilding & Slip Decorating : Ceramic Arts Daily
In this installment of the Ceramic Arts Daily Presents Video Series, potter Lisa Naples shares her love of handbuilding with earthenware. Determined to change the myth that earthenware is punky and weak, Lisa explains how this beautiful forgiving clay body is every bit as strong as its higher-fired counterparts when it’s fired beyond the traditional Cone 04. In addition to covering the mechanics of good slab rolling, Lisa guides you through her straightforward soft-slab building techniques. She demonstrates how to add interest to handbuilt forms by adding texture and cutting darts to create custom shapes. In the decorating portion of the video, Lisa gives a thorough explanation of her “dry” and “wet” slip brushing techniques, explaining how they can add both beautiful texture and color. In addition, she explains how to effectively use animal imagery to tell stories on functional objects.
Workshop Handbook: Clay Projects and Studio Resources
Welcome to your workshop! Whether you enjoy throwing, handbuilding, glaze testing or all of the above, we’ve pulled together several things for you to try out once you get back to your studio. If you’re familiar with Pottery Making Illustrated and Ceramics Monthly, then you already know they’re packed full of practical information, projects, and techniques you can use. Here’s an excerpt from one of the mini pottery workshops you’ll find in the 2014 Workshop Handbook: Clay Projects and Studio Resources: Surface Decoration by Doug Peltzman My decorating technique requires incised lines inlaid with a black slip. Note: The added moisture from the wax can soften the piece, so be careful when handling. Now that the piece has been broken up into sections, I start by filling in every other square with a pattern. The last step in the greenware stage is to apply texture if desired. To see the rest of this article, download your free copy of the Workshop Handbook: Clay Projects and Studio Resources…
mayumi yamashita 'make me me': learning by making
how it's made... how it affects whole design... why is it necessary? なぜそれが必要なのか? When you know why and how you would realise how deep 'making' could be. どうやって作るのか? 同時に、「作ること」の奥深さを知ることになりますね。
» How to Carve Low-Relief Surface Designs into Wet Clay
Carving Tools Pottery supply stores sell many types of carving tools you can use to achieve the results you want. The needle tool is very handy for cutting into tight corners. A variety of different sized loop tools can be used for extracting negative space areas. Beveled edges are easy to carve with the right size ribbon tool. Finally, for undercutting, texture and cleanup, the curved side of a double headed clean up tool works well. Plan Ahead Success depends on the careful planning of your object, a systematic method of extracting the clay, and a slow drying time. Carving Techniques To achieve the look of low relief, draw an outline onto the clay surface. Undercutting techniques create pieces with even higher relief areas. Timing and Drying Timing is crucial with this process. To learn more about Ann Ruel or see images of her finished work, please visit
SALE Yunomi Celadon Tea Bowl259 imperfect/2nd by wagnerpottery
Green Celadon Cone 10 Ceramic Glaze
Green Celadon is a High-Fire Ceramic Glaze Recipe. What is a High-Fire Glaze? High-fire ceramic glaze recipes are typically fired in the range of Cone 8 to Cone 11 (2280 degrees Fahrenheit to 2361 degrees Fahrenheit). High-fire glaze recipes are sometimes referred to as Cone 10 glaze recipes or feldspatic glaze recipes. High-fire glazes are sometimes called feldspatic glaze recipes because feldspar is usually the primary flux or melting agent. For the most part, high-fire ceramic glaze recipes are created to be used in a pottery studio setting.