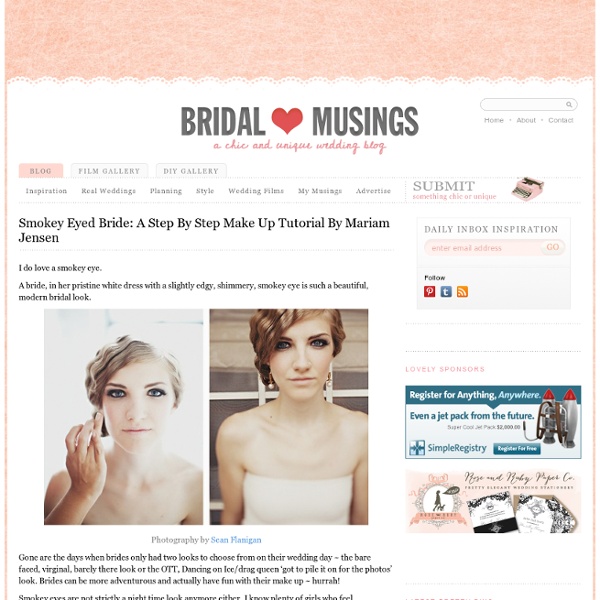
Smokey Eye Bridal Tutorial
the LIFE LESSONS blog {things crafty, thrifty, family, yummy & rambly): Lesson# 144 The Best Gifts are Homemade {Natural Chapstick}
After searching FAR AND WIDE for an awesome Christmas gift for my girlfriends this year... I finally landed on the best gift project I'm made thus far. I mean, this is way better than painted frames, decorated mugs and puff painted totes. Homemade Natural Chapstick (because who needs another crocheted tissue box cover?) 1.5 oz beeswax (1 and a half tablets) 6 vitamin E capsules 2-3 tablespoons of olive oil (2=more rigid, 3=softer) 2-3 teaspoons of coconut oil 2-3 teaspoons of cocoa butter 25-30 empty chap stick tubes OR 15 lip balm containers DIRECTIONS 1. Where I found my ingredients: Organic olive oil (local health food store) Organic coconut oil (local health food store) Vitamin E tablets (local health food store) Empty chap stick tubes (ebay and a few pill boxes) clear printer labels (walmart) Aren't they adorable? Be Brave and EXPERIMENT! Dress 'em Up! Cost per Tube The total cost I think was around $1 per tube, but I have seriously 75 percent of all my ingredients left!
Hand-made cool mint lip balm
On Tuesday I showed you the sparkly strawberry lip balms I made for my Christmas cracker gifts. They'd be great for the gals, but I also needed something for the lads so I made cool mint lip balms with a white leaf atop. Christmas gift : Cool mint lip balmIngredients 2 tablespoons of white beeswax pellets (1/2 tsp for leaves)4 tablespoons sunflower oil (1/2 tsp for leaves)Few drops of cool mint flavour oilTeal food colouringPackagingEquipmentMini leaf mouldPipettesMicrowavable glass jugMicrowavable small glass jarMetal spoonScissorsSharp knife Cool mint lip balm, How-to step by step Start by placing the beeswax pellets and oil in a glass jug and heating in the microwave on low to medium power until the beeswax pellets have melted. In a small glass pot, melt half a teaspoon of beeswax with a teaspoon of oil in the microwave until beeswax pellets have melted. Wrap washi tape around each jar to secure lids. See hand-made strawberry lip balm here, with fully illustrated photos.
Related:
Related:
