

Billy Bookcases DIY Built-in Billy bookcases are certainly not a new concept, but I never felt like the directions were close enough to what I needed. Enter my friend Kate. She gave some more details about the project, and I knew I was sold. While I loved the 15” depth of Ikea’s newer bookcase, I knew I wanted them to go all the way to the ceiling. After measuring the width of my wall, I knew I needed 4 bookcases. We found these strips at Lowes that would be the width we needed. Once these were attached with small nails and my nail gun, it really made the piece come to life. We didn’t put any wood underneath the shelves, but we did attach the shelves to the back wall with L-brackets from the top. Speaking of crown molding, that went up next. That is where my luck ran out. Finally, we installed the baseboard. The finishing touches involved caulk and paint. Sorry about the night shot, but this shows the caulking. A couple of weekends of building and some late night caulking and painting…and she was done.
Rolled Flower Gift Toppers Here is a quick and easy way to add a little charm to your gift packages. I know a lot of bloggers have extra book pages from all the fabulous paper projects floating around. Here is a way to use some of those scraps so that nothing goes to waste! You can also make these with scrapbook paper, cardstock, fabric and of course felt as shown above. You want to start with a square shape. Using a pencil or a light colored pen or crayon, you want to draw a spiral circle onto the square. Next you want to cut out all the lines that you have drawn continuing until you come to the center of the spiral leaving a small circle at the end. You’ll be left with a long paper snake! Starting with the outside of the spiral roll the paper inward in somewhat of a cone shape. Keep rolling until you get to the end. I gently rubbed some Tim Holtz Distressed Ink (Antique Linen) on the edges of each flower for a worn look. I followed the same process for the felt. Here is the end with the circle I was talking about.
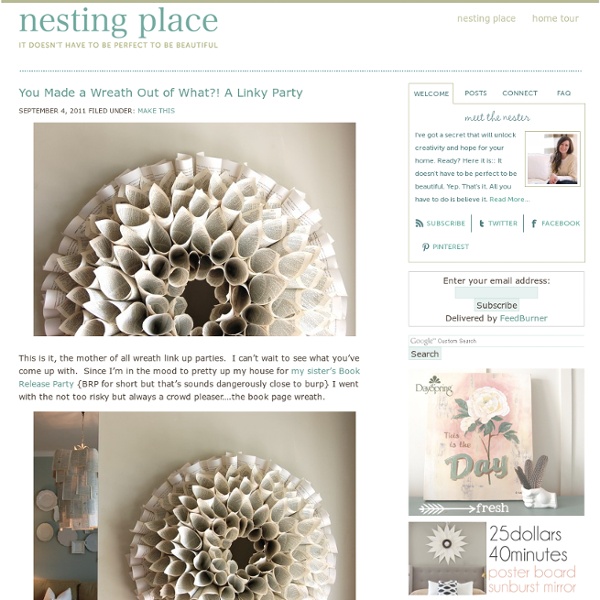
How To Make A Stylish Photo Frame For Several Photos Here is a simple yet stylish photo frame that can accomodate quite many photos at once. The idea is very simple. Fasten twines on the empty frame and hang photos using clothes pins on them. DIY Faux Curled Rosewood Wreath {Made From Rolled Recycled Book Pages} I have seen various versions of Faux Rosewood Wreaths in just about every store and catalog for the upcoming season; most with a price tag running upwards of $40 or more. Some are crafted of paper and other of real wood shavings. Last year I made a few rolled flower gift toppers from recycled book pages and they remind me so much of the curled wood roses I thought they would make a good substitute. Materials Needed:Foam Wreath FormRecycled Book PagesLots of Hot GlueRibbon to Hang The full step by step tutorial I posted last year can be found {here}.Basically you layer three book pages together and draw a spiral circle. Starting with the outside of the spiral, roll the paper inward to create the flower shape. Give the wreath form a light coat of white {or light color} spray paint to help camouflage any see-through spaces. It seriously takes quite a few roses to fill the entire wreath, however I think the finished project has such a unique look. {Simply Lovely}
How to make gift bags from newspaper When I bought something at a store recently, the clerk handed me my purchase in a bag made from a newspaper. I liked it very much and had to make some more—thus today's DIY recycled newspaper project: gift bags made from the Wall Street Journal. You can vary the dimensions, of course, but here's what I used to create a bag that's 5" tall, 4.5" wide, and 3" deep. Stack two sheets of newspaper on top of each other. Cut out a rectangle that's 15.5" wide and 8.25" tall. Fold a flap 1.25" down from the top. Cut two pieces of cardstock or chipboard to 4.25" x 1", then glue them on the widest two panels just under the top fold. Put glue on the outside of the 0.5" tab and bring the left-most panel over to form the body of the bag, aligning the cut edge of the panel with the folded edge of the flap. Upend the bag so the 2" flap is now up. Put glue on both flaps and fold them inward to form the bottom of the bag.