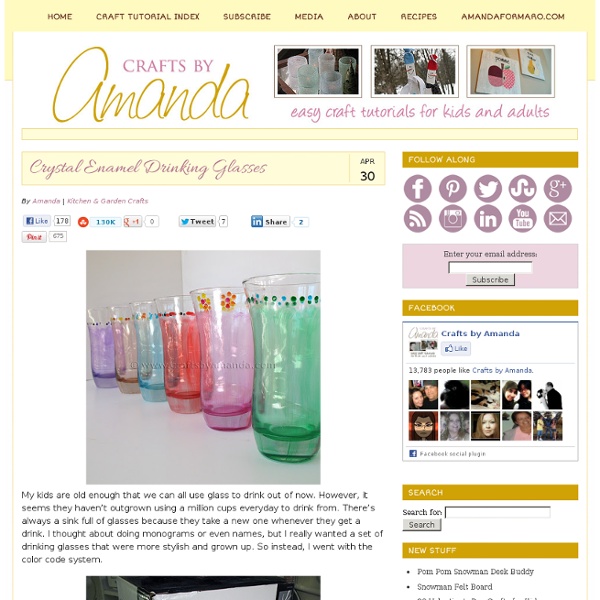
Crystal Enamel Drinking Glasses

Faux Stained Glass
All Thumbs Crafts A craft tutorial blog for the un-Martha: where those of us who are all thumbs and don't have a big budget can still create some nice craft projects. Thursday, March 17, 2011 Faux Stained Glass Please note this blog is no longer updated. Then I thought...Hmmmm...glass is non-porous and glossy...why not try it on a small votive. I cleaned the glass off first with rubbing alcohol. Posted by Screaming Sardine at 12:27 AM Email ThisBlogThis! Labels: glass, paper mache 40 comments: Load more... Links to this post Create a Link Newer PostOlder PostHome Subscribe to: Post Comments (Atom) I've moved my blog! Followers Unique hits since March 19, 2011 stats counter Labels Popular Posts Faux Stained Glass Please note this blog is no longer updated. Blog Archive Subscribe To Posts Comments Search This Blog About Me View my complete profile Total Pageviews
creative little daisy: Have you priced vintage blue canning jars lately? Wanna make your own really cheap?
I bought these probably five years ago at an antique/consignment store. I think I paid about 12 dollars for a set of four. Now you can expect to pay at least that for just one. Last night I was cruising around the internet and happened upon a link to a tutorial using mod podge and food coloring to make your own. Cool! This afternoon I decided to play around with some mod-podge and food coloring myself. Just pour some mod podge into one of your jars. Add a few drops of water to thin down just a bit. You want to get as much of the mod podge mixture out of the jar as possible so you don't have a big glob of dried gunk in the bottom of your lovely jar. This is how it will look wet. I'm pretty sure I read somewhere about heat setting paint on glassware by baking it at a low temp, so I set my oven on the lowest setting it would allow, 150 degrees and popped them in. I took this after they had cooked for about 20 minutes. And for the finished product, drum roll please..... Not too shabby, eh?
say YES! to hoboken: DIY: Tinted Mason Jars in Rainbow - StumbleUpon
I’ve been experimenting with tinting mason jars to create a look like those old vintage ones that are difficult to find anymore in second hand stores. I think I’ve finally honed in on the perfect method. Would you like to see how it’s done? Check out the DIY here. Fill them with flowers, or illuminate an outdoor party filling them with battery operated tea lights or a strand of twinkle lights. I promise it’s easier than you think. copyright 2014 liz stanley // all rights reserved
Related:
Related:


