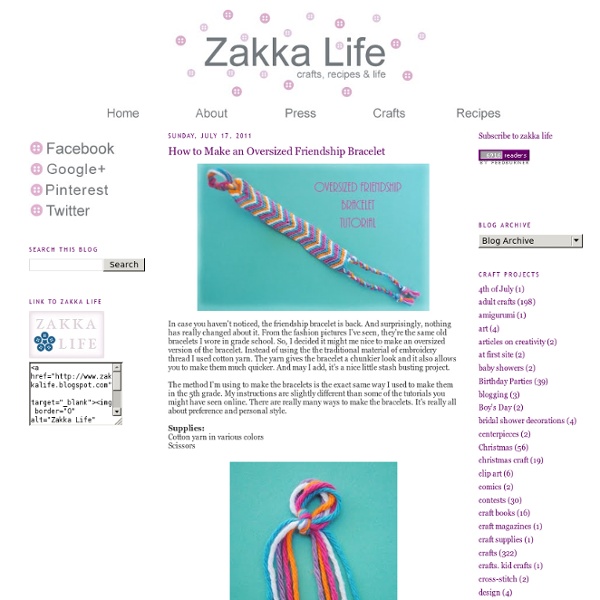
How to Make an Oversized Friendship Bracelet
La guirlande de fanions : tuto en images : Au 13
Je l'avais promis, le voilàààààààààààà ! Bon, ça aurait été bien mieux, mais vraiment bien mieux si j'avais remarqué AVANT de faire le tuto en images que mon appareil était configuré en très basse résolution. Oui ça aurait été mieux. Mais ça aurait voulu dire que j'avais parfaitement fait les choses et ça on sait bien toi et moi que c'est pas envisageable ! Donc tu prendras ce qu'il y aura, puis c'est tout. Alors c'est parti ! Pour faire ça : Il va te falloir un peu de matériel : Une machine à coudre différents coupons de tissus du biais une bonne paire de ciseaux des épingles une règle un crayon à papier une feuille A4 J'ai fais hyper simple, j'ai acheté un lot de coupon patchwork sur buttinette (pour changer !) Pour commencer, il faut "patronner" le triangle du fanion. Je sais on voit rien ! Donc explications écrites. Tu traces une ligne dans la largeur à 21cm vers le bas. Tu marques le milieu de la ligne tracée ( à 10,5cm quoi, mais tu le savais hein !) Voilààààààààààààà tu as ton fanion !
Related:
Related:
