
glitternglue How to Make Decorative Clipboards in Crafts, Fun and Thrifty Gift Ideas Like it? Pin it! A few years ago, I made my first decorative clipboard. They’re fun to use, simple to make, and are a great thrifty gift, too!! I’ve given them to teachers, friends, family members, and… myself! Would you like to make one, too? What You’ll Need: Clipboard {I buy mine at Wal-Mart for $1.00} ~ you’ll want your clipboard top to be similar to the one pictured below… it will allow you to tie on ribbons! Mod Podge ~ I used the Matte variety {found at craft stores} 12×12 regular Scrapbook Paper {not cardstock ~ trust me!} ScissorsRulerCorner Rounder {if you have one}Push pin or Xacto Knife What You’ll Do: The first thing you’ll need to do is trim the paper down to fit the clipboard.Turn paper over and measure with a ruler.You’ll want the paper to be approx. 1/4 inch in from the edges of the clipboard. Once the paper has been trimmed down to fit the clipboard, use a corner rounder {or scissors} to gently round the corners of the paper… Make one for yourself, or give some as thrifty gifts!
Honestly WTF Doily Dream Catcher When browsing flea markets or thrift stores, it’s the lovely little doilies that always call my name. I want to rescue these beauties — probably made with love by somebody’s grandma — but I tend to battle my textile-hoarding instinct, unsure of what that doily’s life would look like with me. Jill, a.k.a. ILoveLune, has dreamed up a How-Tuesday project to transform these second-hand findings into a modern dream catcher for the vintage heart. Hey everyone! Supplies you’ll need: Large metal loop (wire macrame hoop)Lace doily — Find them at a thrift store, flea market, or on Etsy. Directions: 1. 2. Lay your doily in the center of the hoop to decide which way is up. 3. 4. Tips on creating a seamless look: Use yarn with mixed fibers of a similar tone to make it easier to match that of your thrifted doilyConsider dyeing your doily to match the yarn, or immerse the finished product in a dye bath before adding embellishments. 5. 6. More Things to Make | Supplies on Etsy
Tutorial: Anthropologie Inspired Fabric Letters Here's what you'll need: -The letters: I bought the cardboard letters from Joann's. I'm sure you could get them at hobby lobby too. -A hot glue gun and LOTS of hot glue sticks -Scotch Tape: in case your fingers get tired of being burned by the hot glue- opt for the tape. :) -Fabric: I just used some scraps I had left over from past projects and I bought a couple of fat quarters from Joann's. -Fiberfill -Backing: Now, because Anthropologie uses corduroy on their letters, I was set on using that as well. Step 1: Hot glue fiber fill to the front of your letter. Step 2: This is the most difficult part: Place your fabric on top of your letter and begin pulling it around towards the back. Step 3: You'll notice your fabric didn't quite cover up the sides. Step 4: You'll iron one side of the fabric under 1/4 inch. Step 5: Hot glue the sides you just made onto the letter, then glue it to the back. Step 8: Trace your letter onto the felt or the interfacing. Step 9: Cut out your letter from felt/fabric.
A pair and a spare DIY Kindle Cover This instructable flows out of Rayeath's very helpful nook cover instructable with some (hopefully) helpful changes. How to convert a hardback book into a Kindle cover with a strap: What you will need: 1) A book you don't mind chopping up; this book must be at least 7.5" tall, 5" wide, and 1 cm thick (though a little thicker might be better) 2) Two sheets of craft felt which are larger than the books covers by approximately 2 inches on all sides 3) Hot glue gun & glue sticks 4) Up to 3' of 1/2" braided elastic 5) Stiff paperboard; Rayeath recommends a cereal box, I used the covers of an old composition notebook 6) Scissors 7) X-acto knife 8) Paperclip 9) Ruler 10) Sharpie I spent less than $10 on this whole project, including the book, which I found for 99 cents at Goodwill. It took me about two hours, but this is my first attempt, as well as my first instructable, so a more competent crafter could move more quickly, I imagine.
Tutorials for Recycling T-Shirts So way way back, in June, I wrote this Studio Organization post, about starting the process of organizing my studio by cleaning out the closet full of junk. Well, it's September and...let's just say the closet is a work in progress. Some of the things that are taking up space in the closet are shirts that I never wear anymore. Here are some tutorials for recycling shirts: Check out these t-shirt scarves! Create cute little bows for accessories or packaging with this tutorial. Gorgeous ruffled pillow tutorial here. Looks like I have a lot of projects ahead of me to keep me from cleaning out my closet!
Oh the lovely things Scissors + Thread Faux Updo For Short Hair | Keiko Lynn Keiko Lynn is my beauty hero. She seems to have perfected the cat eye, always has the most amazing lipstick and she can tie a hair scarf like a fiend! Sigh. Natural Cleaning | Henry Happened There are lots of reasons you might prefer to use all natural products for cleaning - for me it’s mainly health reasons! Clockwise from top left: Naturally Antibacterial All-Purpose Cleaner Citrus Garbage Disposal Refreshers 5 Naturally Antibacterial Bathrooms Cleaners Grease Fighting Natural Homemade Dish Soap 30 Today… Today is my 30th birthday! If by some weird coincidence today is also your birthday, Happy Birthday to you too! Emma xxoo image Silver Lining Cloud Dish | Love From Ginger The other day I featured a project on how to make your own air dry clay - well here is a project to use that air dry clay! DIY Chalkboard Paint | The CSI Project Progress is being made on Pretty Little Japan! Hanging Planter | For The Makers Coffee Filter Garland | 31 Bits
Blog May 27th, 2012 Lace inserts are a popular denim DIY this summer. Usually done with white lace and light denim I wanted to mix it up and try it with black! Sources: (Top Left – Right) 1. Clones ‘N’ Clowns 2. What you Need: Shorts/Jeans – I got mine from Value VillageLace – Mine is the edging of fabricScissorsThreadHand Sewing NeedlePins Loading ... Categories: Blog, Do It Yourself, Shorts of the summer series May 25th, 2012 One of my favourite parts about thrifting is finding that amazing item that is great quality but CHEAP. Categories: Blog, Thrifted Outfits, Toronto Vintage May 4th, 2012 I think everyone who thrifts has those few items that you look for each time you go. A Little History Coco Chanel is credited for making the tweed suit fashionable in the 1960′s. source: Coco Chanel A lot of Inspiration Today the tweed suit is still popular but in separates. source: Aime La Mode source: Wendy’s Lookbook (great blog!) source: Clemence Posey via Fab Sugar source: La Mode Classics: Tweed Jacket Materials
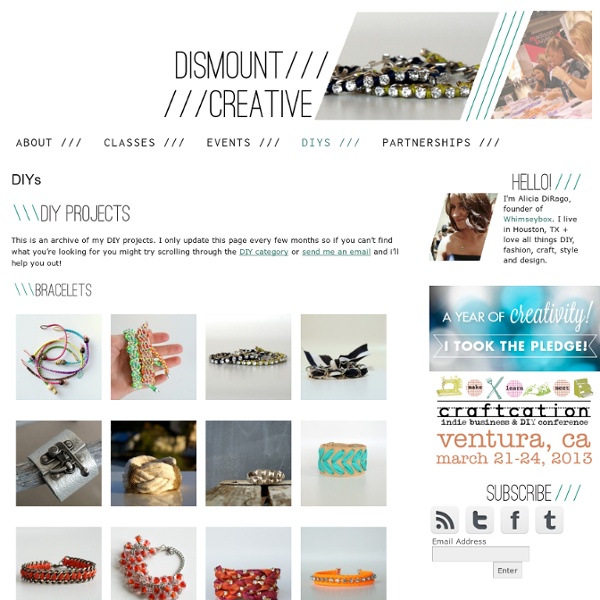
P.S.- I made this... this old dress. Rosette Bracelet Tutorial! So I posted my What I Wore Wednesday post yesterday and showed off this awesome (ifIdosaysomyself:) Rosette Bracelet I made to wear to a baby shower. And the crowd went WILD ... all 7 of you! lol ;) So I worked real hard today to get a tutorial up for ya'll! Supplies: Fabric - I love remnants and scraps for this Felt - preferably in a color matching the fabric if at all possible, if not, no big Ribbon - 7/8" in a color matching the fabric if you can, if not, use a coordinating color and I've used as small as 5/8" but I prefer 7/8" Scissors & Hot Glue Gun Now this is a typical remnant you might find at your local fabric store and was 29" by 44/45". 1. 2. 3. 4. 5. 6. Believe me, I've tried lol You just keep twisting and there's no rhyme or reason to it, just twist until you get the shape and size you want. And then you have a rosette :) You can do this with fabric, ribbon (grosgrain holds better than satin), paper, crepe paper, even tulle! 7. 8. 9. 10. 11. 12. 13. 14. The back :)