
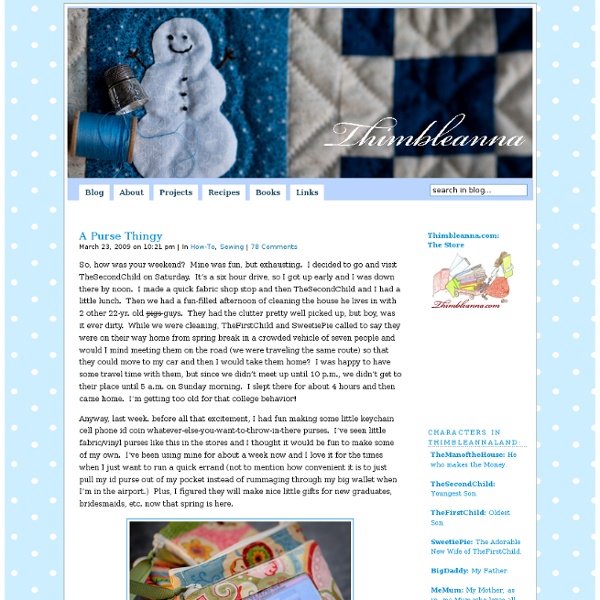
Le porte chéquier tout en 1 C'est avec une petite fierté personnelle que je poste ce billet. En effet je viens de terminer mon tout premier tuto couture! Je suis en pleine réalisation d'un colis pour une copinaute et la jolie voulait de la couture made by So Lovely. Je lui ai demandé de choisir un coupon ( comme ca j'étais au moins sur qu'il y ai un truc qui lui plaise ^^) et apres avoir faire un premier cadeau il me restait du tissu. En discutant avec elle je me rend compte qu'un petit portefeuille lui ferait plaisir. Je fonce donc dans la liste de favoris de mes tutos du net et rien à ce sujet... je fouille alors et rien, enfin si je suis tombée sur de jolis tutos mais jamais de ce que je voulais c'est à dire un tuto pour PorteFueille 4 en 1: porte chéquier, porte carte , porte billet ET porte monnaie. J'ai donc pris ma plus belle règle , ma plus belle feuille de papier et mon porte chéquier et je me suis mise au travail. Une nuit de repos et hop je le test à la lettre et hop un portefeuille est arrivé... Matériel :
Magnetic Bookmarks with Louise from I'm Feelin' Crafty. - thesoutherninstitute.com Welcome to The Southern Institute, I'm so glad you're here! Make sure you stay in the know... subscribe to our newsletter! Today we have a guest who’s new to The Southern Institute, although she’s not new to me! You might have followed me over to I’m Feelin’ Crafty awhile back for the Charlie’s Soap Container project. If not, then get ready to meet a wonderful blogger, Louise! I’ll let her tell you how we “met”…Hey there! Today I wanted to share my tutorial on a magnetic bookmark. Step 1: Materials:Scrap FabricSew-In Magnets (or any magnets will work really, but I like the sew-in ones)Scissors and/or Rotary CutterThread Step 2: Make the front and/or back. Step 3: Cut the front and back sides to both be 2.5” by 6”. Step 4: Sew pieces together, right sides together, leaving about a 1” hole. Step 5: Trim the corners and pull the ends through. Step 6: Now that it’s right side out, iron the seams flat. Step 7: Insert the magnet. Step 8: Topstitch. Step 9: wahlah!
Insulated Lunch Tote Tutorial Due to a large number of requests, I've updated the tutorial with the finished dimensions and a few clarifications. Enjoy! I designed this insulated lunch tote for Sandra's Handmade Christmas in July series. All the materials are machine washable, which for me, is what makes this worthwhile. Here's what you need: 2 pieces of medium weight fabric, main part of tote (16 in. Take the contrasting pieces of fabric and fold over 1/2inch along the long side, toward the wrong side of fabric. Now, we're going to shape the bag a little. Here's what it should look like. A little more shaping. Draw a line from the corner of the bottom cutout. Cut on your line, for all layers (2 main panels, 2 PUL and Insul-Bright layers) Now that we've got our bag shaped, here's some quick instructions if you want to make your own straps. Fold in half lengthwise, iron. Topstich all the way around strap to finish. OK, back to our lunch tote. OK, on to the zipper, my least favorite part of any project. Almost done!
Portefeuille Porte Monnaie Bon, on va voir si j'arrive à être claire, ce qui n'est pas gagné, je men excuse d'avance!! Voici le tuto du porte-feuille fait il y a quelques jours. Il est à adapter selon ce que vous souhaitez avoir comme taille et nombre de poches! Moi, j'ai choisi de tout réunir: cartes, monnaie, chéquier avec un petit stylo, papiers d'identité et de véhicule. Prenez un tissu relativement épais pour la tenue, ou bien doublez entre les 2 épaisseurs. J'ai utilisé une bande de tissu de 84 cm sur 23 (avec les marges), qui fait directement la doublure extérieure à la fin de la réalisation. Commencez par préparer la partie porte-monnaie, avec 2 poches à cartes sur le devant si vous le souhaitez. Ce qui ressemble au final à une trousse plate: Définissez sur papier ce dont vous avez besoin. Attaquez votre grande bande de tissu par le bas en laissant un centimètre de marge pour la couture finale. Une fois vos poches définies et repassées, cousez le milieu sur l'envers en commençant par le haut! Puis les 2 côtés.
How to Make an Artful Scarf from Scraps April 30th, 2009 Email 97 users recommend Kayte Terry After dissolving the stabilizer, you are left with a beautiful, one-of-a-kind scarf. Choose ribbons that are similar in shades, or you can try complementary shades, too! Photo: Kayte Terry A couple of days ago, a friend was wearing a beautiful scarf that she had gotten from a museum shop. For this project, you can use any fabric scrap or ribbons, lace, or doilies. What you'll need: One 18-inch x 60-inch piece of water-soluble stabilizerScraps of ribbons and/or fabricsIronFabric scissorsSewing machine and thread in desired colors 1. 2. 3. 4. 5. 6. 7. 8. 9.
THE SHRUG Saks Fifth Avenue features this season’s trendy cover up, the shrug by Vince. The shrug pattern is an ideal project with which to experiment with fashion design for several reasons — it is knitted or sewn in one piece, there is minimal finishing, it is easy to wear, and relatively quick to make. The Vince version is an angora knit but can be made up in any stretch fabric. Try mohair, stretch velvet, or double knit. Plus, these shrug patterns are easy to adjust. Cuff-to-cuff: 45 ½ (46 ½, 47 ½)” Width at back: 16 ½ (17 ½, 18 ½)” Top-to-hem: 21 (22 ½, 24)” NOTE: The greatest stretch of the knit fabric runs around the girth of the body (usually the crosswise grain from selvedge to selvedge). Measure a rectangle 21″ by 45½” (length X width) for a size SMALL. Measure 14½” in from each short end of the rectangle and mark as A,B,C, & D according to the diagram. Measure 4½ inches down from the top & up from the bottom of each long end of the rectangle and mark as E, F, G, & H. Like this:
Imagine Fabric Blog: How To Make a FABRIC BOWL Imagine Fabric Making a Fabric Bowl is as easy as ABC and it is a lot of fun. Just follow our step-by-step instructions and within an hour, you will be awarded with your very own Fabric Bowl. Let's get started. Select your fabric of choice - I picked some beautiful Joel Dewberry Fabric for my Fabric Bowl project. Used the size of your favorite bowl. Measure the bowl from side to side going underneath the bowl. Cut two fabric circles , put the two fabric circles left side together and use a thick interfacing that has glue on both side to iron the two fabric circles together. Now draw a circle in the center of one of your fabric circles. Now divide the fabric circle into eights. Continue to do so all along the "eights" lines you have previous drawn. You should end up with 8 triangles. Now choose a zig zag stitch of your liking and stitch all along the circle in the center of your fabric circle. Now it is time to zig zag stitch the triangles you have cut. Start to zig zag stitch from the inner circle.
sewing Featured: Stefano Pilati for YVES SAINT LAURENT Explore volume and proportion by challenging conventional principles of tailoring for your Autumn wardrobe. Here is a great example by Stefano Pilati for YVES SAINT LAURENT, a ‘zoot’ trouser balancing a fitted cropped top. You will need: Bottom-weight fashion fabric, 54” [137cm] wide **¼ yd. [0.25 m] of fusible interfacing, 45” [114cm] wide.⅓ yd. [0.30 m] of pocketing fabric, 45” [114 cm] wide1 zipper, 7” [18 cm] long.1 set of pant hook & barKraft paper ** A minimum of 3 yards of fabric is required for pleated trousers – for an average sized person. Waist – measure around narrowest part of torso just above the navel. Hip – measure around fullest part of seat, about 9” [23cm] below waistline. Body Rise – measure vertically from waistline to top of chair seat, while seated. Outseam – measure vertically from waist to heels. Trouser Bottom Width – measure length of foot. Easy Fit template for “baggy” trousers. Front (Red) Square both ways from 0. 1. 2.
HDA CRDP Strasbourg Histoire des arts Fiches pédagogiques Lexique des peintres, écrivains, sculpteurs… Ressources de proximité Actualités (voir plus d'actualités) En Alsace et dans le Rhin supérieur Domaines artistiques En venteau CRDP d'Alsace En prêtau CRDP d'Alsace Instructions officielles Portail Histoire des Arts - Ministère de la Culture Site principal du CRDP | Mentions légales | Contacts | Droits de l'image et du son | Aide