decor8
Copycat Candy Recipes - StumbleUpon
To make all of these Instructables, download this collection of How To’s as an ebook. Download » "Copycat Candy Recipes" is your backstage pass to famous brand-name candies! You've grown up eating these classic brand name candies, now you can recreate them at home. These Copycat Candy Recipes are sure to be just as good as the originals - if not better!! Instructables is the most popular project-sharing community on the Internet. Sarah James Editor, Food & LivingInstructables.com
Westerman Fam
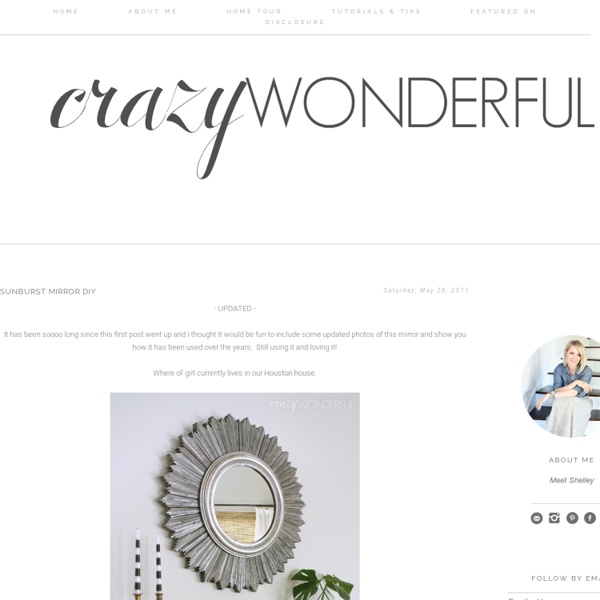
It has been a long time since I first made this mirror and I wanted to share some updated photos of where it has lived over the past few years! Currently it is in our breakfast room off the kitchen in our new house. And prior, it was in the hallway of our rental when we first moved to Texas. For such a big mirror, it really can go almost anywhere! If you guys checked out my guest post over at All Things Bright and Beautiful you may have seen a little (ok, a BIG) something something leaning against the wall behind the couch. Yep, I finally got around to making the mirror I mentioned here! And, I did a tutorial ;D What you'll need: STEP ONE: Measure out and mark where you want the mirror to sit on the plywood. STEP TWO: Using caulk gun, squeeze Liquid Nails onto the plywood where the mirror will sit and put mirror into place. STEP THREE: Miter cut the notched trim for edges of mirror. STEP FOUR: Paint the inside part of the the trim. STEP EIGHT: Paint mirror desired color and let dry.
The Butterfly Project...
A few weeks ago I shared a pic of some butterfly punch-outs I had done from a Pottery Barn catalog (it was a really colorful picture of some towels all stacked together). I had seen a picture that Ali Edwards made of butterflies all lined up and punched from many different colors of paper (which gave me some serious inspiration in the butterfly department). I decided that I wanted to do something similar but with a different spin! I started working on this little project Saturday afternoon. In my day job I get a lot of really fine paper samples in the mail. Cougar paper had sent me sample called Ode to the Earth. I knew this was just the project for it! Picking the piece to use was the hardest part of this whole thing! For this project I used:Colorful paper (you can use scraps from catalogs (the covers are best), scrapbook paper, paper samples, etc...2 Martha Stewart butterfly punches (seen below)Zots3D-Dots (foam sticky squares)Cardstock paperPicture frame with 3D mat board Monday HUGS!
Our Library: Raingutter Bookshelves!
Obviously this isn't a treat-related post...but it's still SUPER SWEET! I received SO many comments and inquiries in response to the picture I posted of our kiddos' library on my FB page, that I felt I really should dedicate a full post to the subject ;) We finished our basement this past spring and resolved to make a big part of the open area a playroom. I've been dreaming of reclaiming my livingroom for about 3 years now...so I was BEYOND excited when the space was finally finished! I wanted to have a fun way to organize the kids' toys and make it extra special for them too! I really loved the idea of shelving that allows the covers of the books to be visible. I did have to spend a little time convincing my hubby that raingutters mounted to our wall would look nice...and not "hillbilly" as he kept implying....and that he should just trust my vision...in the end even he came around...which was good since he had to do the actual "work" involved ;)
Sand and Sisal
It’s time to show y’all another project I did for the awesome readers over at Infarrantly Creative. I’m a contributor to IC so please come over and and say hello sometime. Ornate wall mirrors can be pricey and grouping several together could break your budget. Most of us own some type of chargers, but let’s get real here, how often do we actually use them? For the exception of very special events or holiday meals, our charges rarely see the light of day. If you don’t own any, I recommend checking out Pier One. The other charger I chose had a black iron scrolled look. Check the diameter of the center of your charger. Apply adhesive to the back of the mirror and gently press your mirror in the center of the charger. Allow your adhesive to set up, then flip your charger mirror over and hot glue on either a saw-tooth hanger or like I used… a soda can tab! And there you have it, a beautiful mirror made out of a charger you were never using in the first place! Kim
Susie Harris: Inspiration...pass it on!
*** Because someone asked..yes! I have one in my Etsy if you would like...smiles~*** Oh have I got a good one for you today {I hope}. What I want most out of this blog is to connect with you girls. My prayer is that you leave every post with a giggle,touched heart,new found friendship or INSPIRATION! I first started with some good ole' inspiration. Now I know some of you worry about getting it just perfect,letters and all... I used a thin piece of board for mine because I didn't want to hang anything too heavy. I painted it an ivory color. Paint your circles in black. For those of you that are like me and need some extra help....print your font on paper and use as a guide. You can use trace paper or I tend to just trace over the font and use a little bit of pressure. You are now ready to paint in your letters. Now for those neat little accent lines around your letters..I used a lid from a thermos. Just dip in in a saucer of paint and press down. And just so you leave here with a giggle.
A Little "Ruler" Project and our Give Thanks Pillow
I hope you all had a wonderful weekend! Ours was nice and busy. We have been working on quite a few projects around the house as well as designing some new Dear Lillie items. We have one new item available this morning, our "give thanks" pillow cover. Also we have spent some time this past week reviewing things and found some ways to cut shipping costs. We have now lowered all of our domestic shipping charges! One of the new projects we have been working on here was this fun oversized ruler growth chart to measure Lillie and Lola. Jon and Jason both informed me they didn't like it at all (although now they are taking it back) but I really love it! If you look closely you will see I messed up quite a few times but I am going to blame that on the fact that I was doing it with Lola in the Bjorn and she kept squealing and flailing her arms and knocking the sharpie and half of the time I was balancing it as I was writing on one side and Lillie was on the backside making her own version.