
mon makes things: Granny Blanket How-To You wanted it, you got it, folks! I'm back with my hexagon granny blanket how to. As I may have mentioned, I lost the pattern for this blanket years ago. I swear that it was in an old "Crochet!" magazine, but I can't find it and the internet has failed me. Above is the "evolution of a granny square!" *Note: I found it easiest if I left a long tail at the beginning of each round as well as at the end so that I could really weave the ends in well with a yarn needle. Using worsted weight yarn in the color of your choice, make a magic ring. With worsted weight yarn in a second color, start with a standing stitch (a double crochet) in one of the stitches from the previous round. With a third color, start with a standing stitch in one of the spaces of the previous row. I mentioned that I am using the "join-as-you-go" method on this blanket. I hope this made sense. Well... Also...
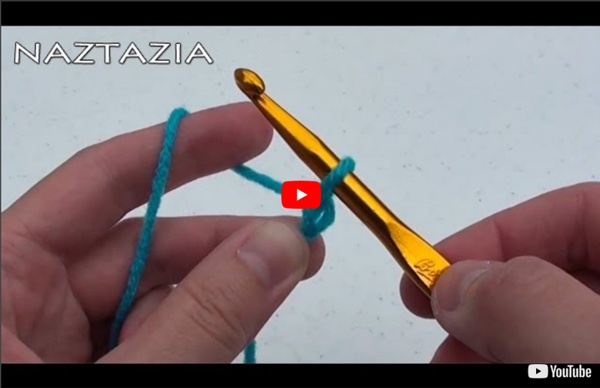
Learn Single Crochet | Welcome to the Craft Yarn Council The instructions below will show you how to make a foundation row and a single crochet stitch. If you follow them exactly, you'll complete a 7" by 9" block, which will be great practice and help a good cause: Warm Up America! Learn how your block can be joined with others to create an afghan to warm up someone in need. With these basics, you can make a scarf, hat, pillow, bag or any number of projects. What you need: Worsted-weight yarn, any color or colorsSize G crochet hook;Yarn needle with big eyeSmall scissors How to begin Step 1: Hold crochet hook in right hand and make a slip knot on hook. Step 2: Bring yarn over hook from back to front and grab it with hook. Step 3: Draw hooked yarn through slip knot and onto hook. Repeat Steps 2 and 3 in sequence 28 more times. Step 4: Skip the first chain stitch. Step 5: Insert hook into center of next chain stitch. Step 6: Bring yarn over hook from back to front, and draw it through both loops on hook.
Pattern: Crochet Keyhole Border Flower Headband *** This pattern is intended for personal use only, please. You can not sell items created from this pattern or sell the pattern itself***updated 2/2013 After finishing row 39, continue around the outside of the band working in this pattern: 2 sc around each outer dc (whole post), 1 sc around each outer sc (whole post) ...starting with 2 sc in the first outer dc. Flower: I actually used this crochet flower pattern but only up through row 5 because the flower was getting quite large. If you're a crochet expert with suggestions on how to improve this pattern, or if you have questions, feel free to let me know.
Crochet slippers & a mini heart Autumn is slowly making its appearance here in the northern part of Greece. The weather has changed getting more chilly everyday! So why not take care of these cold feet and prepare them for a little coziness?:) I actually love making crochet slippers; I must admit they make me feel so happy plus they give you an extra feeling of comfort and snug!:) I alos thought of making a little heart just for fun! These slippers were made in an afternoon and are actually quite easy, suitable for beginners at crochet! Crochet Slippers 4.5 mm (7) for slipper body 5.00mm (H) for slipper edging With color of your choice, ch 2 R1:5 HDC in 2nd ch from hook (5) R2:2 HDC in each st around (10) R3: 2 HDC in each st around (20) R4: *1HDC, 2 HDC in next st* repeat 10 times (30) R5-10: HDC around (30) If you want to make a two tone slipper change color at beginning of R7. R11:Now, you're going to be working back and forth in ROWS. R12-20: Repeat R11 R21-22: Ch 3, DC in same st, DC to the end, ch3 turn. That's it!